Braided, hand knotted or crocheted, you can easily make your own DIY yarn garland. Handmade garland using your favorite yarn comes together fairly quickly, with just a few supplies.
Adorning your holiday tree is not the only time and place to decorate with garland. Be creative all year round by using yarn garland as decoration for birthday parties, in kids bedrooms or on other holidays, such as Valentine's Day, Easter and Thanksgiving.
In this post, I'll show you 4 ways to create diy yarn garland you'll want to use as decor every chance you get.
This post may contain affiliate links which we may receive a small commission when some items are purchased at no additional cost to you. Read the full disclosure.
It's safe to say there is no wrong time to think about Christmas tree decorating ideas. As I was thinking about what we should do to decorate our tree this holiday season, I began searching for garland in all its forms: brass, greenery and fluffy fabrics.
We already have beautiful faux cedar garland (similar) to decorate our mantel and staircase. I also bought a string of wood bead garland (similar) after the holidays last year. Since more is more when it comes to decorating for the holidays, my appetite for garland was not satiated.
Read up on Christmas mantel decorating ideas for inspiration this holiday season.
Then, in searching for inspiration on Pinterest, I came across pictures of pom pom garland as well as yarn garland, and I knew I could make this myself with chunky yarn and a little time.
Supplies to Make Yarn Garland
Being that this is a very simple do-it-yourself project, you really only need a few supplies to get started. Honestly, picking which yarn you want to use will be the most difficult part of this project.
Here are the few supplies you'll need:
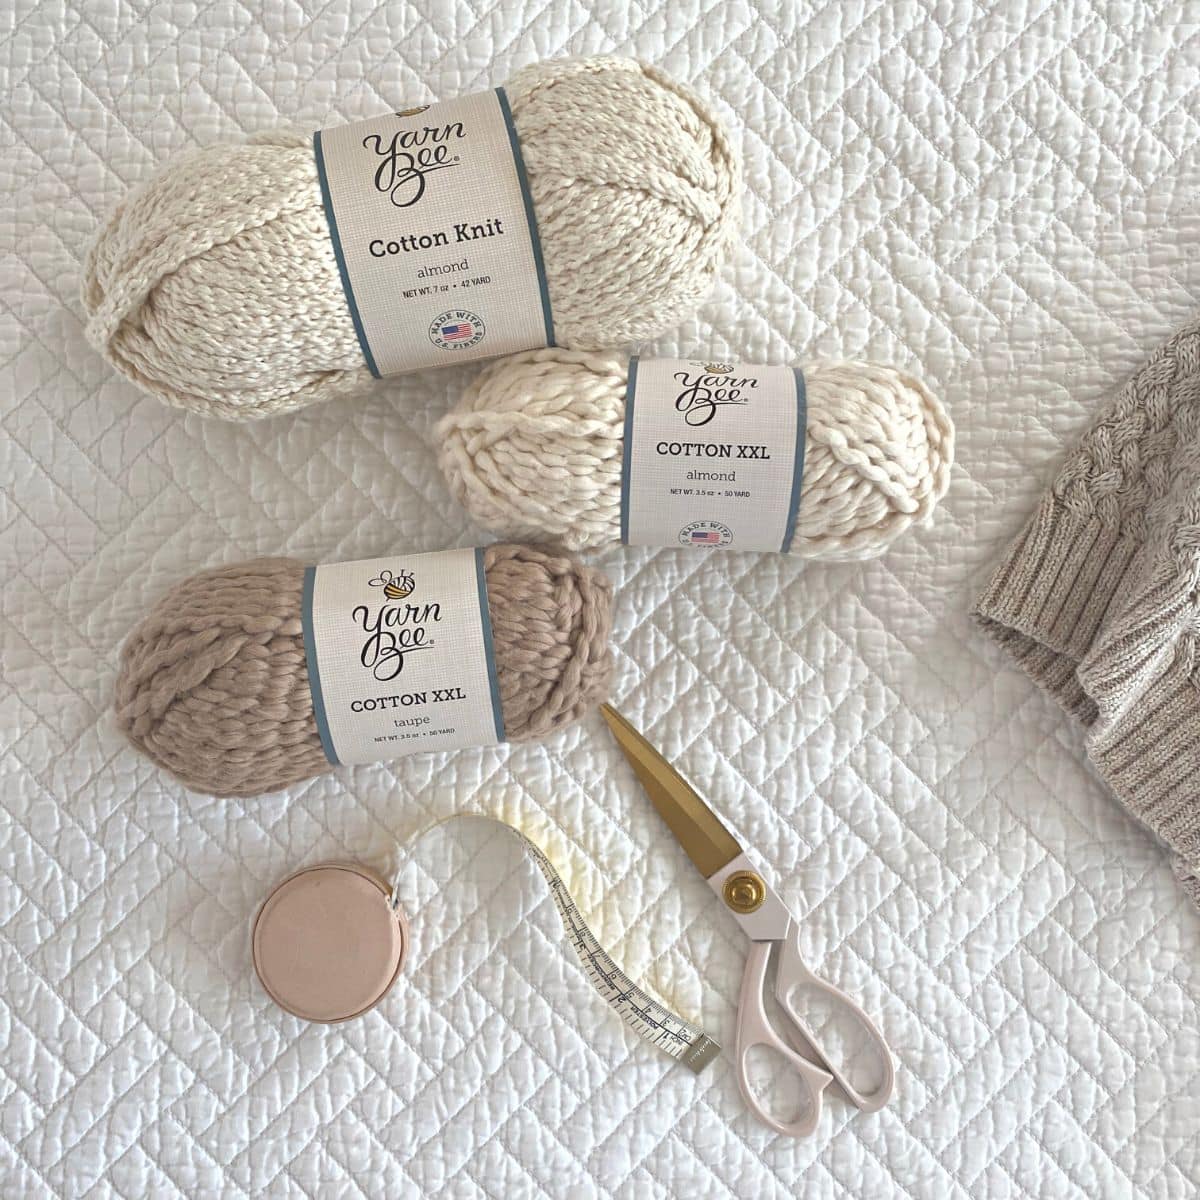
- Yarn - You can essentially use whatever color(s) and type(s) of yarn you want. Keep in mind, thicker yarn will yield a thicker, chunkier garland, which is my preference. Cotton, wool roving, t-shirt yarn, and thick polyester yarn work very well. I used Yarn Bee cotton XXL yarn in a milky white color called almond, though this chunky chenille yarn should work well. I also bought it in a pretty taupe color.
When looking for yarn, bulky or super bulky are good search terms. This acrylic alpaca mix yarn is beautiful and thick. You could also add extra texture this chain-like braided acrylic yarn that comes in many colors, including a stunning whisper pink color called Dillon Quartz.
- Measuring tape - When I am working on a DIY project, I usually reach for a fabric tape measure. In general, fabric tape measures are much easier to maneuver around objects.
Any fabric tape measure will work, such as a generic sewing measuring tape. If you want something compact, get a retractable tape measure. Of course, if you've read any other posts here on Mornington Lane, you know that I'm extra. If I need something, I try to buy aesthetically pleasing everyday items. When I came across a neutral colored genuine leather tape measure, I knew it had to become part of my life. Truly, I carry it everywhere with me. Leatherology also carries a high quality leather measuring tape in a few different colors.
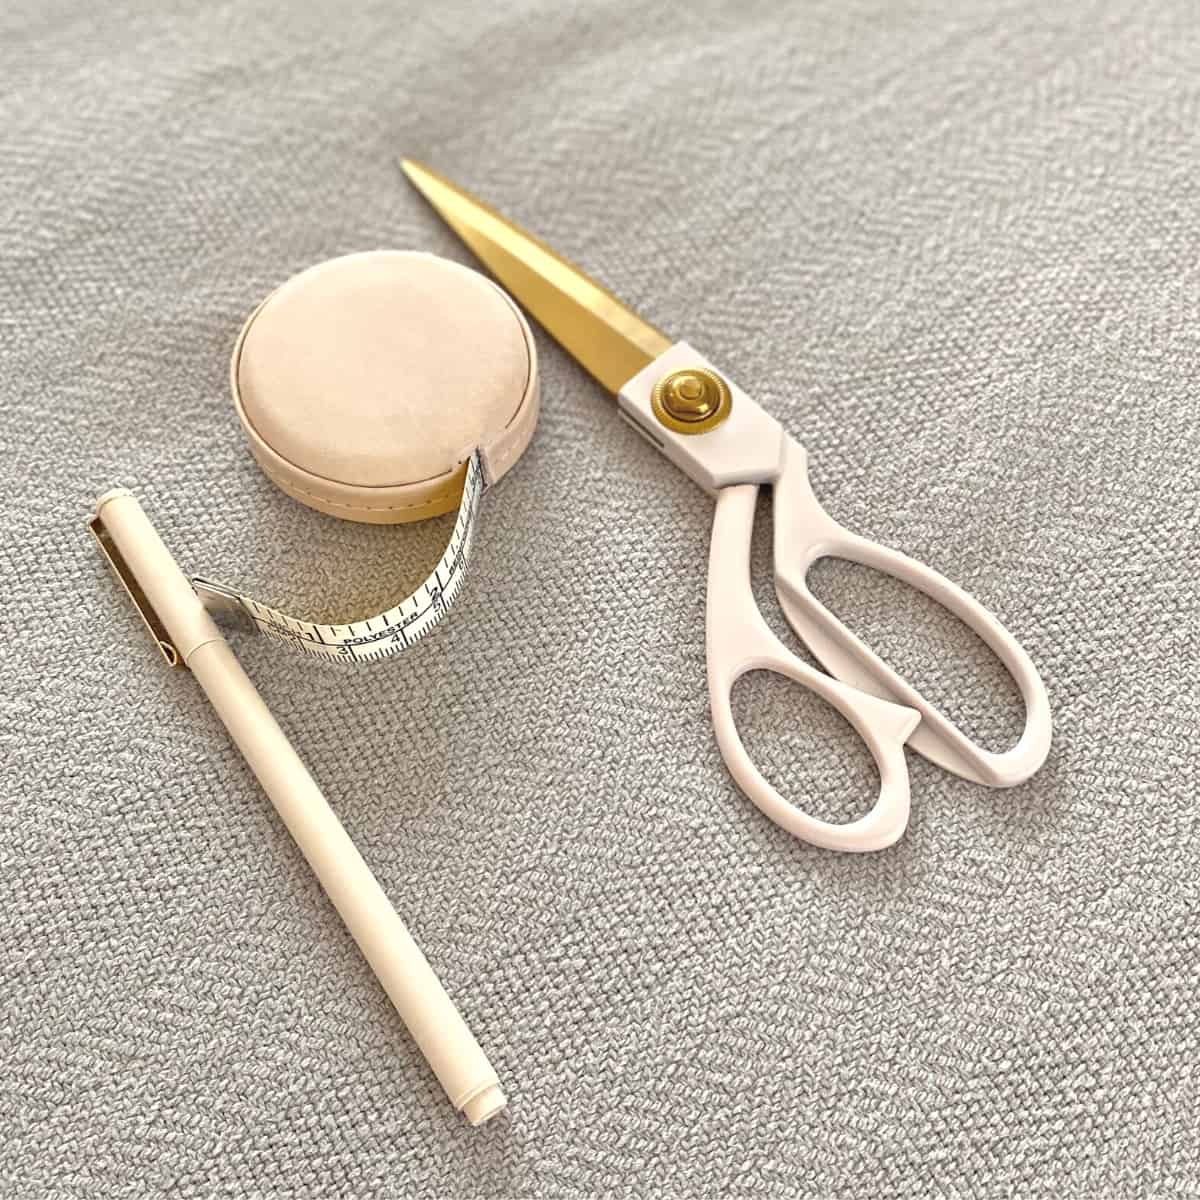
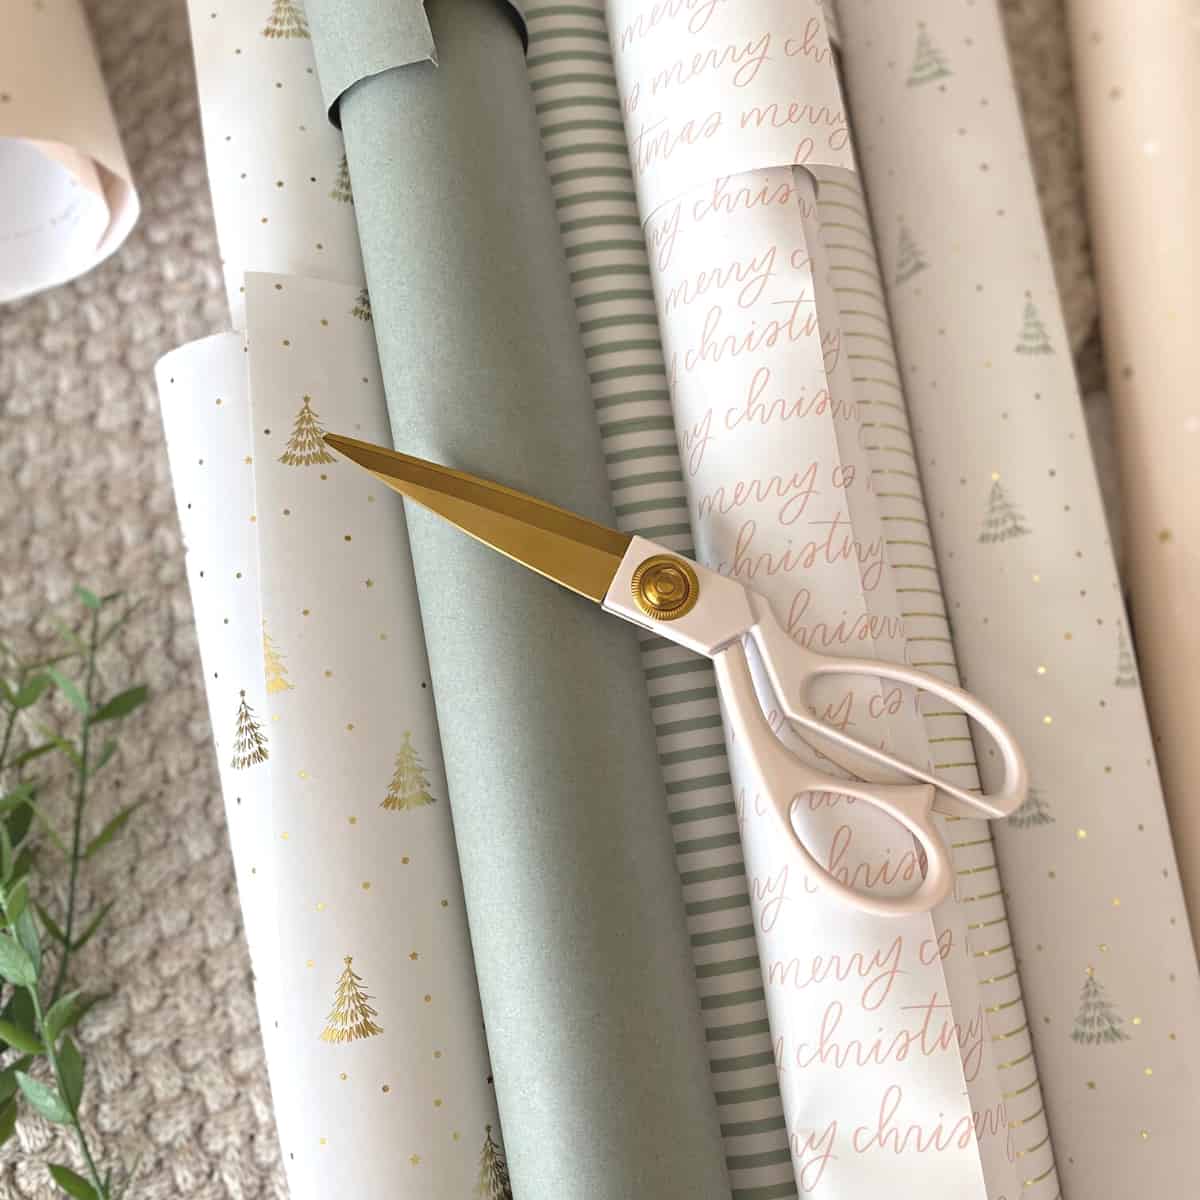
- Scissors - I cannot overstate how important sharp scissors are for diy projects. Sharp scissors allow you to easily glide the blades across paper, fabric, ribbon, and many other materials, making it significantly easier to get a clean edge. Again, since I'm all about aesthetics, I adore these super sharp pale blush pink and brass scissors. They carry several colors of the brass scissors that won't disappoint, such as a pretty taupe scissors or lilac.
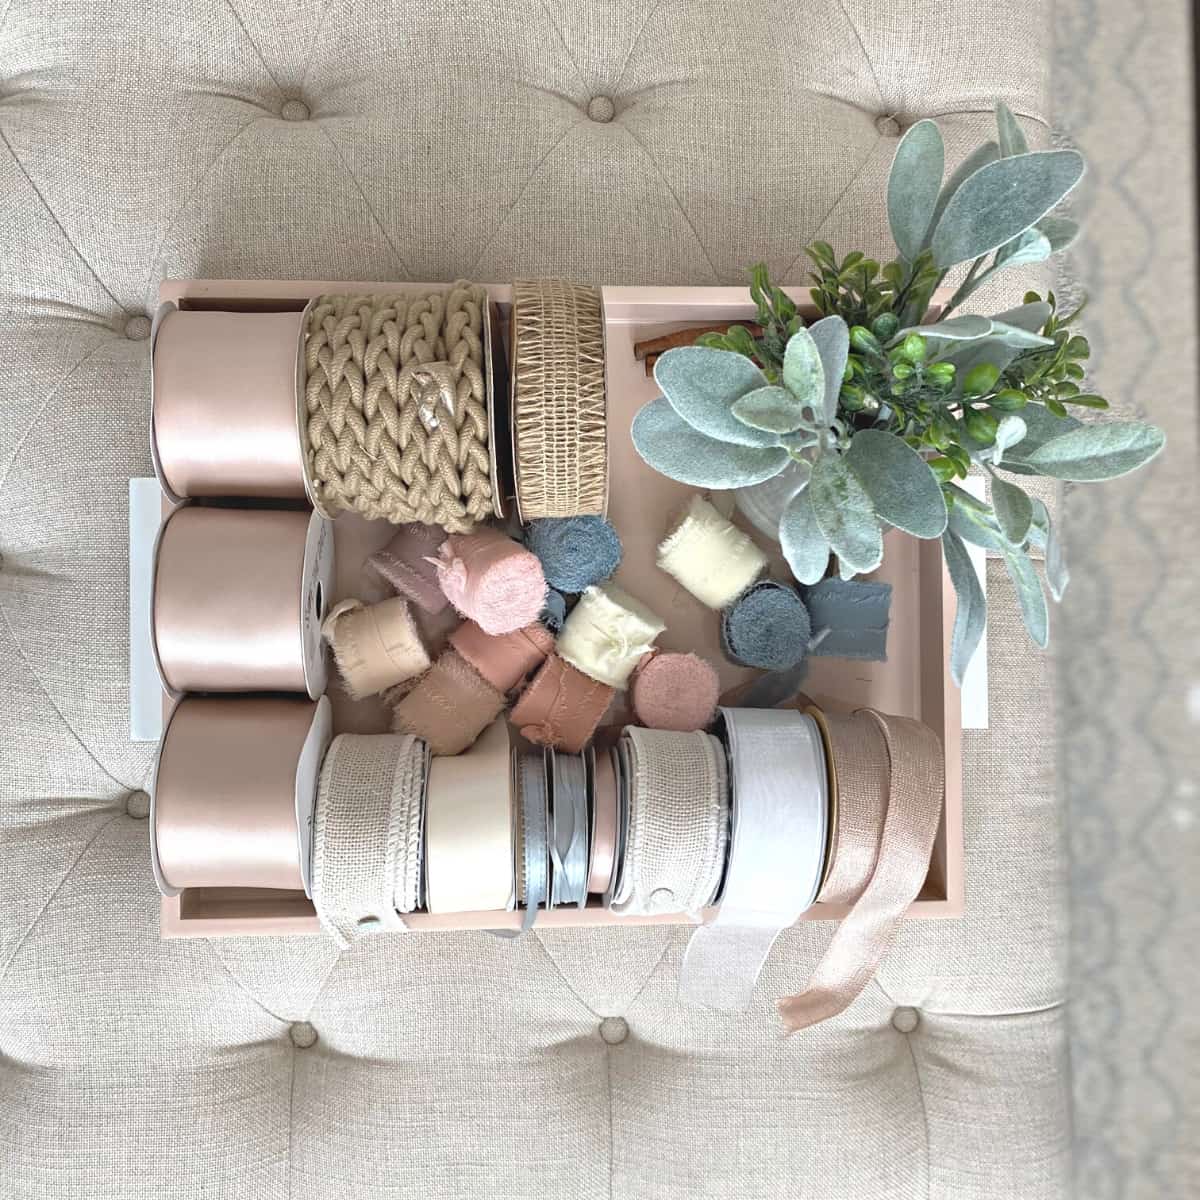
- Ribbon (optional) - Ribbon looks stunning when mixed with yarn. The different textures and colors open up additional opportunities for styling. Use your creativity with different ribbon materials-velvet, satin or chiffon-along with different types of yarn described earlier. Layer ribbons for an even more elevated look.
You can also add greenery or other decorative elements to your garland even more curated. JOANN, Michael's, Hobby Lobby, and Amazon are great places to source beautiful ribbon and gift toppers. I have a soft dusty blue velvet ribbon I use all the time. You could also try this gorgeous 2 ½ inch wide dusty blue taffeta/velvet ribbon, which is similar to a very expensive ribbon I own, or this pack of 10 shades of pink satin ribbon that I added to my wish list to try out.
4 Ways to Make DIY Yarn Garland
There are near endless methods to create your own garland made out of yarn. My preference is braided or hand knotted. I also like to add ribbon with the yarn for added color and texture.
Tip:
The longer the strands of yarn, the more difficult it will be to keep the strands separate while braiding. With long strands, such as 12 feet, as you begin braiding the yarn, and unless you pull the strands completely out of the way each time you create the next part of the braid, the middle will automatically start to braid along with the top. To make it easier to braid, gently pinch the tops of the strands in a dresser drawer. Moreover, make sure to always fully separate the strands all the way down each time you make the next part of the braid.
Simple Braided Garland
A simple braided yarn garland is a traditional regular three strand braid that uses three strands of yarn.
Of all the ways to make your own garland, this is probably the easiest. To get that super bulky look, you have to use extra bulky, super thick yarn. Just to show what it looks like, here I used a thinner cotton yarn to make the simple braid, pictured on the left.
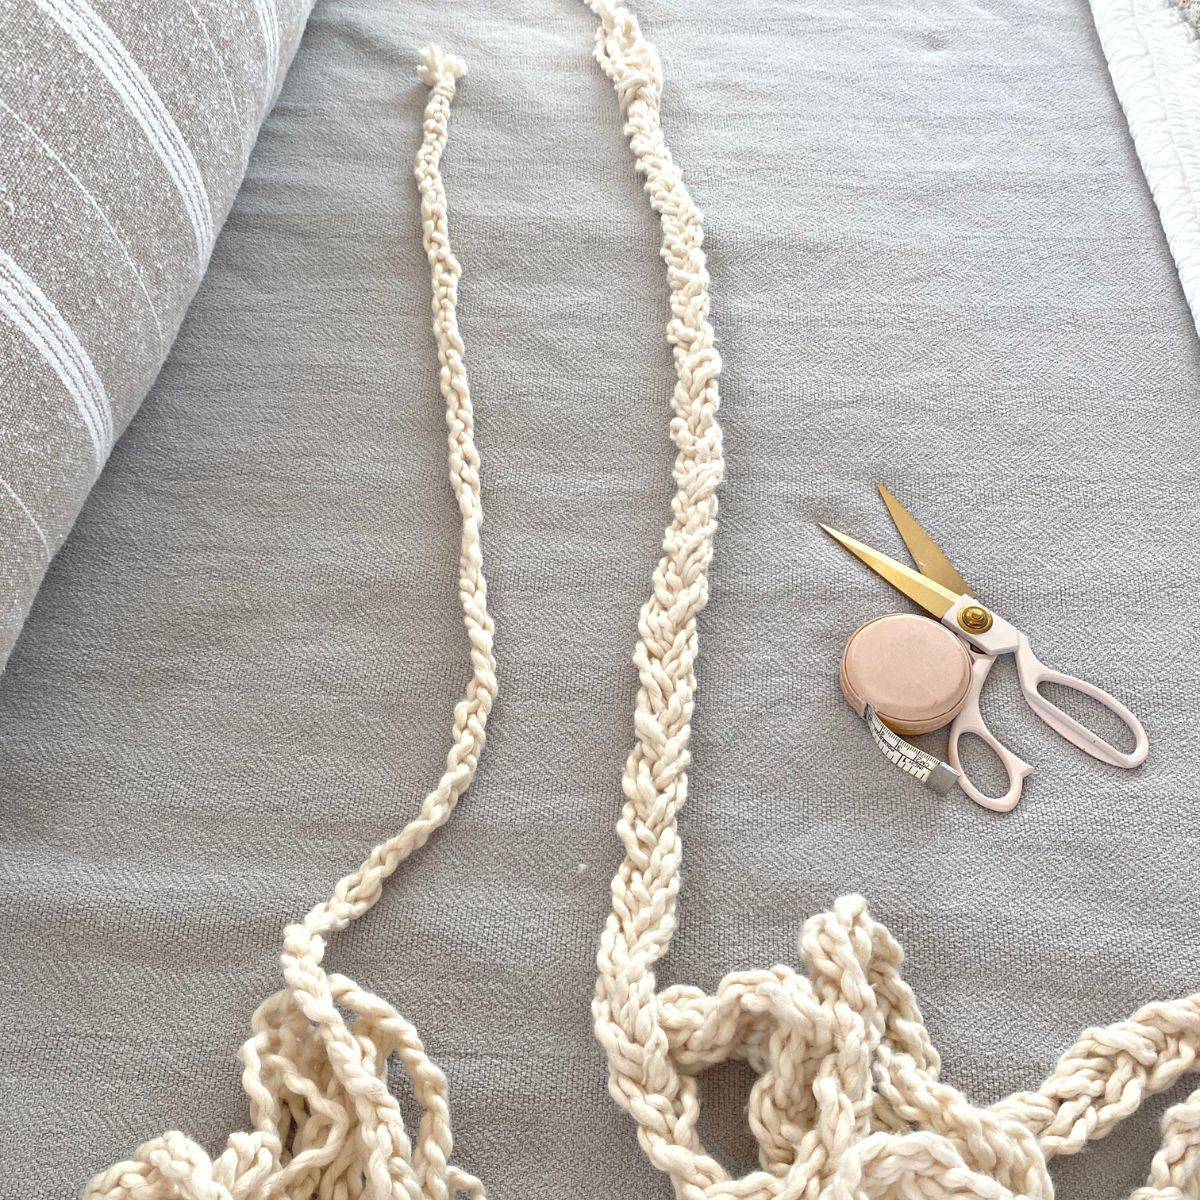
Wool roving or a super bulky yarn will create a marvelously thick, chunky garland that will look especially lovely adorning a Christmas tree.
Chunky Double Braided Garland
One of my favorite styles of garland is what I call a chunky double braid. Since I used a thinner cotton yarn for my garland, I added bulk by braiding three sets of braids-nine strands total-into one braid.
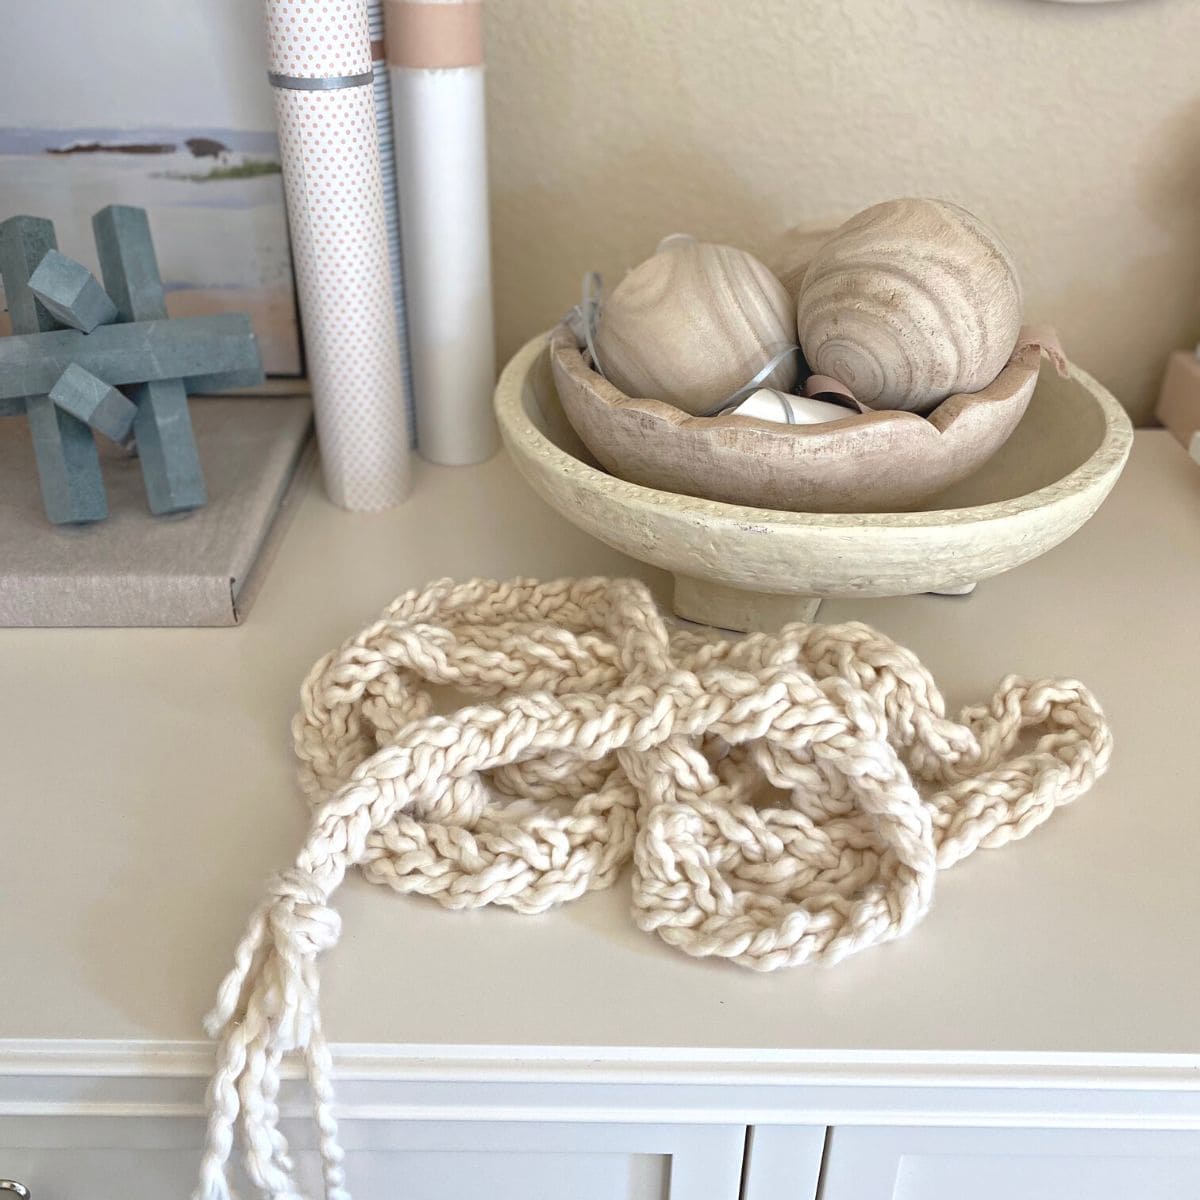
Here is a quick how to make a chunky double braided yarn garland:
Tip:
For a Christmas tree garland, I would cut each strand to 9 or even 12 feet. When working with holiday garland made out of yarn, I find it much easier to work it around the tree if the garland is 12 feet rather than 6 feet.
- Cut nine equal size strands of yarn. I cut each strand to 6 feet, but you can cut whatever length you prefer.
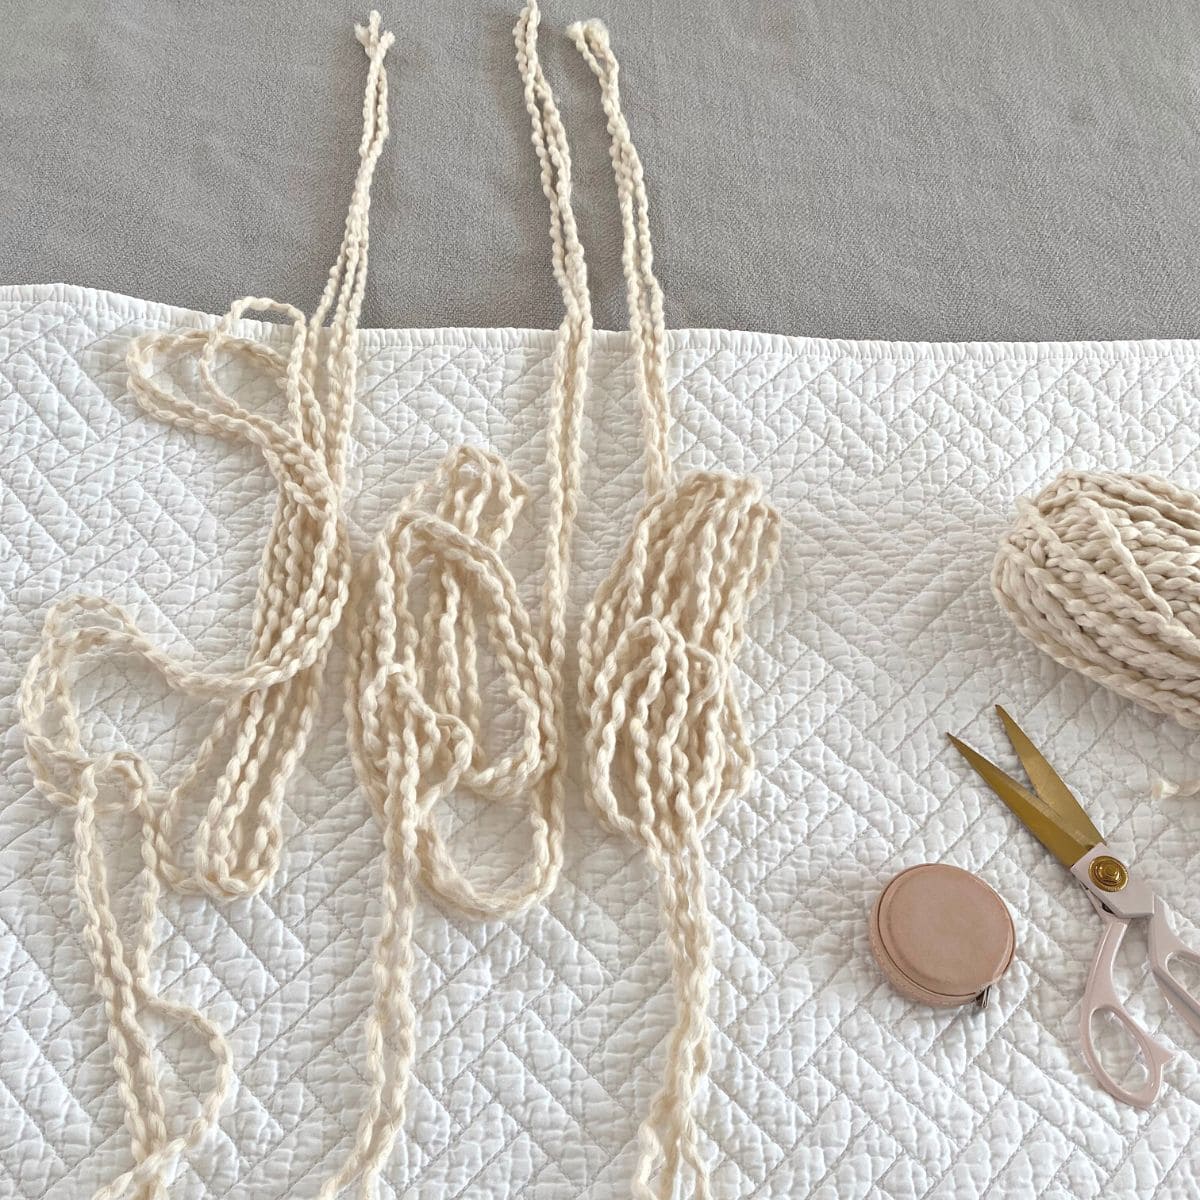
- Take three strands and create a regular three strand braid.
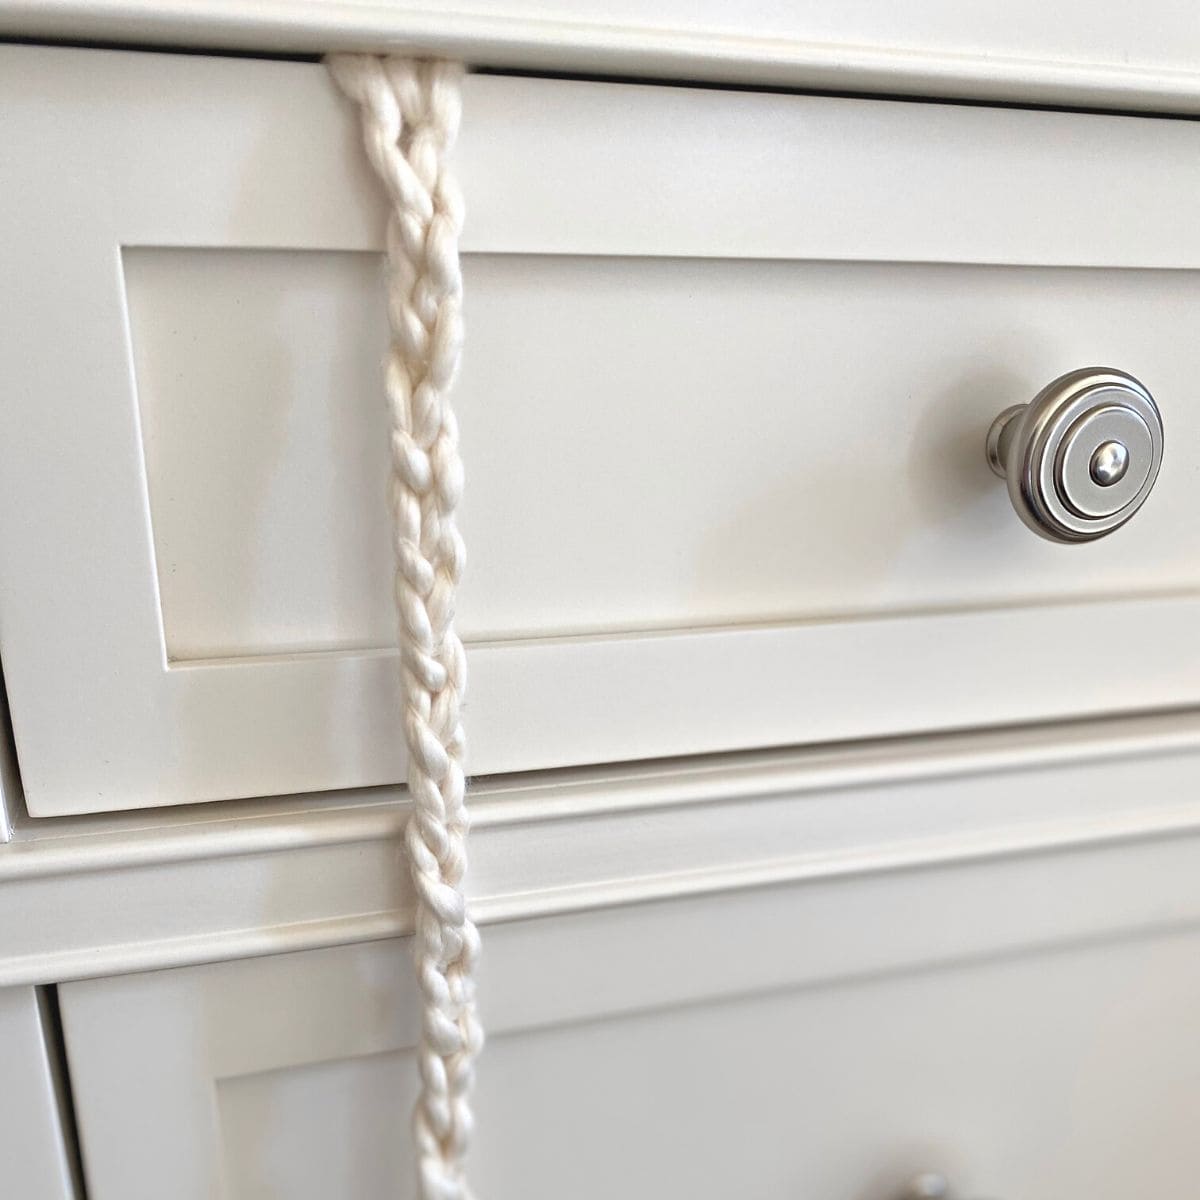
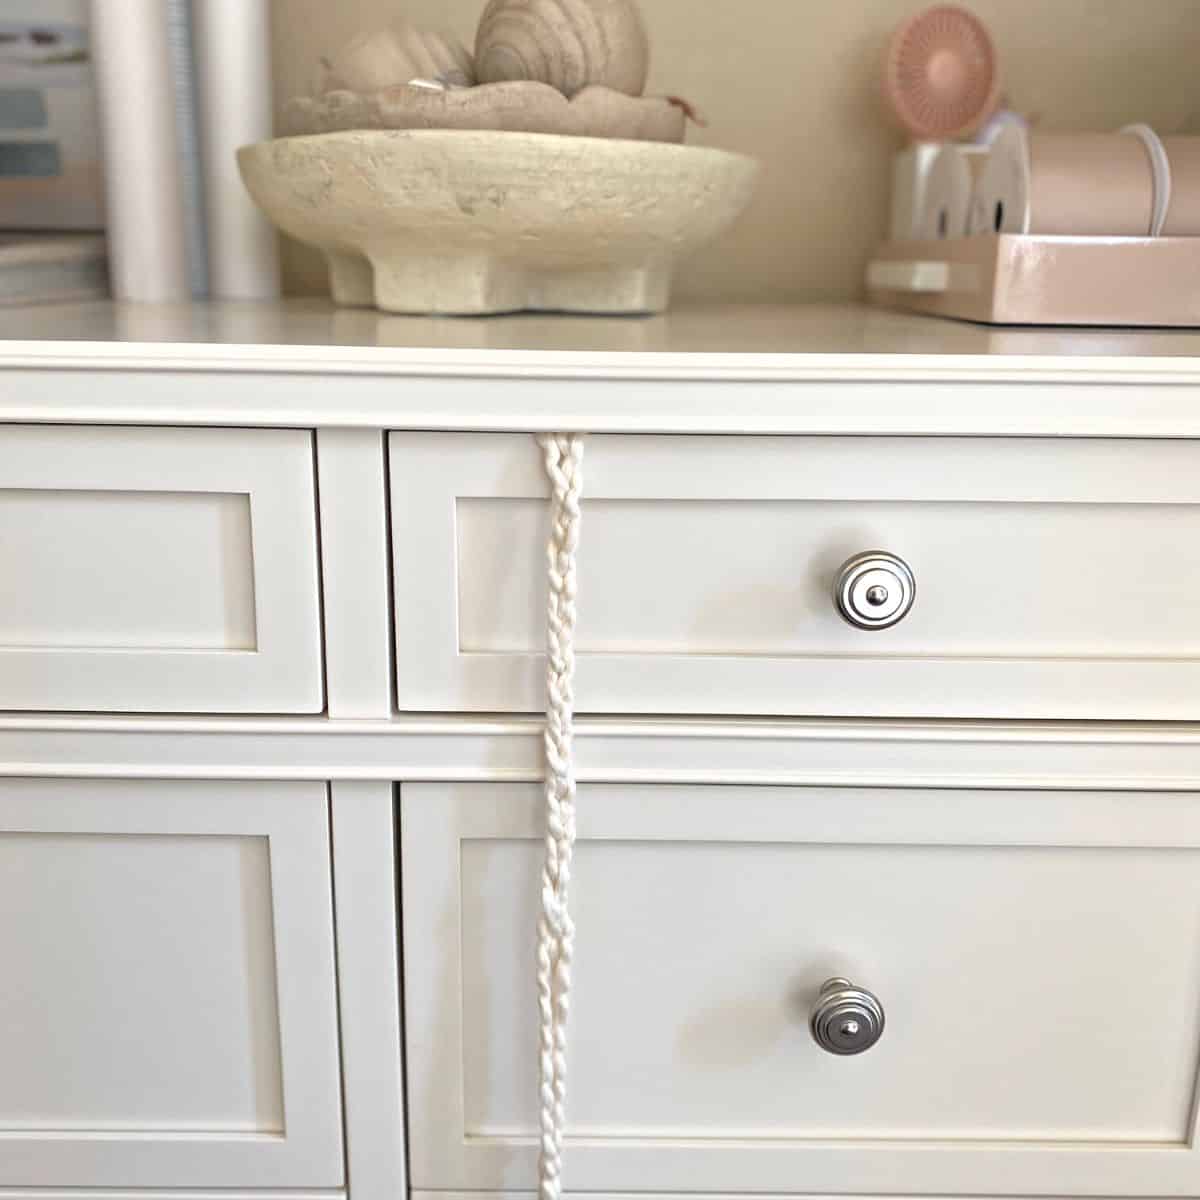
- Repeat for the remaining six strands for a total of three separate braids.
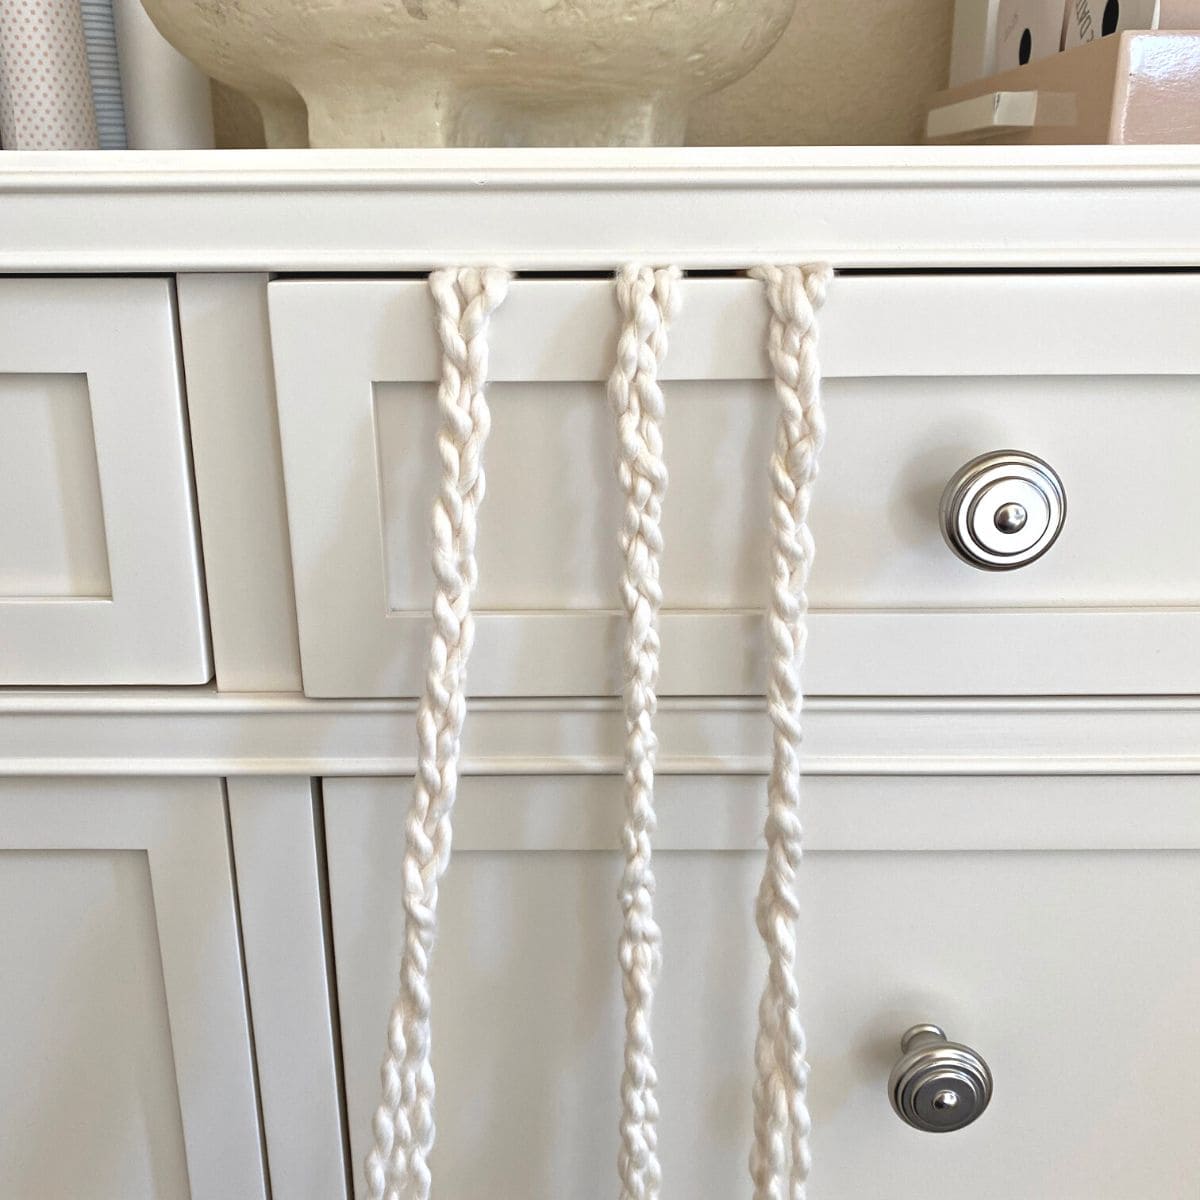
- Take the three separate braids and braid them together to create one large braid. Trim the ends as needed.
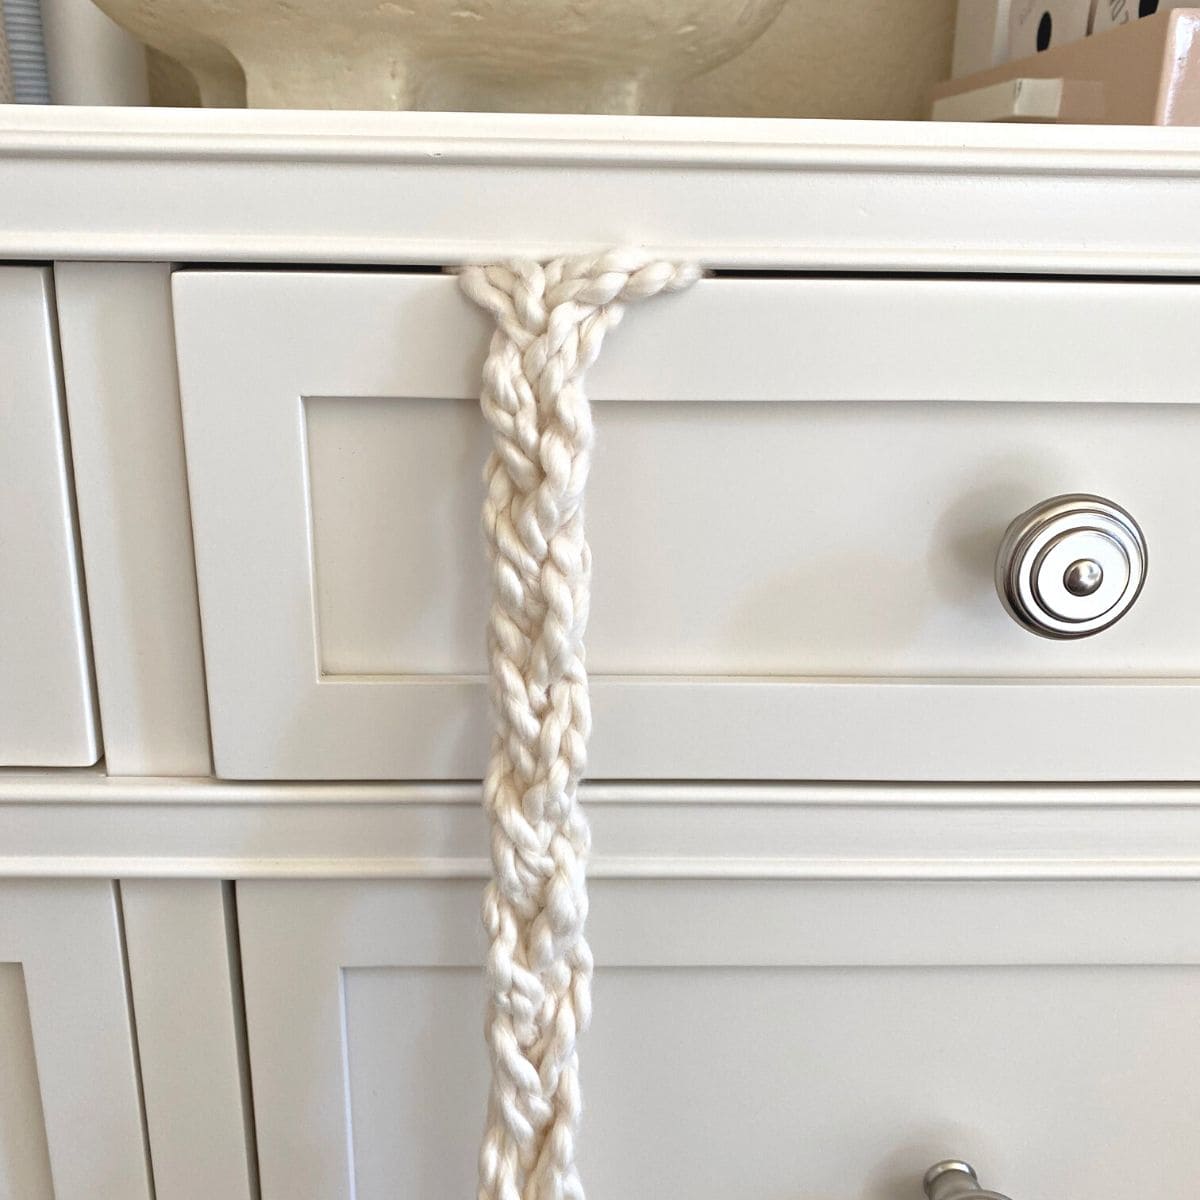
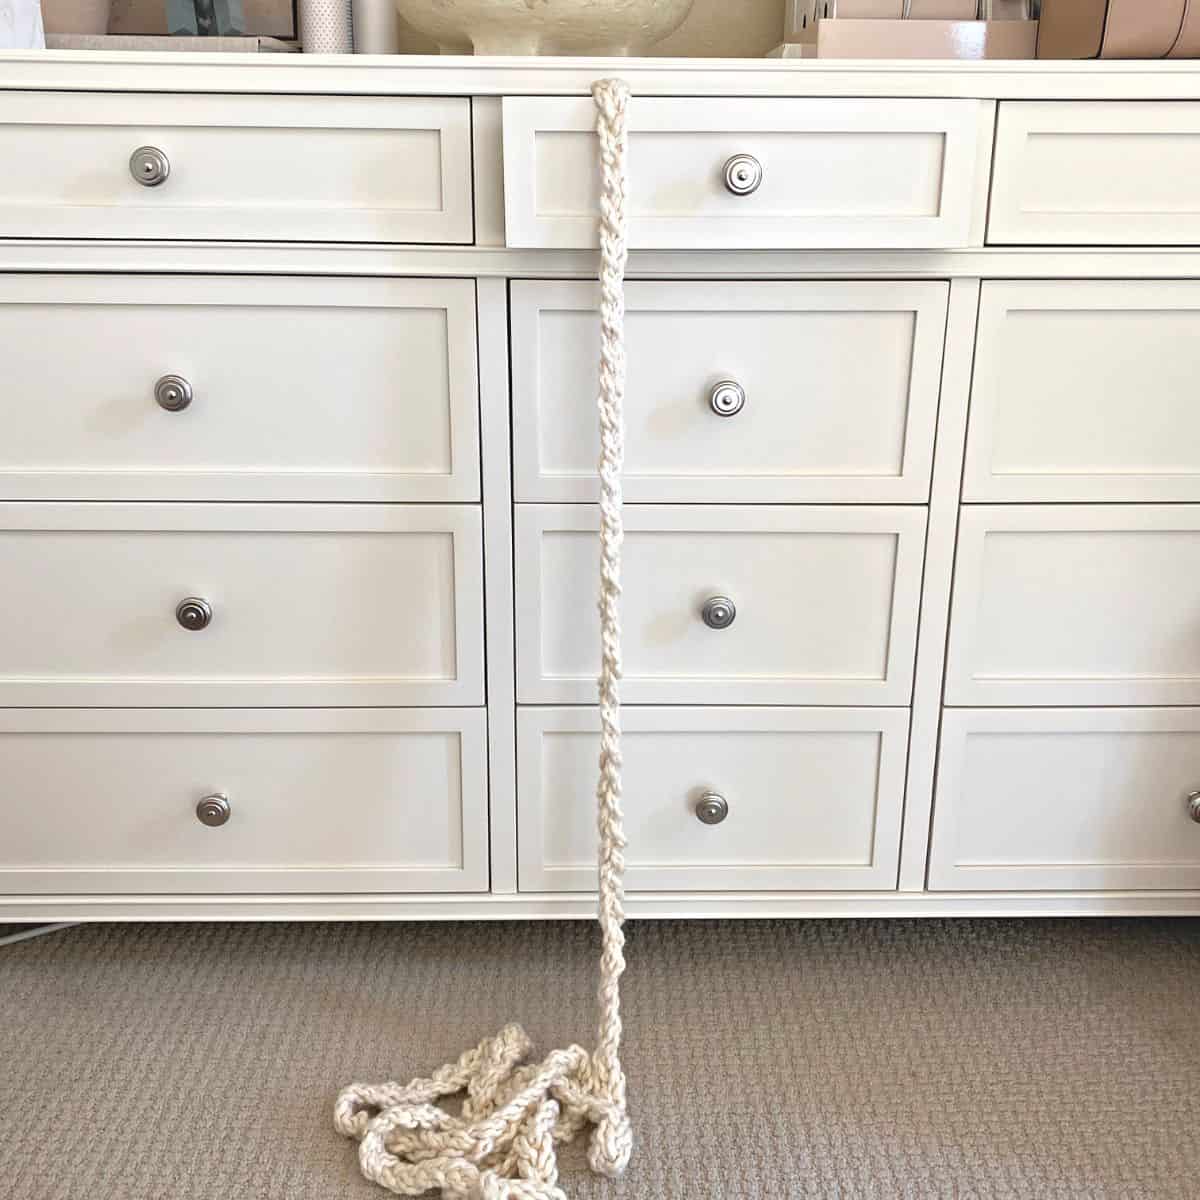
Compared to the first simple three strand braid, this garland is super chunky.

Keep in mind, you don't need to use shades of white or cream to make your garland. Traditional red would look beautiful for the holidays, while pink shines at Valentines.
Mix different colors together, such as a candy cane style garland using red and white yarn, or create a pastel colored garland for a baby's room, with baby blue, blush pink and white yarn. Also, different types and textures of yarn mixed together creates something magical. Don't be afraid to be creative.
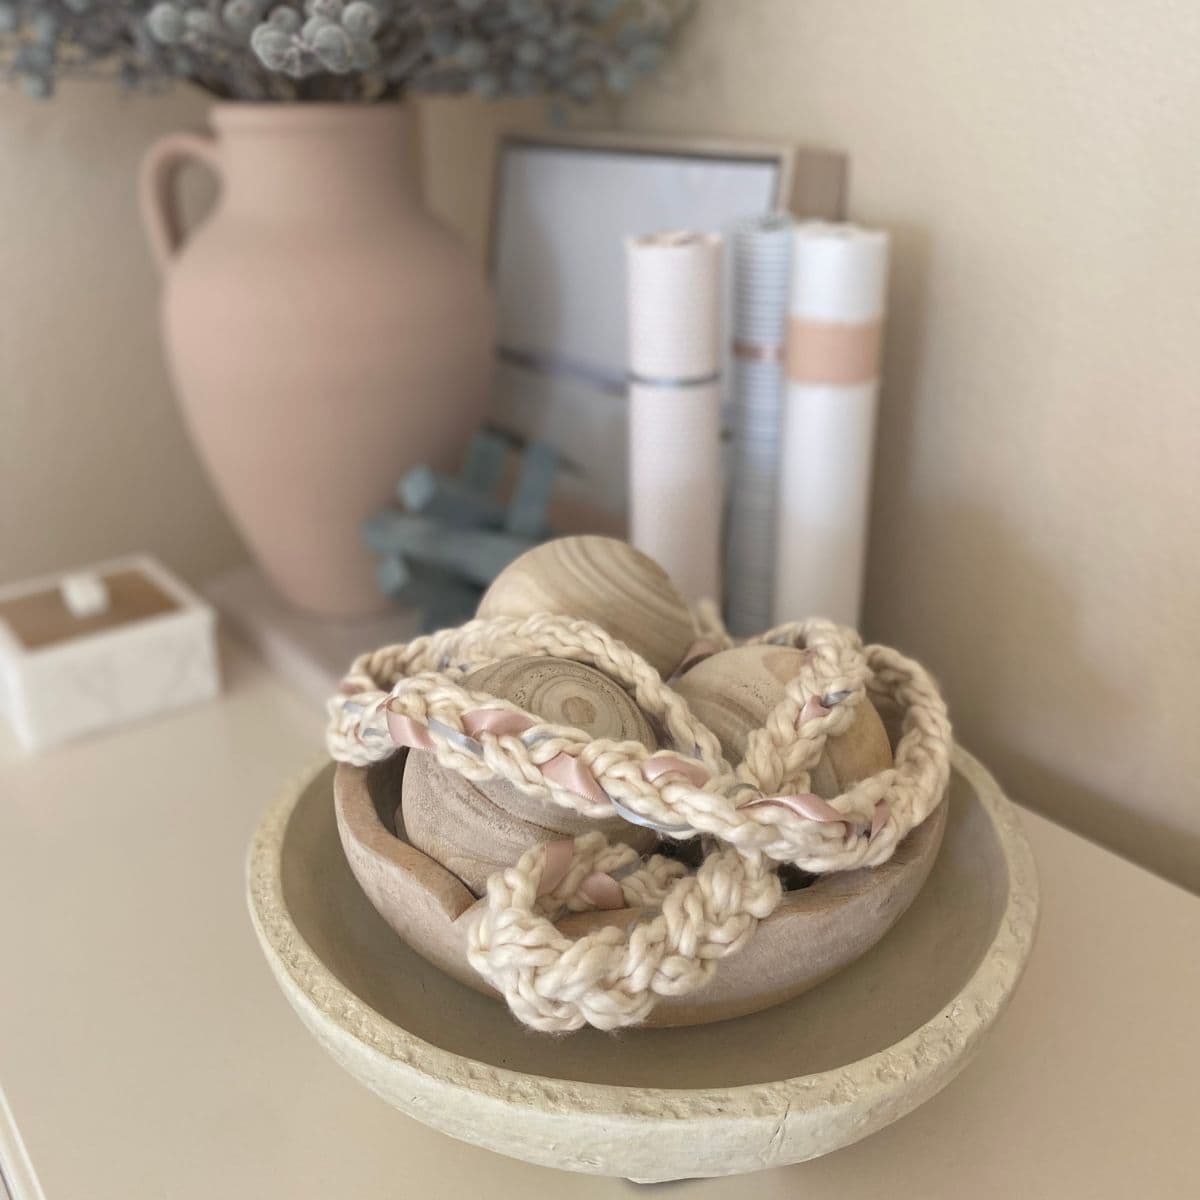
Chunky Braided Garland with Ribbon
Combining techniques of the simple three strand braid with the chunky double braid, add ribbon to make your garland this way.
You can use tonal ribbon or bring in a different color (or two or three). Even if you want tonal garland, try different sheens, textures and sizes of ribbon.
Here is a quick step-by-step on how to make chunky braided yarn garland with ribbon:
- Cut nine equal size strands of yarn. I cut each strand to 6 feet, but you can cut to whatever length you prefer. Depending on how many ribbons you want, cut the ribbon to the same size as the yarn strands. I went for pastel colors, combining one blush pink and one baby blue satin-like ribbon of different widths.
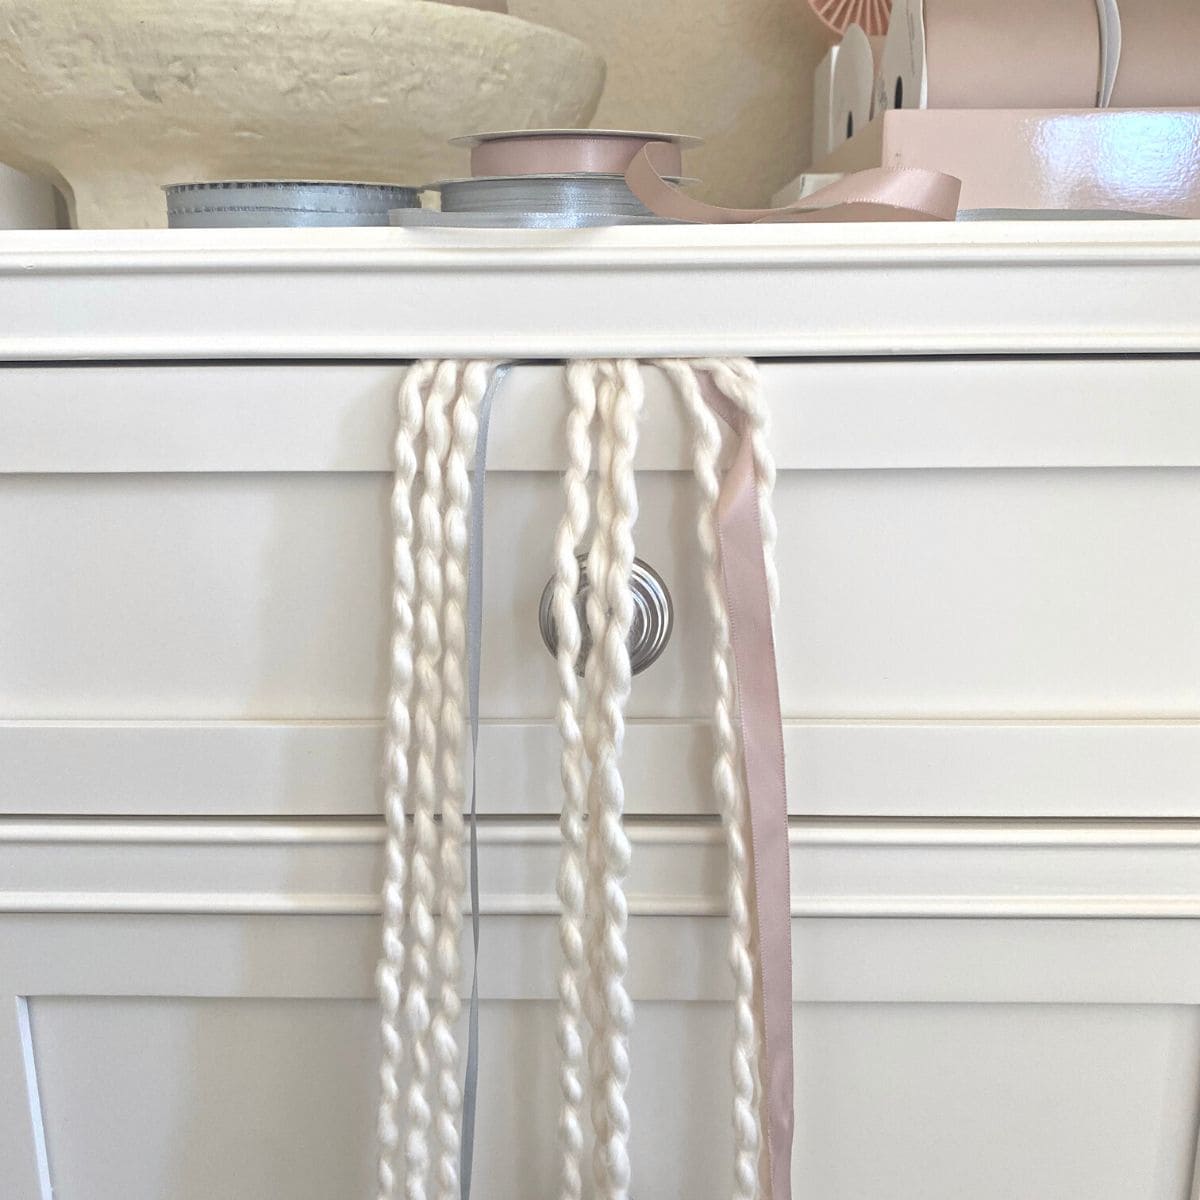
- Separate the yarn and ribbon into three sets of three. Since I used two different ribbons, I included one strand of ribbon with the outer two sets of yarn. If you use three strands of ribbon, or many strands of ribbon, distribute them evenly among the yarn.
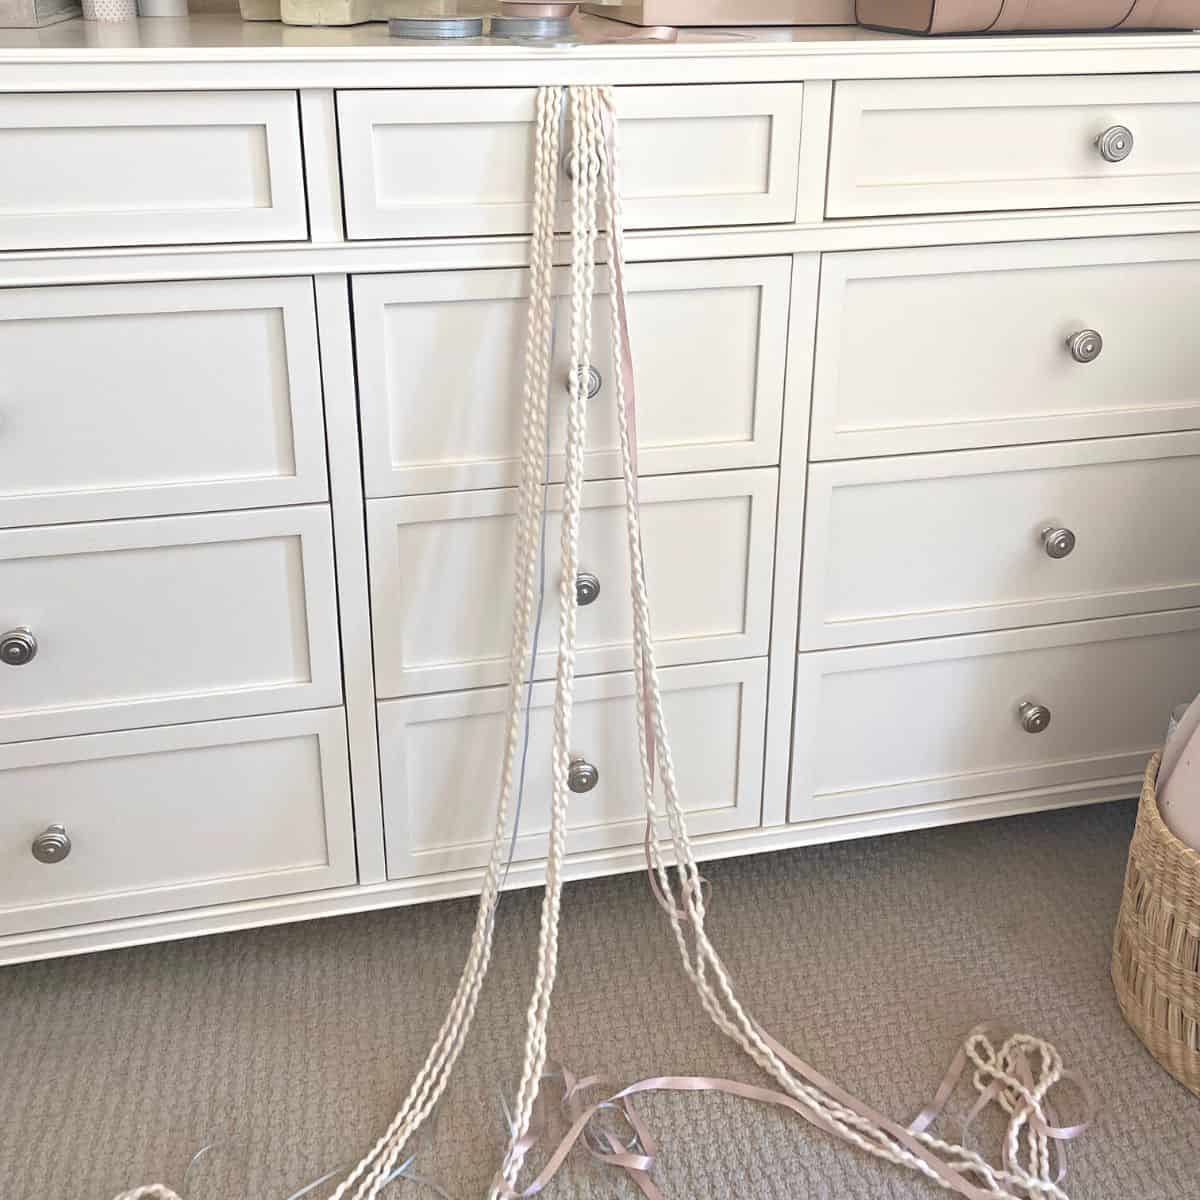
- Holding one set of yarn with ribbon, begin to make a regular braid with the other two sets to create one large braid. Trim the ends as needed.
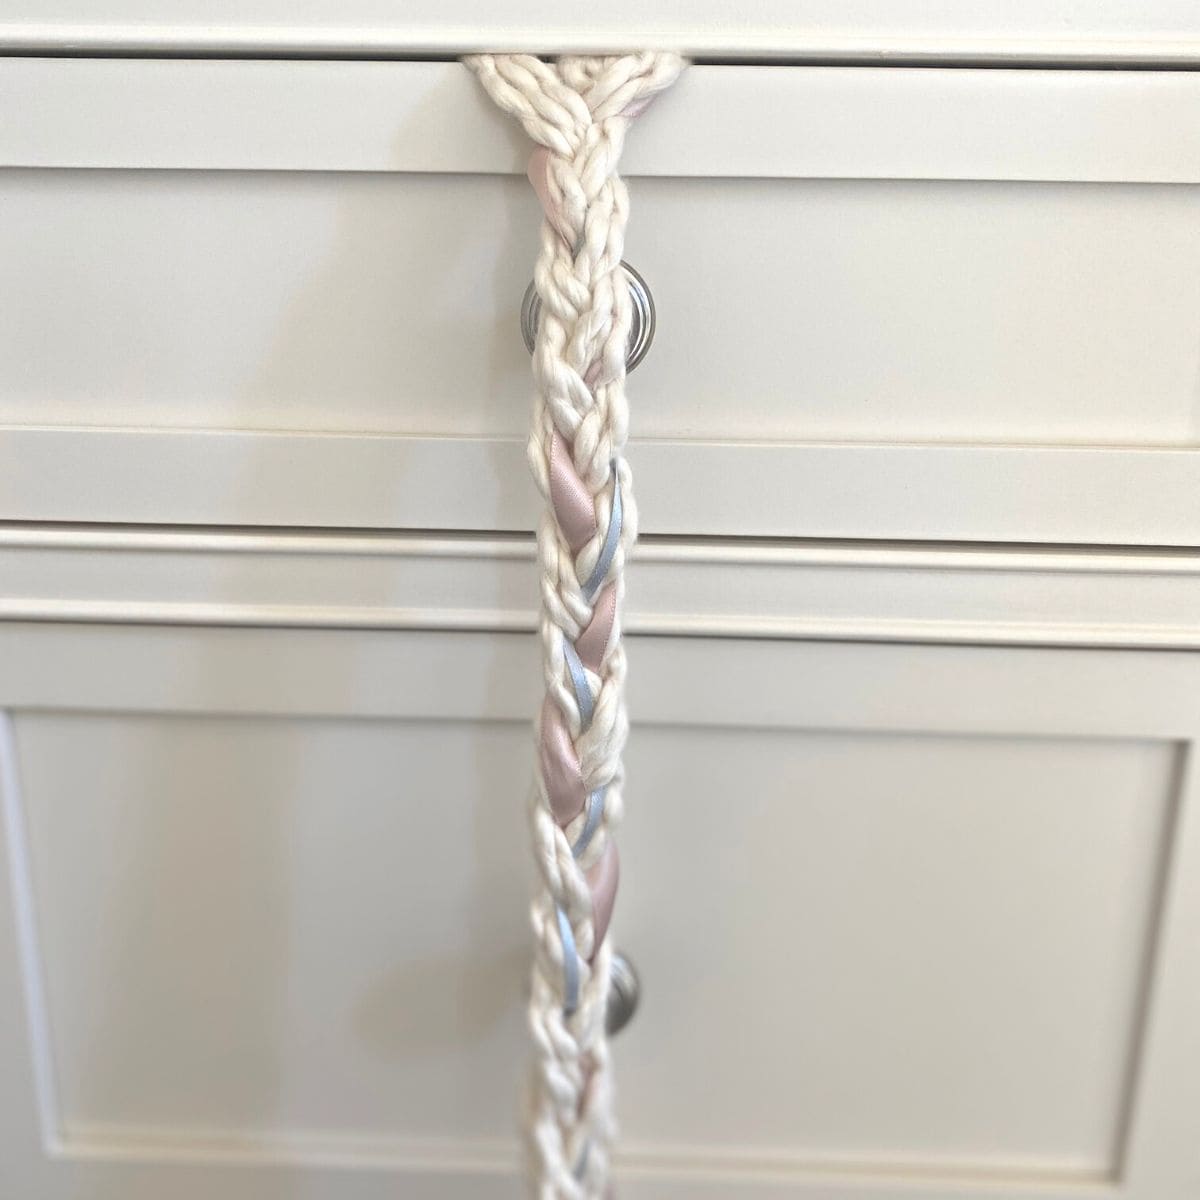
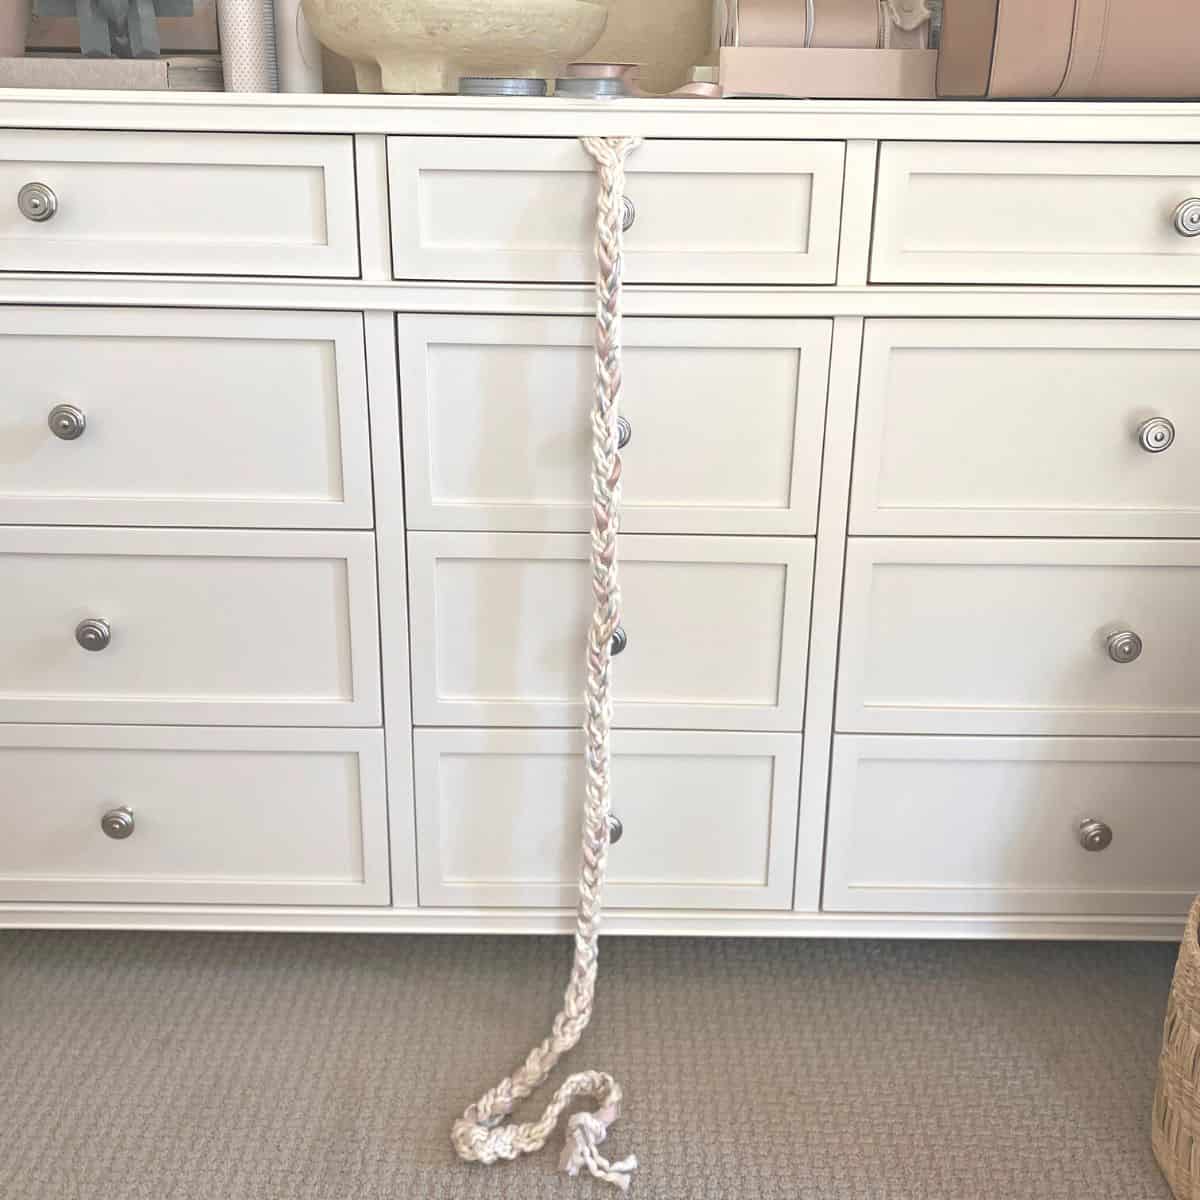
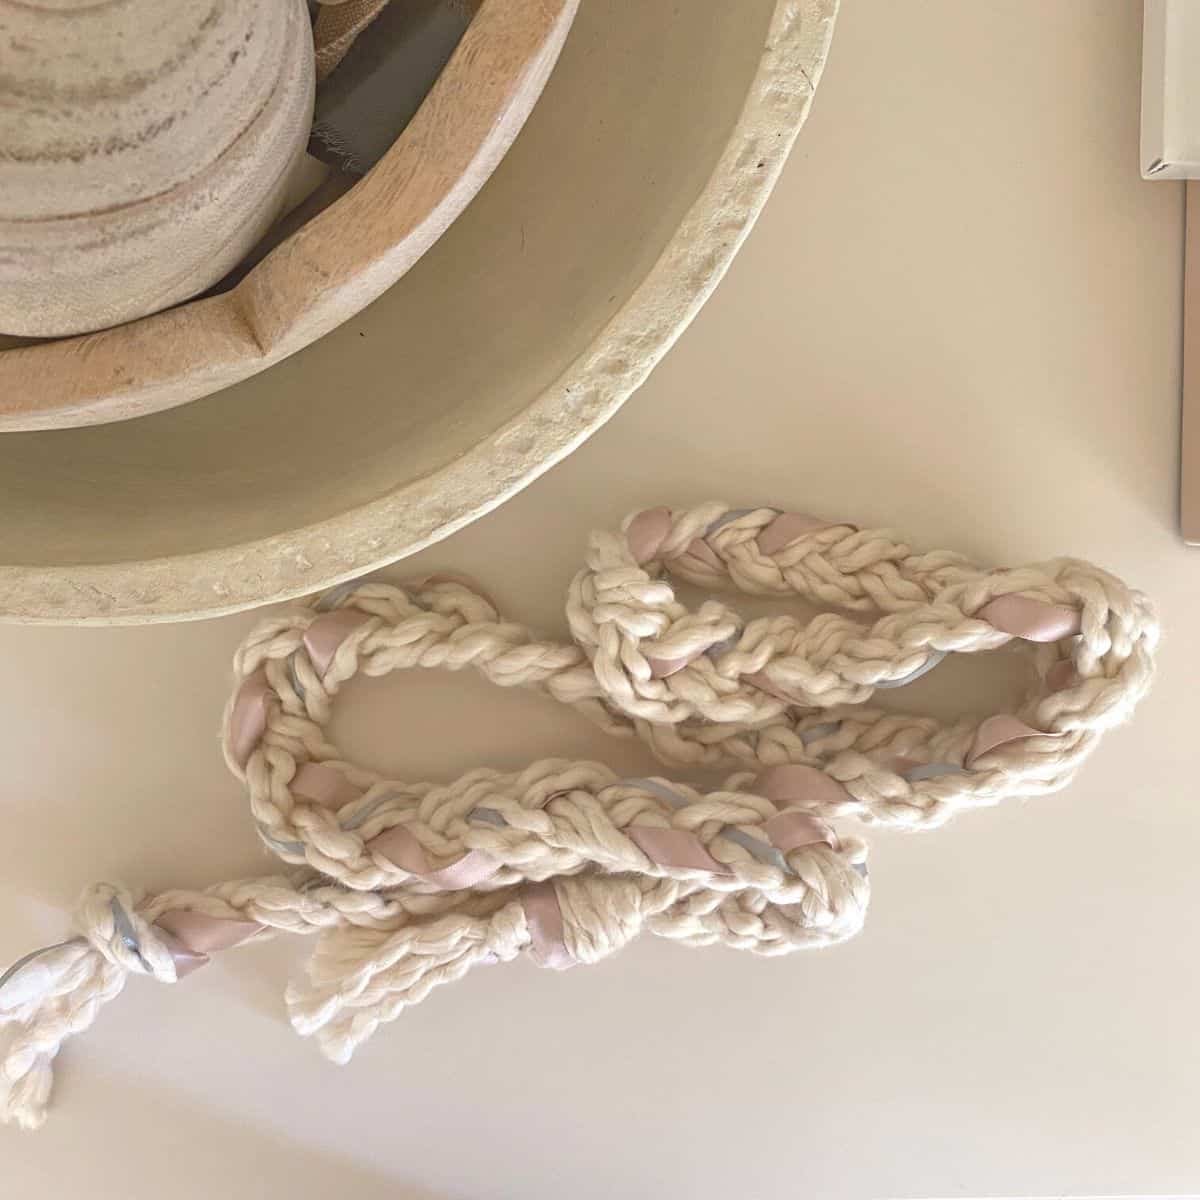
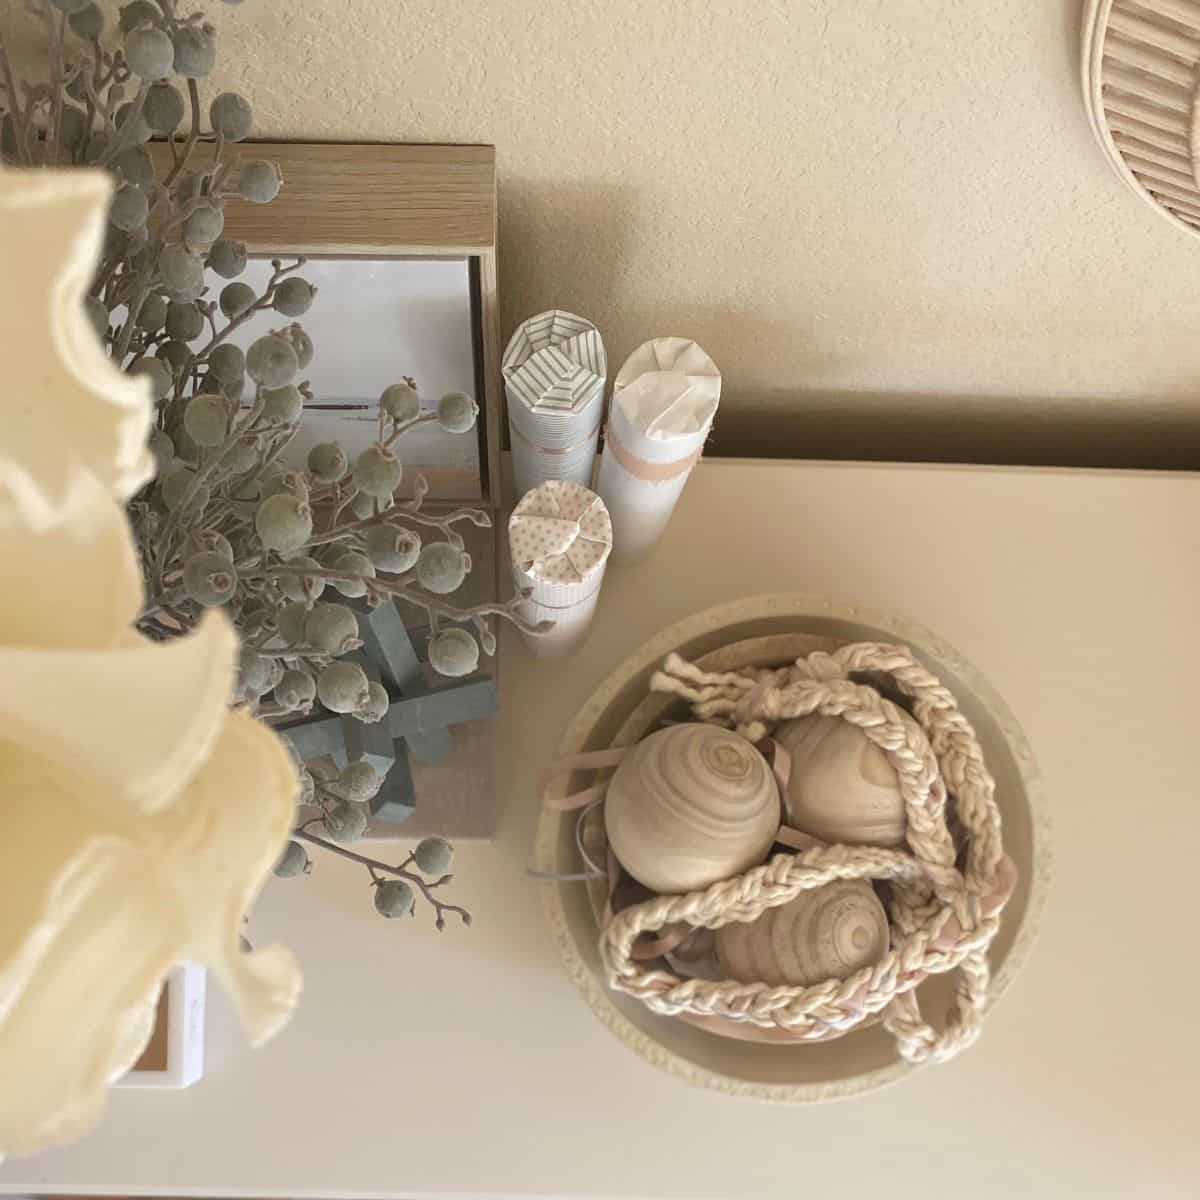
Do you just love how it turned out? Pastel colors have a calming effect which is why I'm drawn to them. In the end, do whatever makes you happy.
Hand Knotted Garland
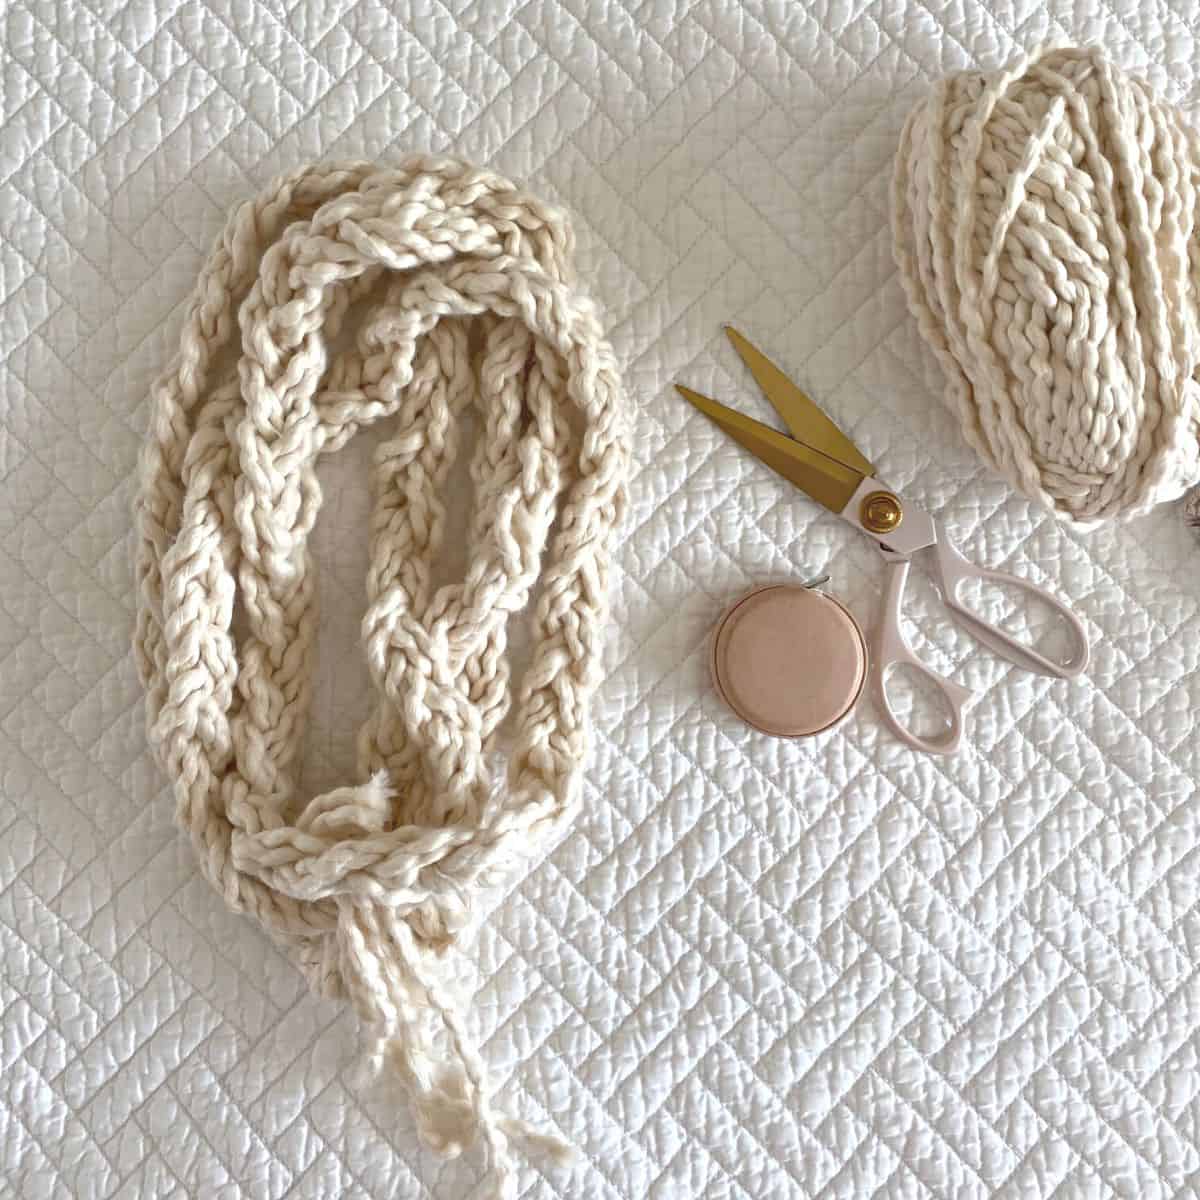
Hand knotted yarn garland reminds me of crochet, without the need to use knitting needles.
You have most likely seen the ridiculously photogenic, supremely chunky hand knotted wool blankets that went viral at least a couple times on social media over the years. Knotted yarn garland is similar, though far less popular but just as pretty.
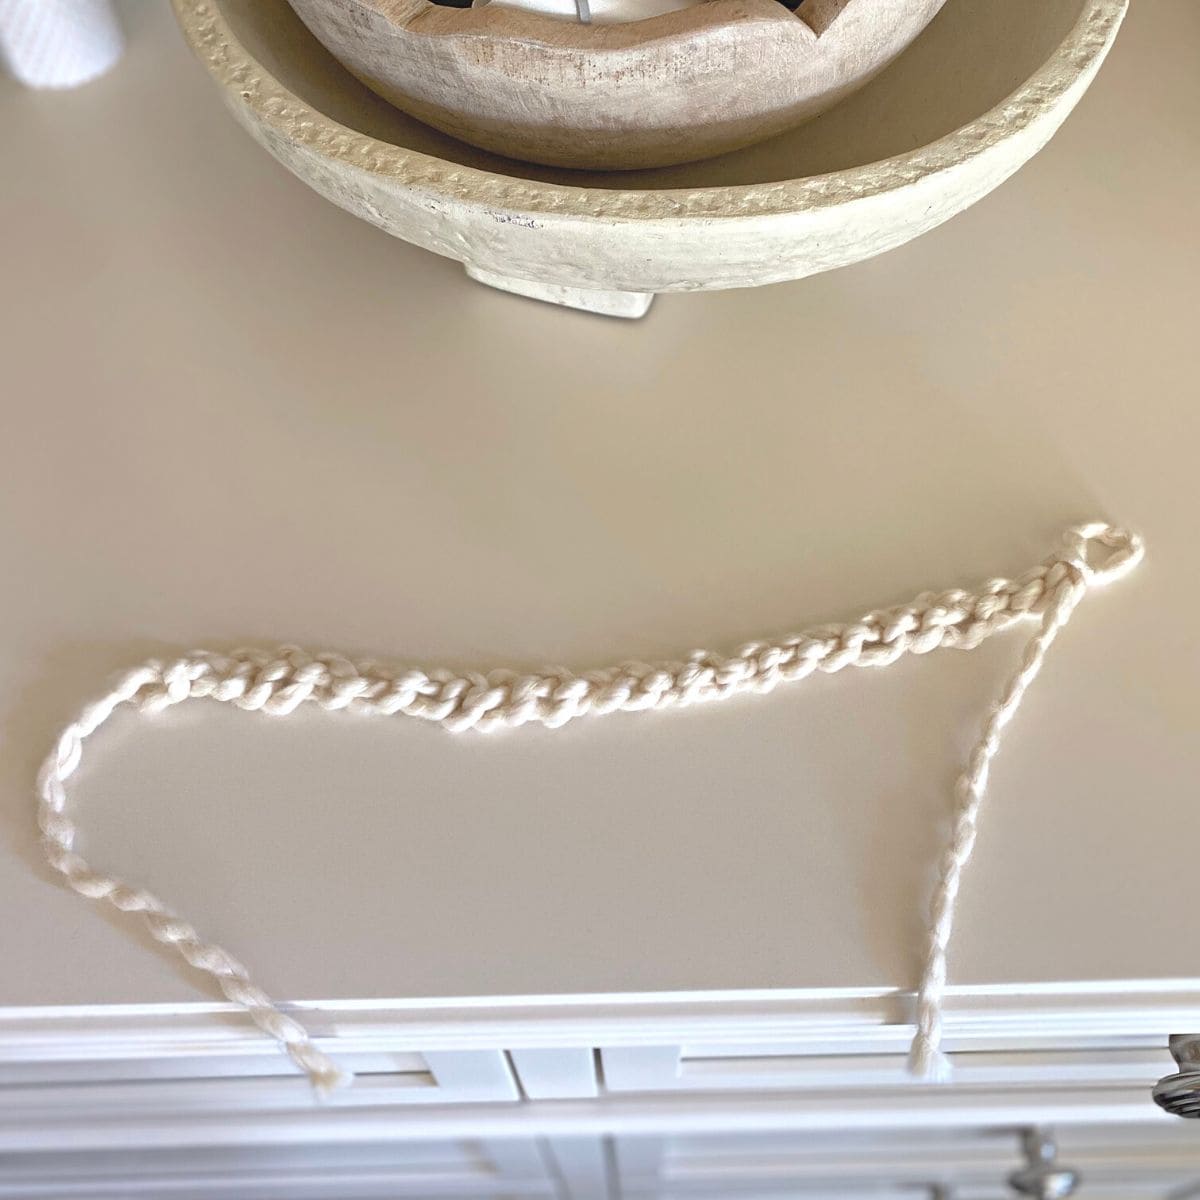
I watched a few YouTube videos and read a few blog posts to see how others accomplished this knotted look. It's almost as easy to create as a regular braid, once you get the hang of it.
Tip:
I find you have to use two to three times as much yarn to get a long garland using the knotting method. Therefore, I suggest making the garland to the length you want and then cut and tie the ends.
Here is how to create a hand knotted yarn garland:
- With one end of the yarn, make a loop, leaving a few inches intact.
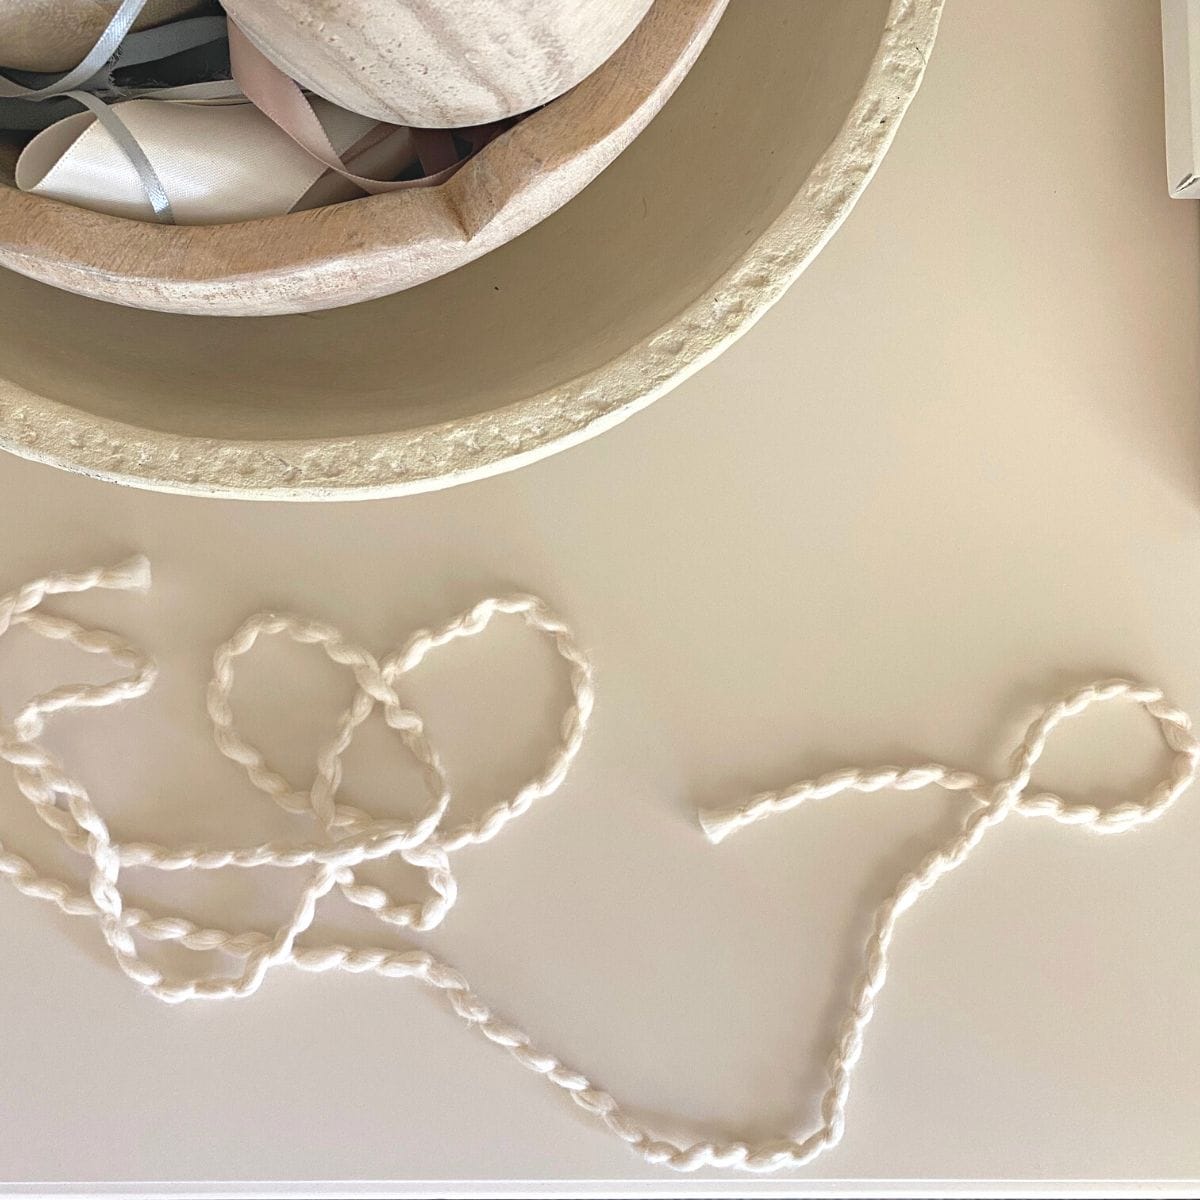
- Holding the loop, make a loop with the other end of the yarn and pull it through the first loop. Tighten it, but leave enough yarn to make another loop. Continue repeating until the desired length is achieved.
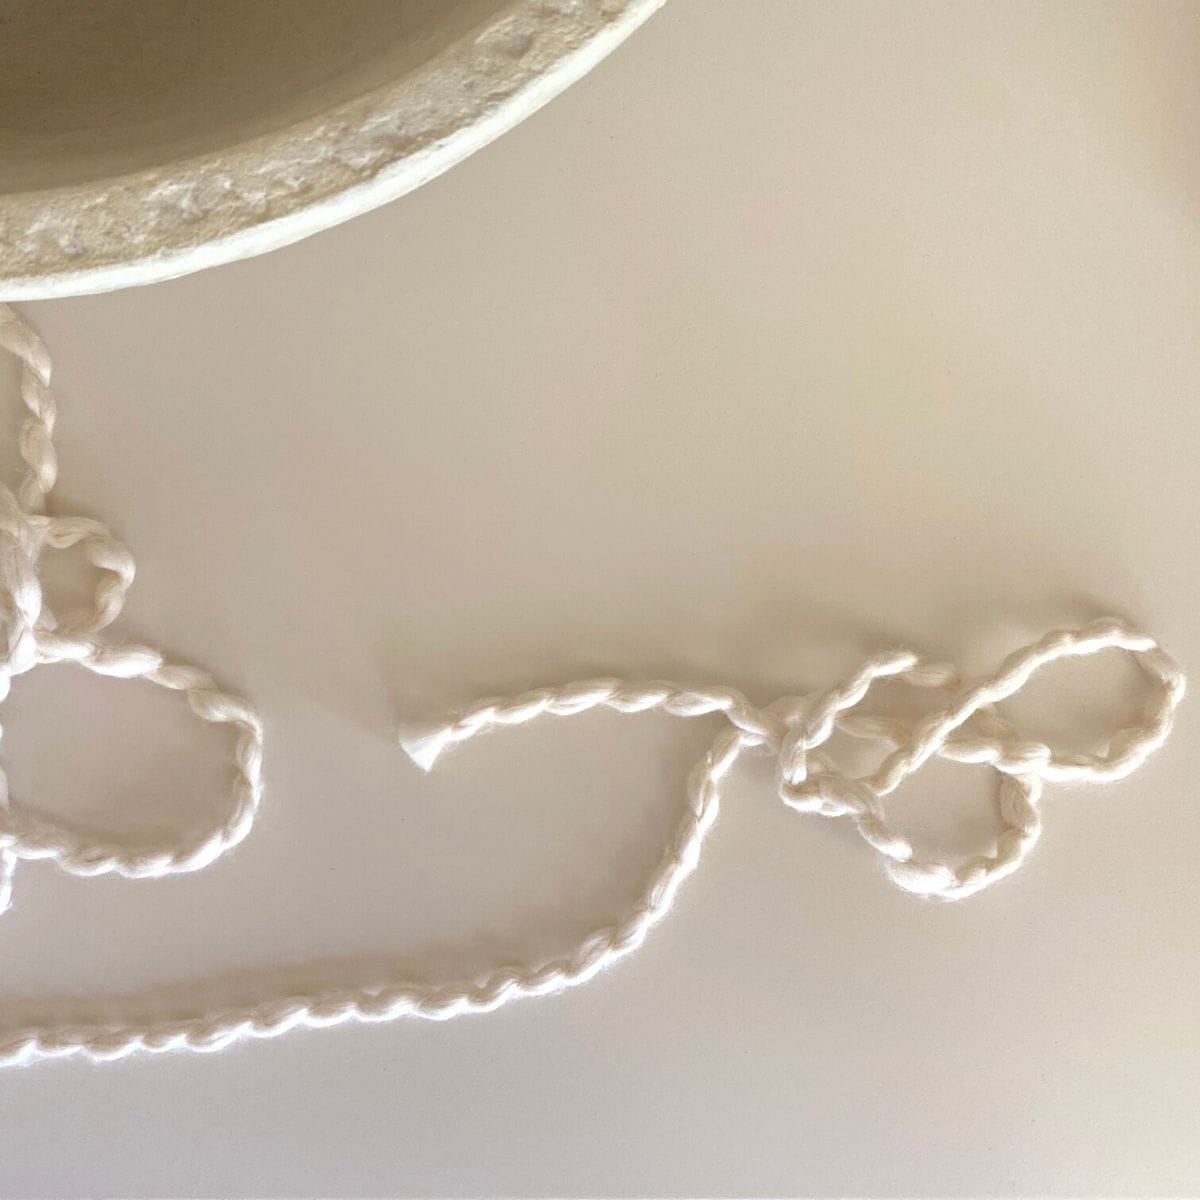
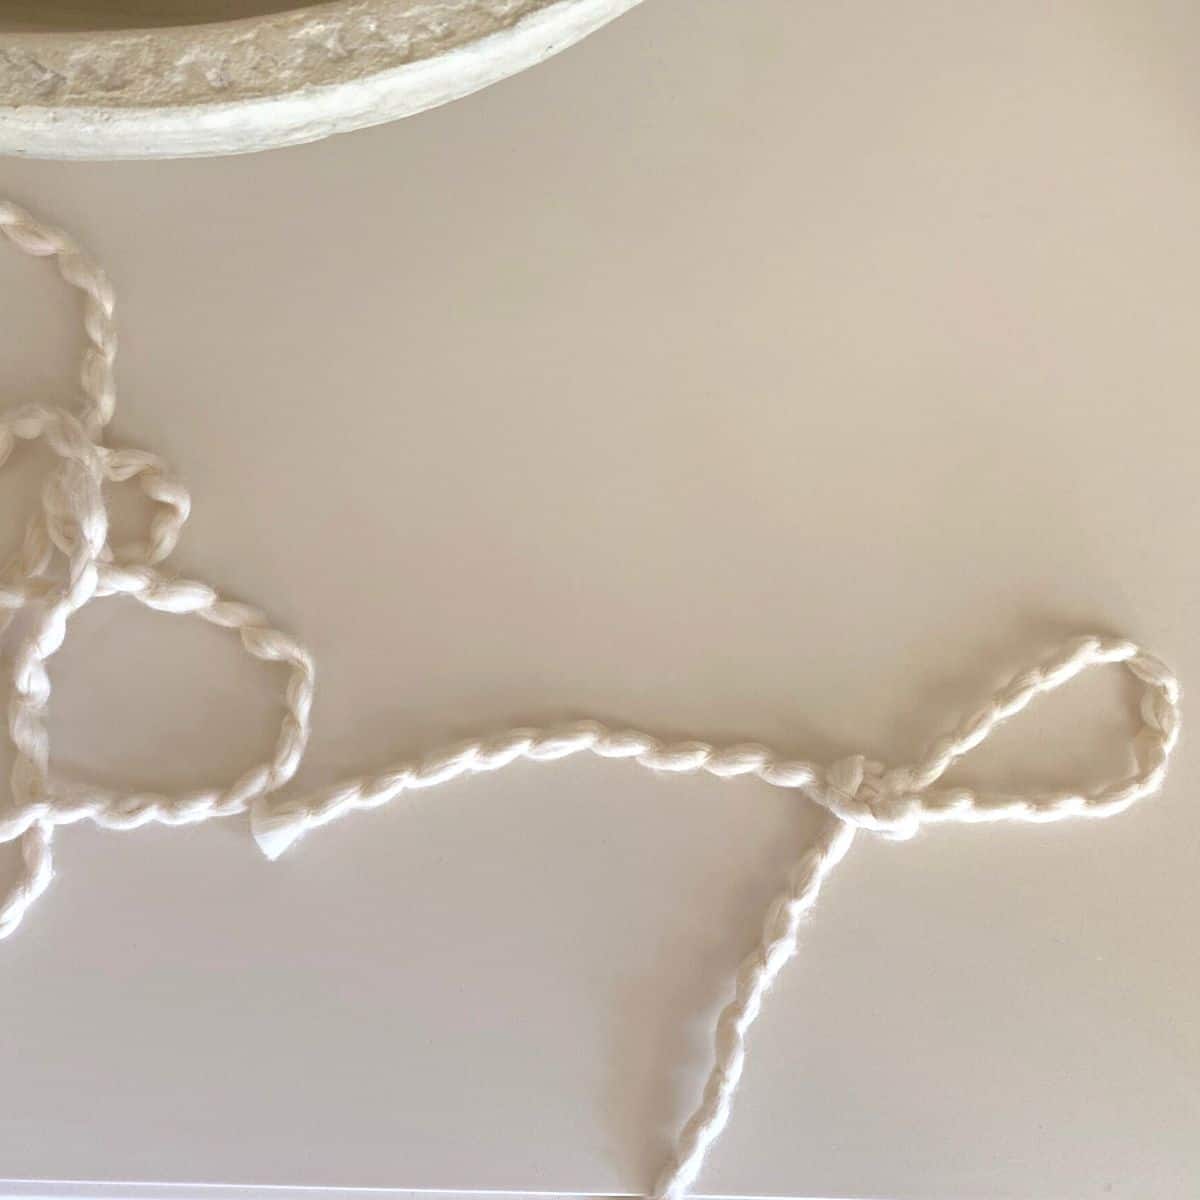
- Once it's at the desired length, make a knot at each end. Trim the ends as needed. You can also tie each end with a pretty ribbon, if you prefer.

When and Where to Decorate with Yarn Garland
When you think of garland, pictures of Christmas trees and fireplace mantels probably come to mind, for obvious reasons. Once you've made your own beautiful yarn garland, you may not want to put it away in a closet until the next holiday.
What follows are a few ideas for when and where to decorate with yarn garland year-round.
Christmas and Thanksgiving Holidays
Probably the most popular holiday to decorate with garland of any kind is the Christmas holiday season. Just thinking about it brings to mind images of being snuggled up by a cozy fireplace watching Home Alone for what seems like (and most likely is) the hundredth time.
Whether you drape garland on your Christmas tree or mantel, fuzzy yarn garland brings a sense of warmth to any room.

At the Thanksgiving holiday, nestle yarn garland among your centerpiece tablescape. Change the color palette of the yarn of fall's moodier colors, such as shades of burgundy, mauve, burnt sienna, and deep forest green.
Valentine's Day
We've all seen-and maybe even decorated with-shiny pink heart-adorned signs that say "Happy Valentine's Day" or "Be My Valentine," which are cute and befitting of the day.
To elevate your Valentine's Day decorating, consider using your homemade yarn garland. Drape it on a mantel, along a staircase with balloons or atop your kitchen cabinets.

Mix ribbon with the yarn when making the garland to match or complement the color palette of your celebration. Think blush pink, baby blue or candy apple red. Go all out with more than one color or texture of ribbon.
Birthday Parties and Celebrations
With the rise of social media, birthday parties and celebrations have taken on a storied existence, or so it seems. From a small birthday gathering with a sweet cake, friends and family to the elaborate destination-celebration, we're flooded with pictures of how others make the most of a moment.
Why not bring in a bit of whimsy? Hang your handmade yarn garland around a doorway, on a staircase or draping down a mantel. Add bobbles or fluffy bows to make it even more festive! There is no right or wrong way to decorate for such an occasion, so have fun with it.


Leave a Reply