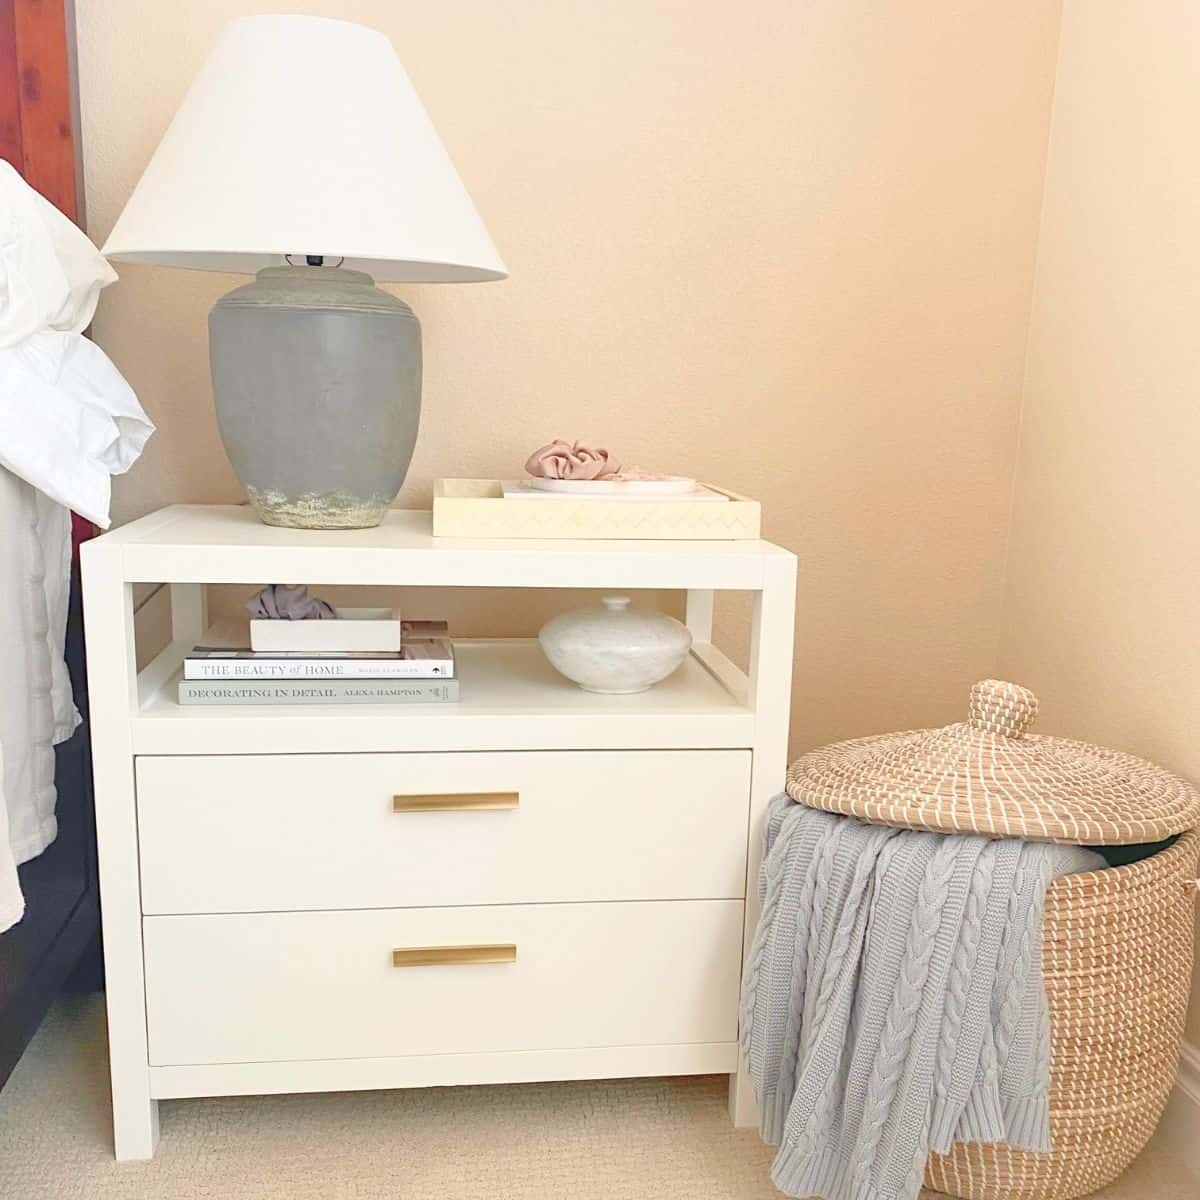
From a pale mint green to a captivating soft white, this stunning nightstand makeover may be my favorite DIY yet!
You won't believe the dramatic before and after nightstand makeover. See how a little BM White Dove paint (and sweat) turned our primary bedroom nightstands into a beautiful statement.
Grab a coffee-and maybe a paint brush-and read more about how to makeover a pair of high-quality but not-so-pretty nightstands.
The Story of the Nightstands
We have had a pair of tiny nightstands-meant for a twin bed-in our primary bedroom since we moved into our first apartment. Let's just say that was a long time ago. While they held up well, especially considering we purchased them at Target all those years ago, they were showing their wear.

The nightstands fit our small first apartment and that's all that mattered at the time. We also did not want to invest in larger, more expensive furniture to then move it around the country for who knows how many years as we grew our careers.
With two cross-country moves and a few local moves behind us, and now living in our forever home, the tiny nightstands that wouldn't quit were swallowed up in our very generously sized primary bedroom. They were too small next to our king size bed in every way. I have wanted to replace them since we moved in, but I just couldn't bring myself to buy the overly expensive nightstands I really wanted. (I confess I almost bought them on numerous occasions when they went on a rare sale.)
Criteria for the Perfect Nightstands
I am very particular when it comes to home decor and furniture. Don't let anyone tell you there is something wrong with that, because there isn't.
Scale and proportion are extremely important details to pay close attention to when selecting furniture for your home. It's the details that can greatly affect how a design comes together in the end. (Ignore the bed frame. That's a project for another day.)
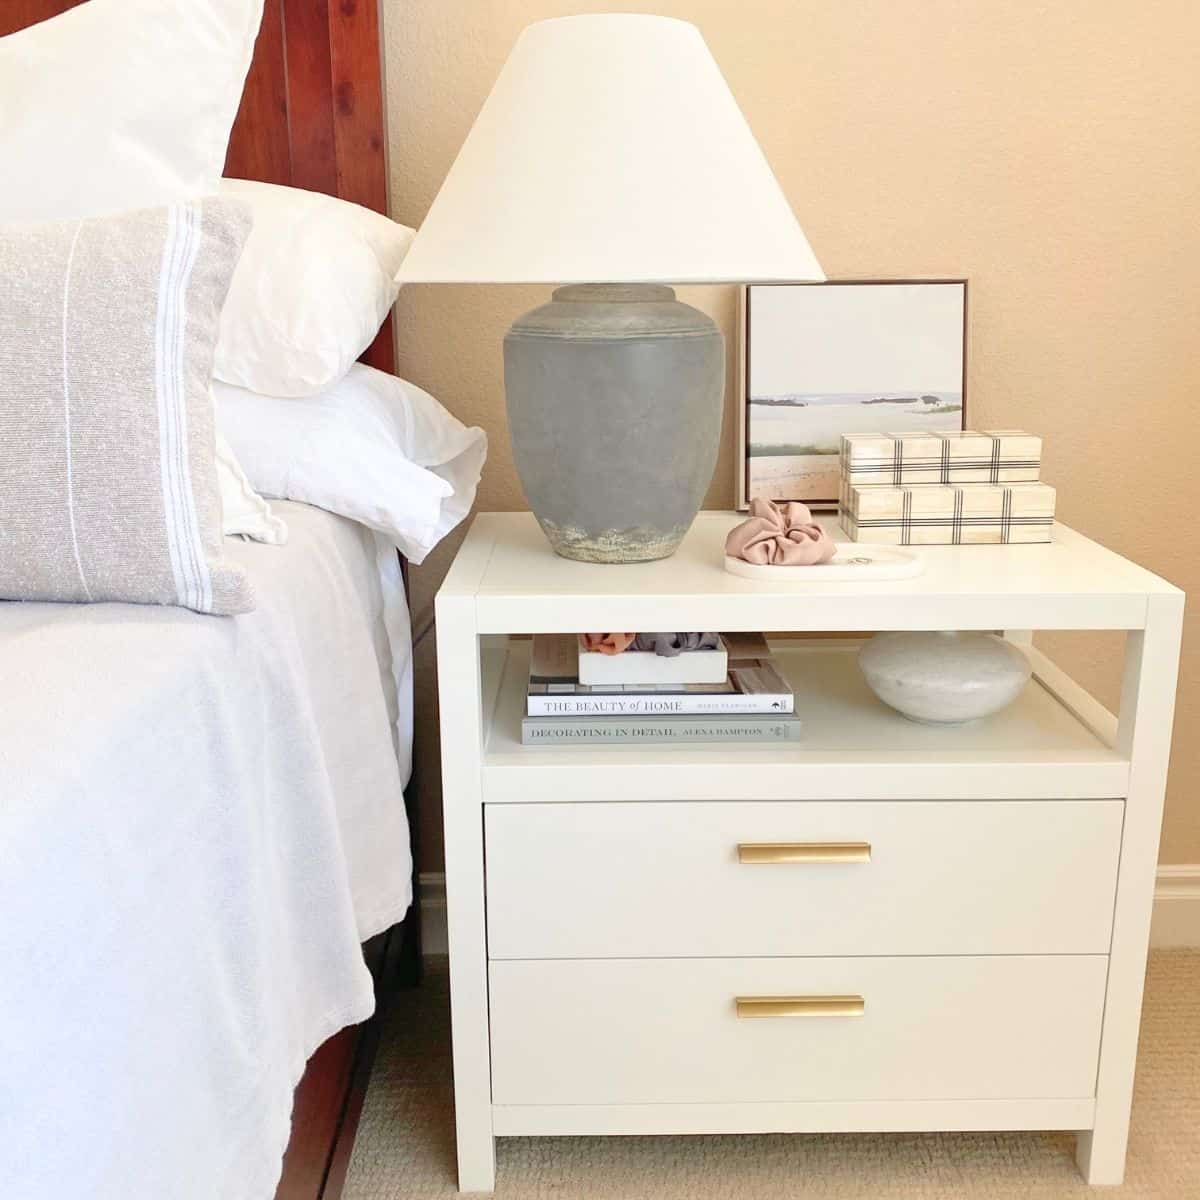
Our criteria for new nightstands was very specific, as I had spent considerable time researching what style was best for us long before buying. It's standard operating procedure as the interior design enthusiast in me.
Nightstand criteria:
- Appropriate scale-height, width and length-for beside a king size bed
- Two drawers for extra storage
- Shelf above the drawers-not at the bottom-to allow for display
- Removable hardware in case I want to swap it in the future
- Legs to give a lighter feeling to the room, instead of sitting on the floor
A few gorgeous designer brand nightstands met my criteria, but I couldn't get over the cost even if the quality was there.
Finding the Nightstands
Then it happened.
On one of my weekly trips to check out what was new at HomeGoods, I saw them.
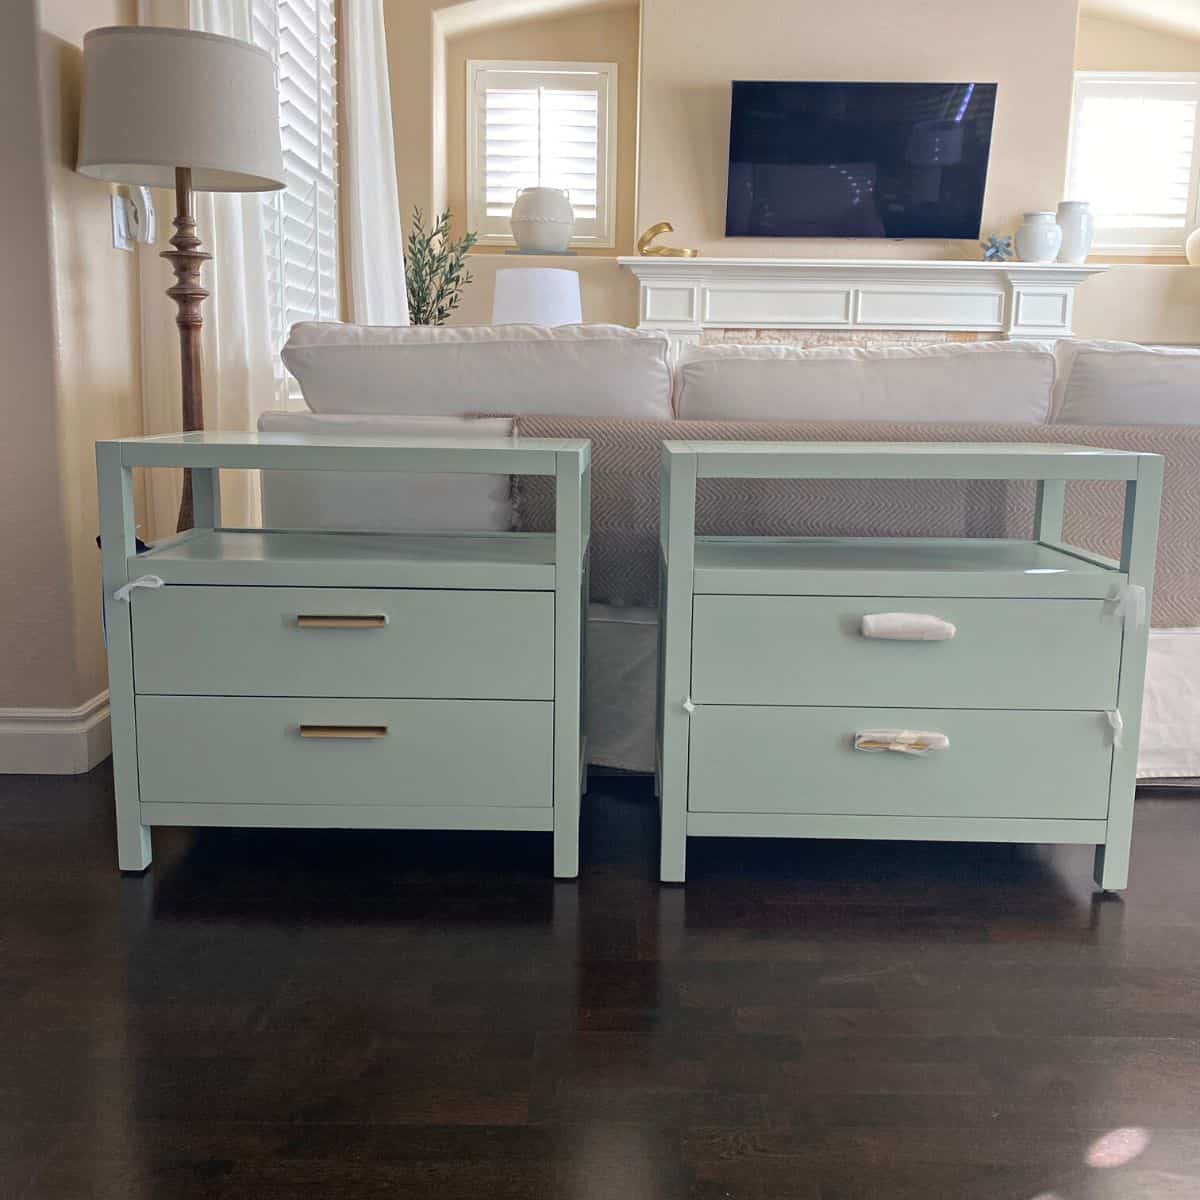
Sitting in the middle of an overly crowded aisle that really wasn't an aisle at all were a pair of large, mint green nightstands in the exact style I had been looking for.

If you shop at HomeGoods, or any of the T.J.Maxx family of stores, you know how their stock works. That is to say, if I didn't get them today, don't count on them being there tomorrow. (If you don't know about HomeGoods, T.J.Maxx and Marshalls, I can't overstate how you're missing out. I wrote about it in the Decor on a Budget post.)
They were substantial in size (30W x 28H x 18D), high-quality, mostly made of solid wood by the eponymous Nautica brand, and only $199.99 each. They also had an inset detail on the top that elevated the look.
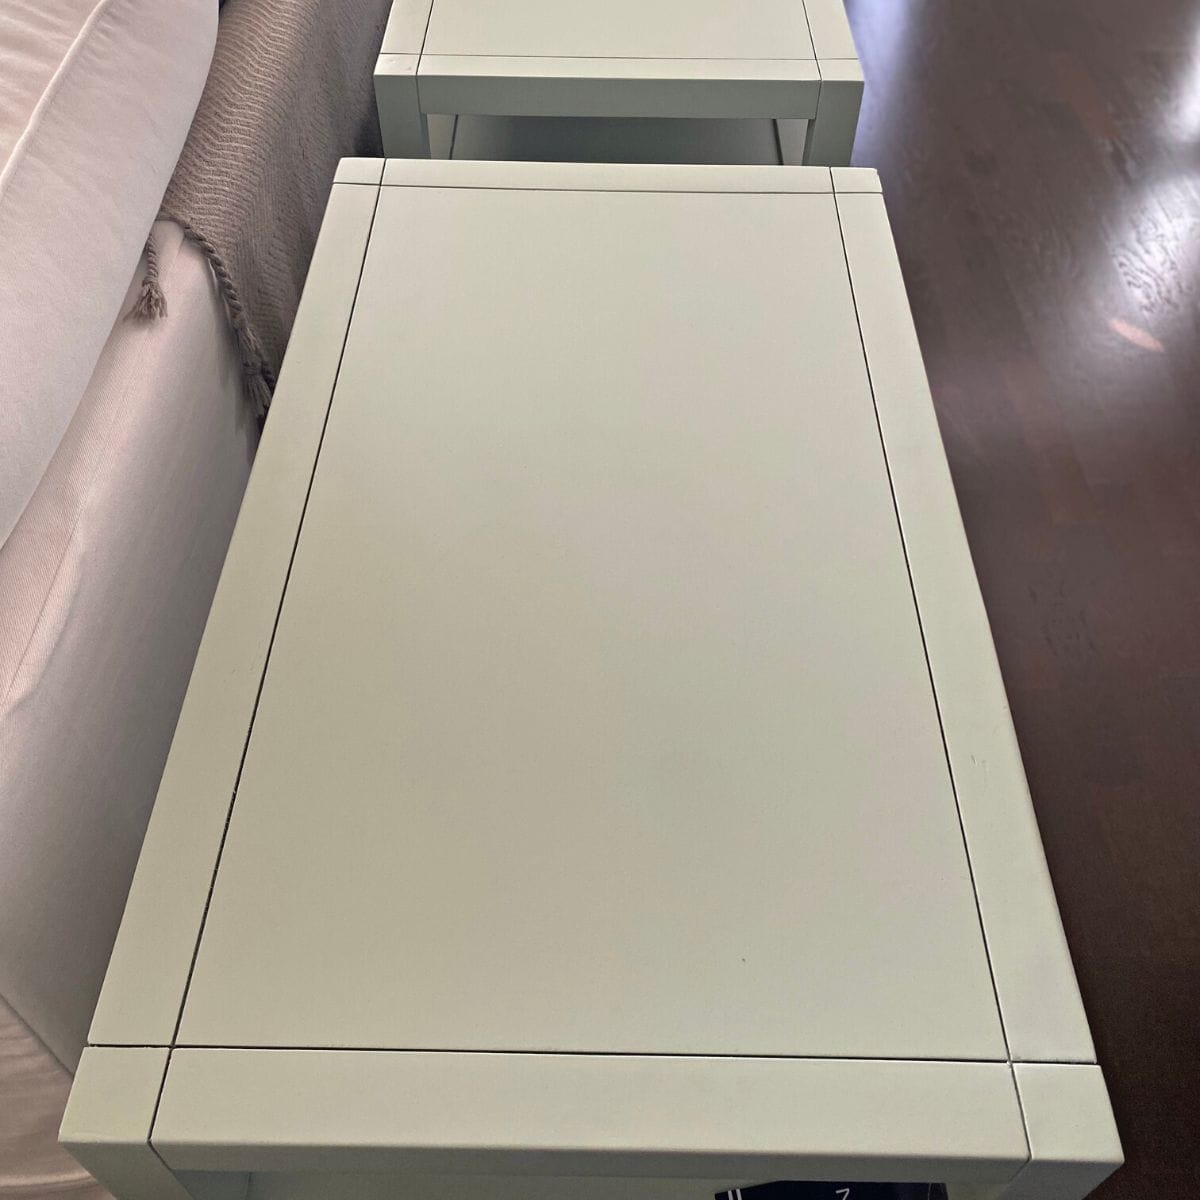
Upon a very quick inspection, I could not find anything wrong with them, save for the unfortunate color. Nevertheless, I saw the potential just a little white paint could do.


Hands shaking from excitement, I texted the hubby to see if I should get them… no answer.
To be fair, I was at HomeGoods on a weekday morning not long after they opened when most people in corporate jobs, including my husband, were working. Since my job is more flexible, it explains what is about to transpire and why I didn't wait for him to respond.
What felt like an eternity awaiting a reply was merely minutes-seconds maybe-until I scooped them up, adding them to my cart. (Not really, because they're large furniture pieces, but you get the point.)
Nightstand Makeover Process
After getting the nightstands home, it was time to look at paint selections.
I already knew I would use a shade of white by Benjamin Moore (BM for short). The question was, out of the hundreds of white paints BM carries, which white should I choose?
Some time ago, I ordered a few BM paint sample sheets from Samplize. (No, this is not sponsored and I'm not affiliated, though I would love to be. Hi, Samplize!). I love their product, because I can move it anywhere, anytime, it's reusable, and there is no mess, unlike liquid paint samples. They use two coats of real paint on their samples.

For a soft, warm white, I chose between-from left to right in the photo above-Swiss Coffee (OC-45), White Dove (OC-17) and Simply White (OC-117), all timeless white paints. Though, Swiss Coffee is technically categorized in the BM off-white collection.
Ultimately, I went with classic BM White Dove and I am in love with how it turned out!
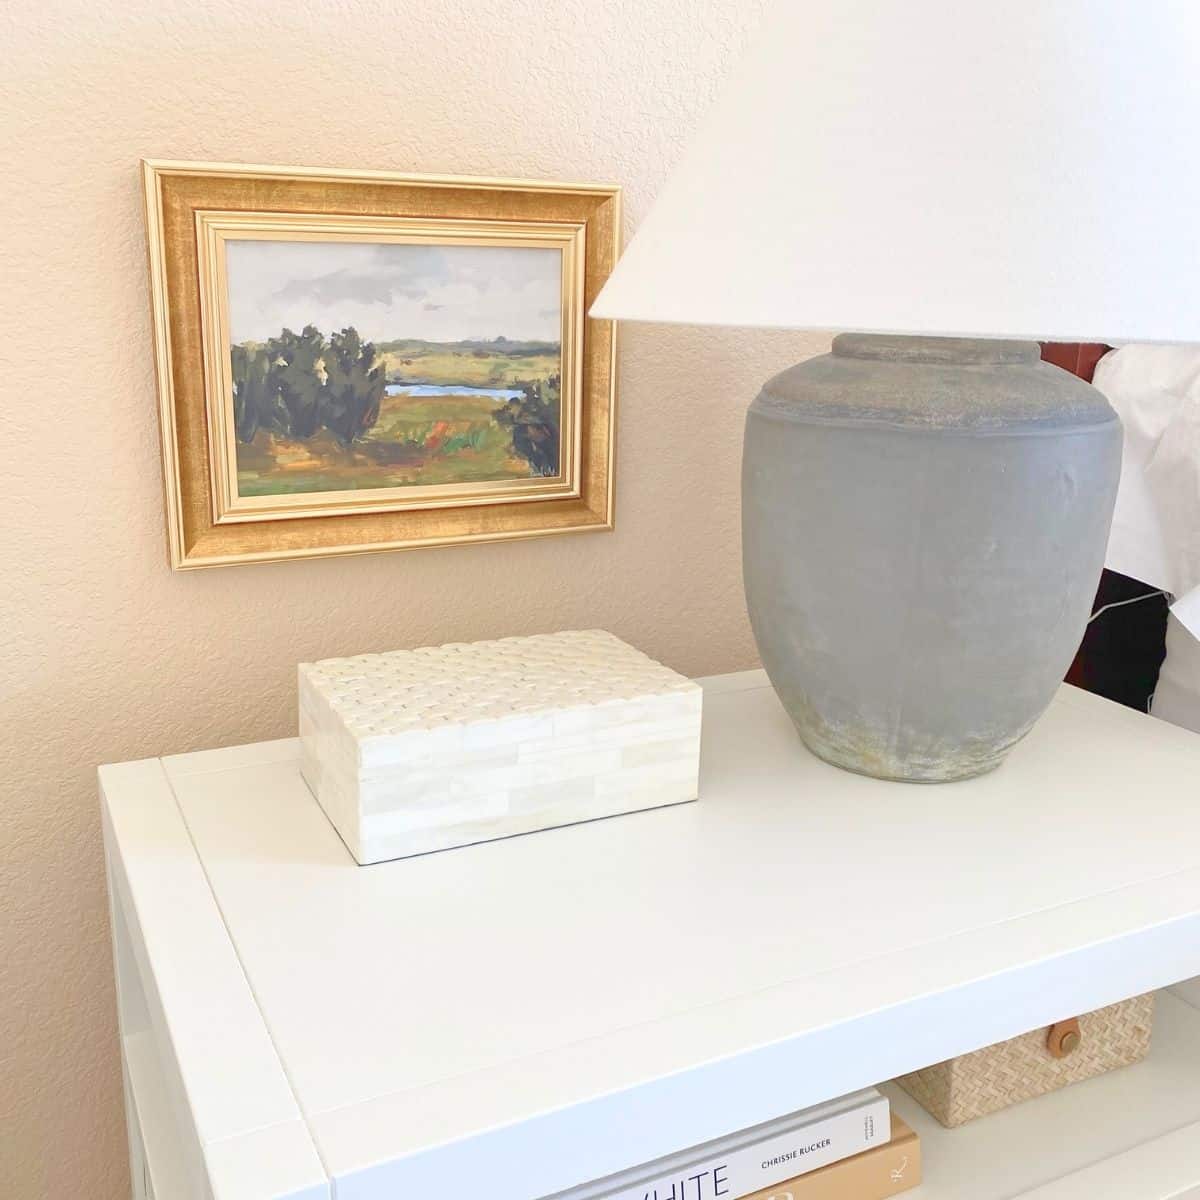
Painting Wood Furniture Benjamin Moore White Dove
Painting wood furniture is a different process than other materials.
Also, this is not a full how-to because I'm a beginner on repainting furniture as well as DIY projects in general. When I need tips, I head to the Internet or YouTube or experts to get questions answered.
To makeover new painted wood nightstands is not an overly complicated process. Most of the time is spent waiting between coats of paint. You can easily take a not-so-pretty pair of nightstands and give them a quick makeover in less than a week.

A local paint supply store I purchased the Benjamin Moore White Dove paint from was very helpful with my questions. They recommended Benjamin Moore Advance Paint in a Satin finish, which is typically used on wood surfaces, such as cabinetry.

Advance has a proprietary self-leveling technology that is supposed to reduce drip marks, which makes the paint a great choice for novice painters.
Keep in mind, the time between coats for this paint is 16-24 hours. Dry time is shorter, but 16 hours is an atypically long time to wait between coats. It has something to do with the self-leveling property of the paint.

While I don't know everything there is to know about paint, I knew satin sheen/finish was what I needed for this project, since it's easier to clean without being too glossy. Satin is most commonly used on kitchen cabinetry and trim.
This is a quick rundown of what I did to makeover nightstands:
- After a very light sanding with 220 grit sandpaper, we sprayed one coat of paint. And waited about 24 hours.
- The first coat was too thin and extremely inconsistent-our fault, not the paint. I lightly sanded again, used a brush to paint underneath the shelf and other hard to reach areas, rolled a second coat this time, and waited 24 hours.
- Not happy with the coverage, I followed the same process in step two: brush painted hard to reach areas and rolled one more coat. Third time's a charm!
If you get proper coverage on the first coat, you should only need two coats total. There is a story in there about what went wrong with the first coat we sprayed that I may tell one day.
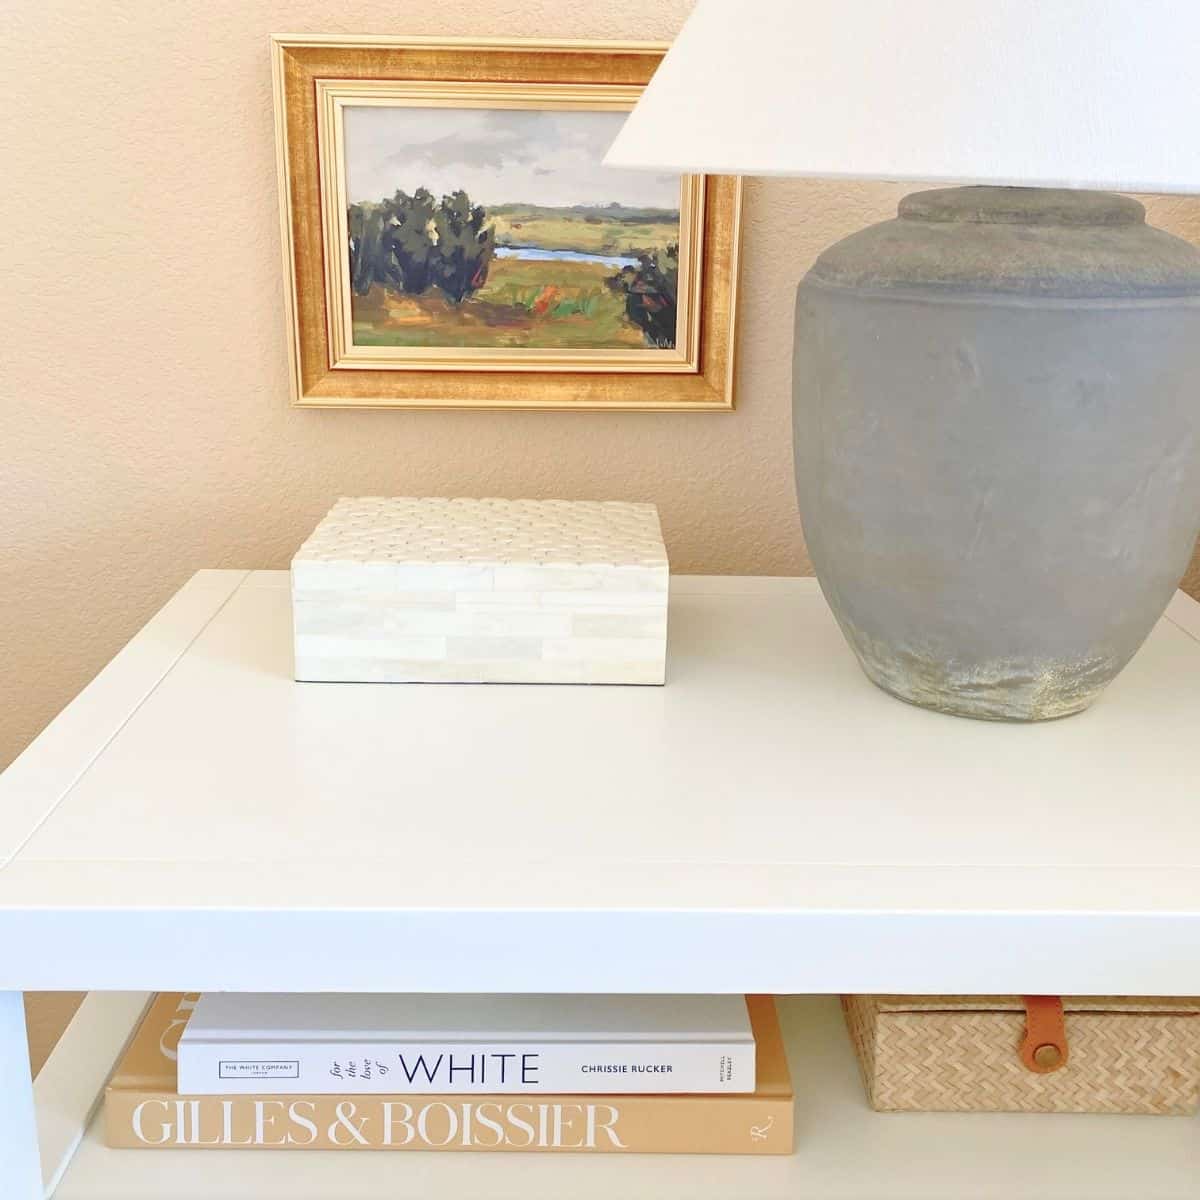
I'm on the fence about whether I like the Advance paint or not. I will probably try a different type of paint in their line next time to compare.
Nightstand Makeover Before and After
Before, the nightstands just needed a fresh coat of white paint, turning the once pale mint green into an inviting warm white.


Can you love a paint color? I do! I truly believe Benjamin Moore White Dove is the softest, warm white there ever was.

My favorite aspect is the shelf I so desperately wanted. It's just as fun to style as I thought it would be! When it comes to styling, I like to move decor around our house, creating new vignettes. I do this all the time for console table styling.
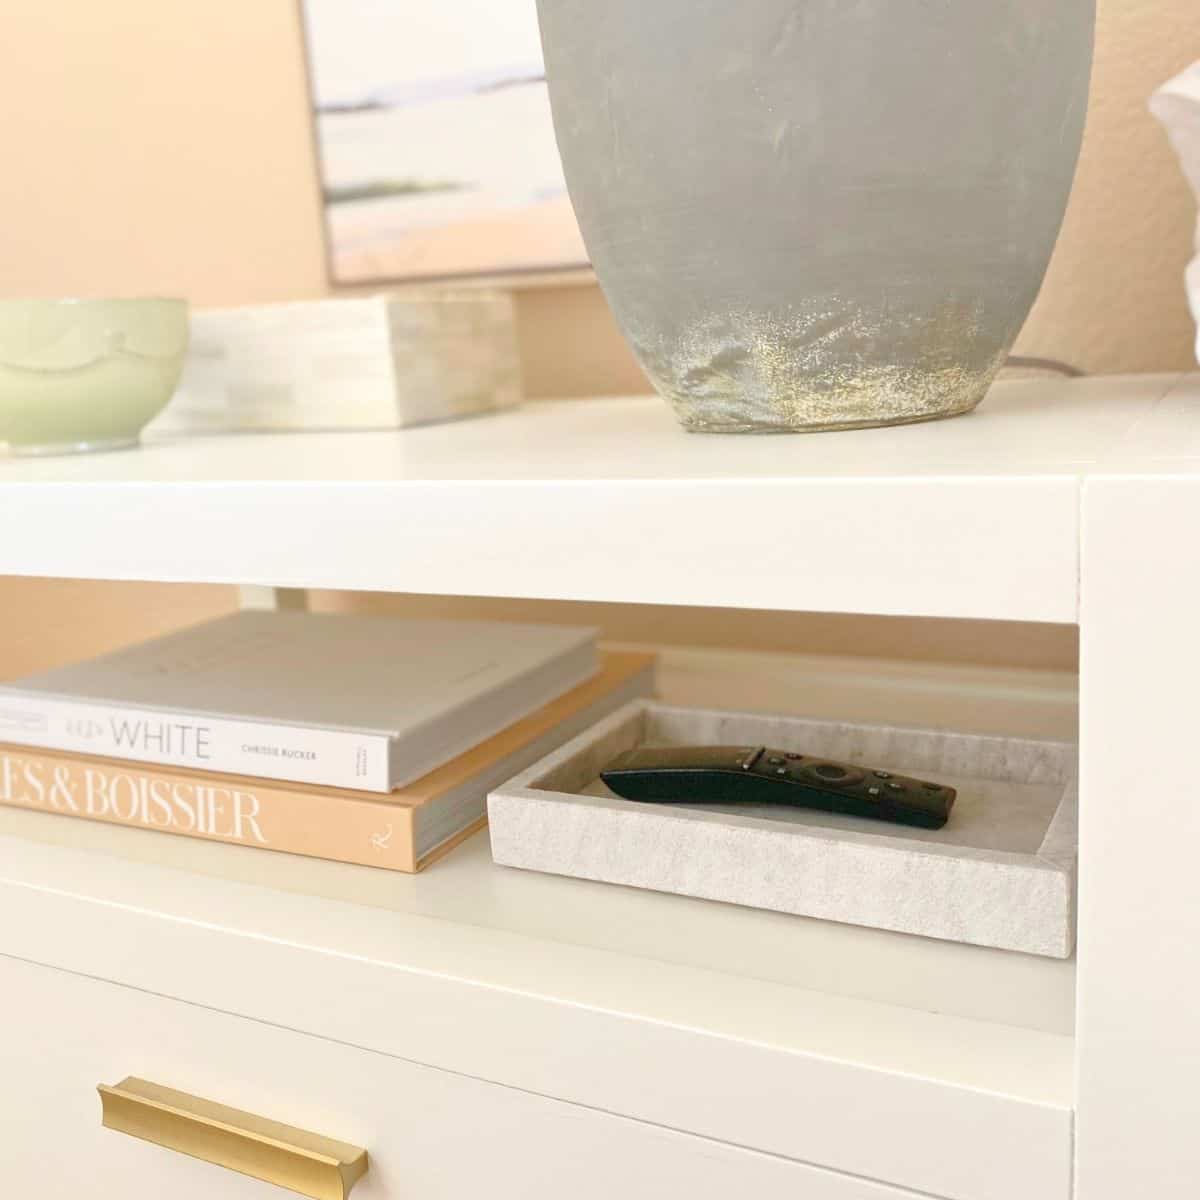

I imagine styling the nightstands at the holidays. You'll have to stay tuned for more posts to come featuring these stunning nightstands!

Deb Zimmerman says
Hi Tiffany,
Your mom shared your blog with my husband Rick yesterday on a phone call ( she worked with Rick). This was the first article I looked at on your blog and love it! I also enjoy refinishing furniture and love BM paint and have used Advance on nearly all my projects. I also used white dove throughout our many living room when we built our house. Used it on all the windows and doors. I also can not bring myself to spend the big bucks on some furniture pieces when I know I can restore something better. Enjoy your writing style very much and will continue to read on😊
Tiffany Aasted says
Hi Deb,
I am so glad you found your way here and that you enjoyed the blog post! I also LOVE BM paint, as I'm sure you can tell. Thanks for reading along!