
There are a few key details to know how to wrap presents well. Beyond having the right tools and materials, it all comes down to a few simple tips to measuring correctly.
By following my quick guide on how to wrap presents, you'll be wrapping gifts like a pro in no time, while impressing friends and family with your skills.
If you want to learn the ins and outs of how to wrap a gift, check out this easy to follow guide.
I learned how to wrap a gift during my time spent working in retail while attending university. I managed the customer service counter at a very busy boutique kitchen and home decor store shop in Boulder.
At the holidays in particular, the shop was bustling with activity. We offered gift wrapping services to put that extra special touch on the truly lovely items we sold.
In the training session, we learned how to wrap a gift using only three pieces of tape. (It actually may have been one piece of tape, but that just doesn't work for me.)
This guide on how to wrap presents uses minimal tape. Mostly, it focuses on learning how to properly measure the amount of paper you'll need to reduce wasting that gorgeous paper.
Supplies You Need to Wrap Presents
Wrapping gifts all starts with the supplies you need. First, start with a flat surface. I also suggest putting some music on or having the TV on in the background. For me, background music (or a holiday movie) helps spark my creativity.
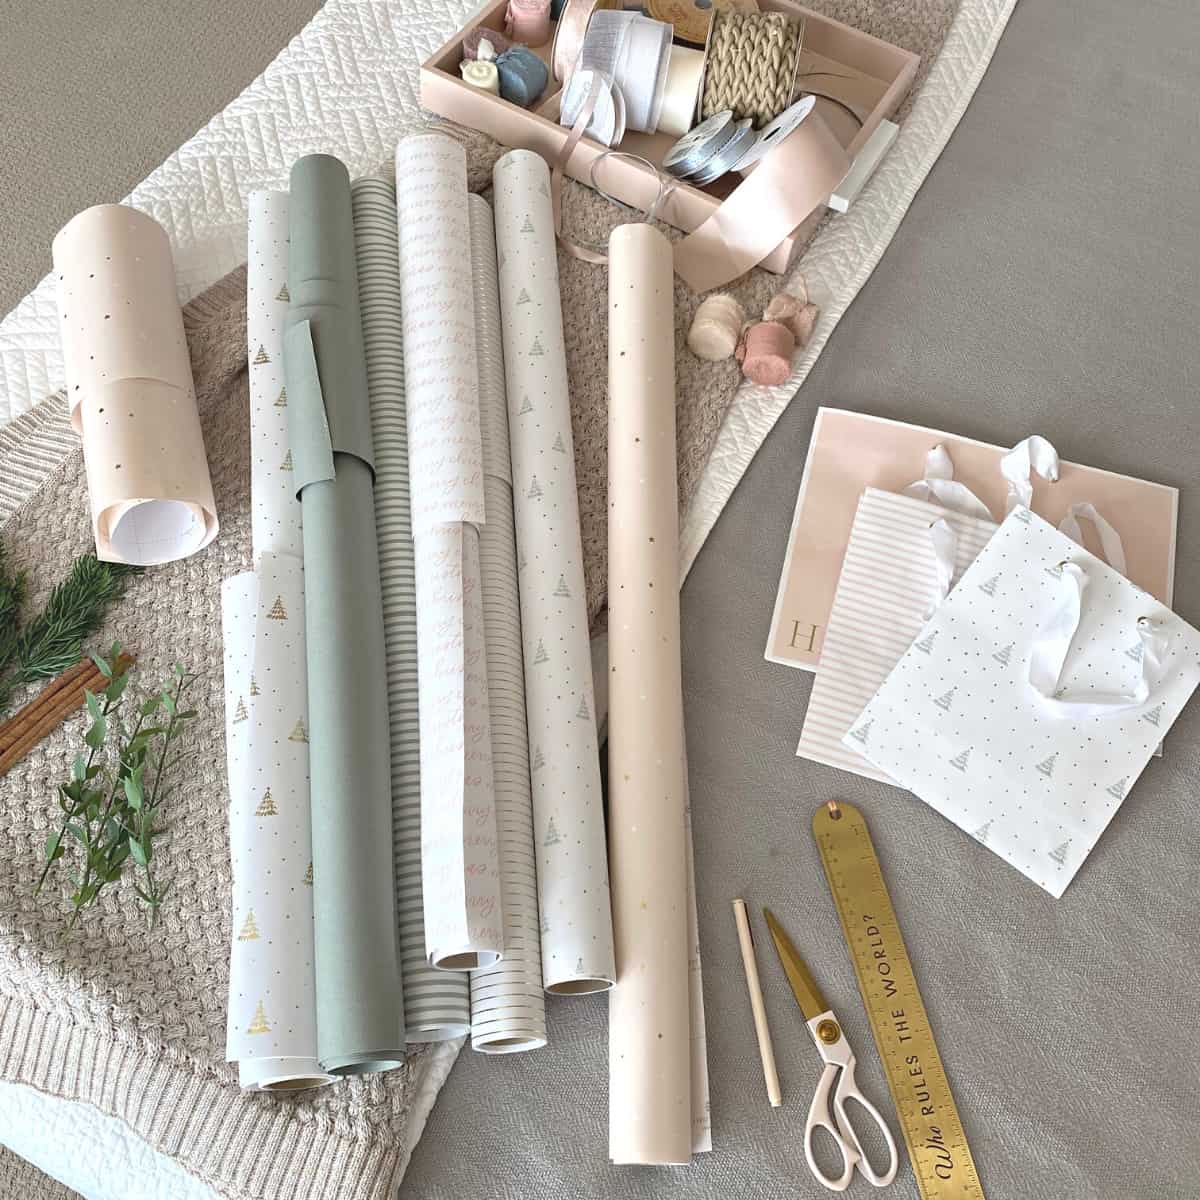
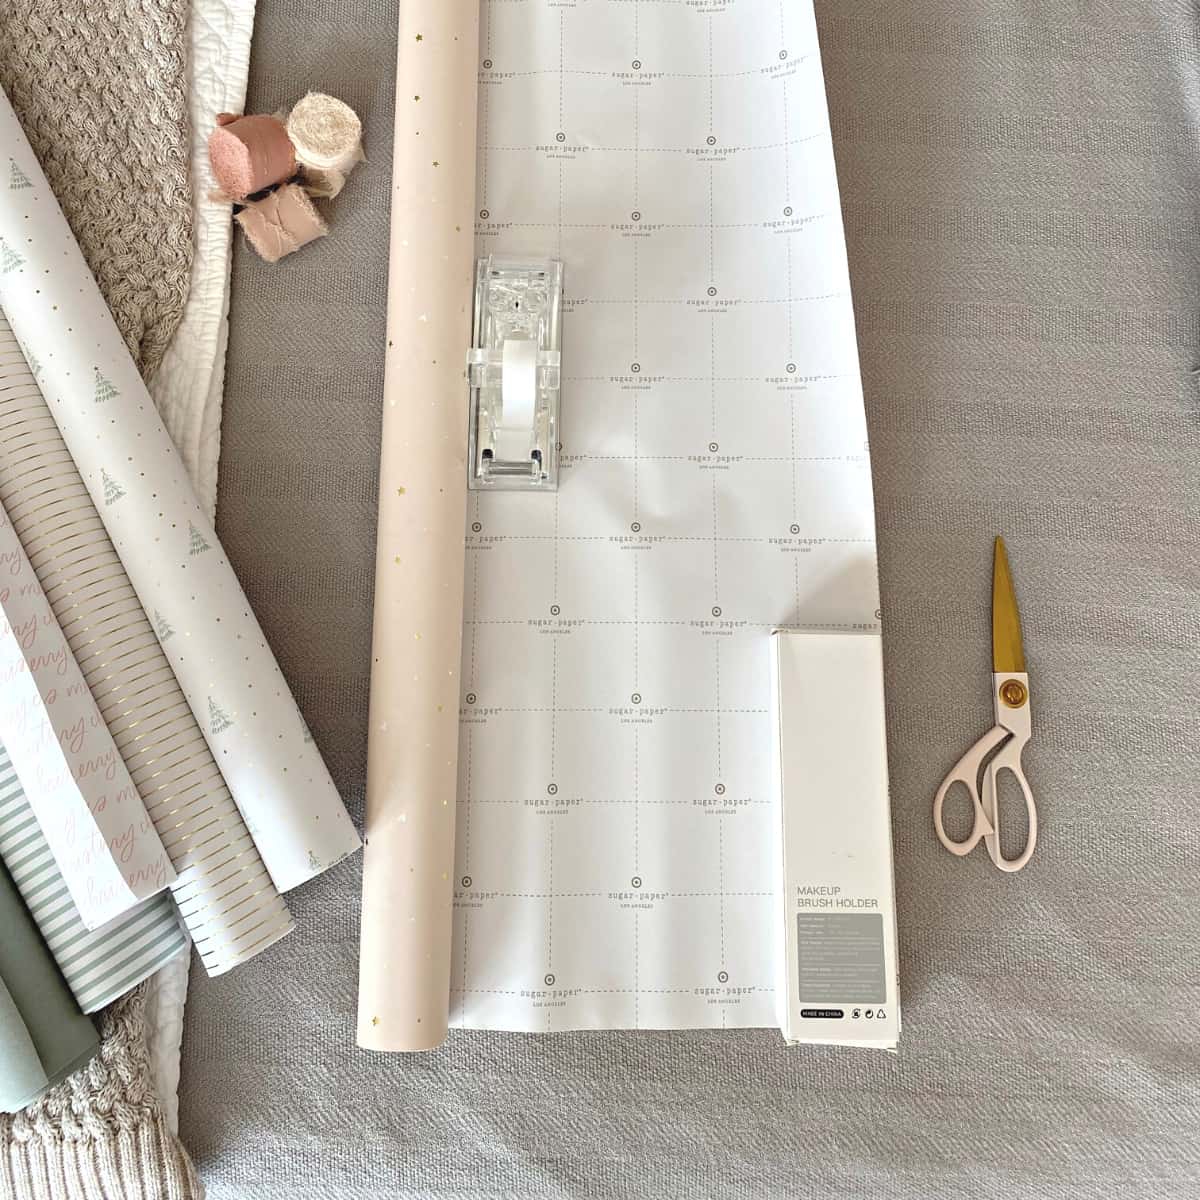
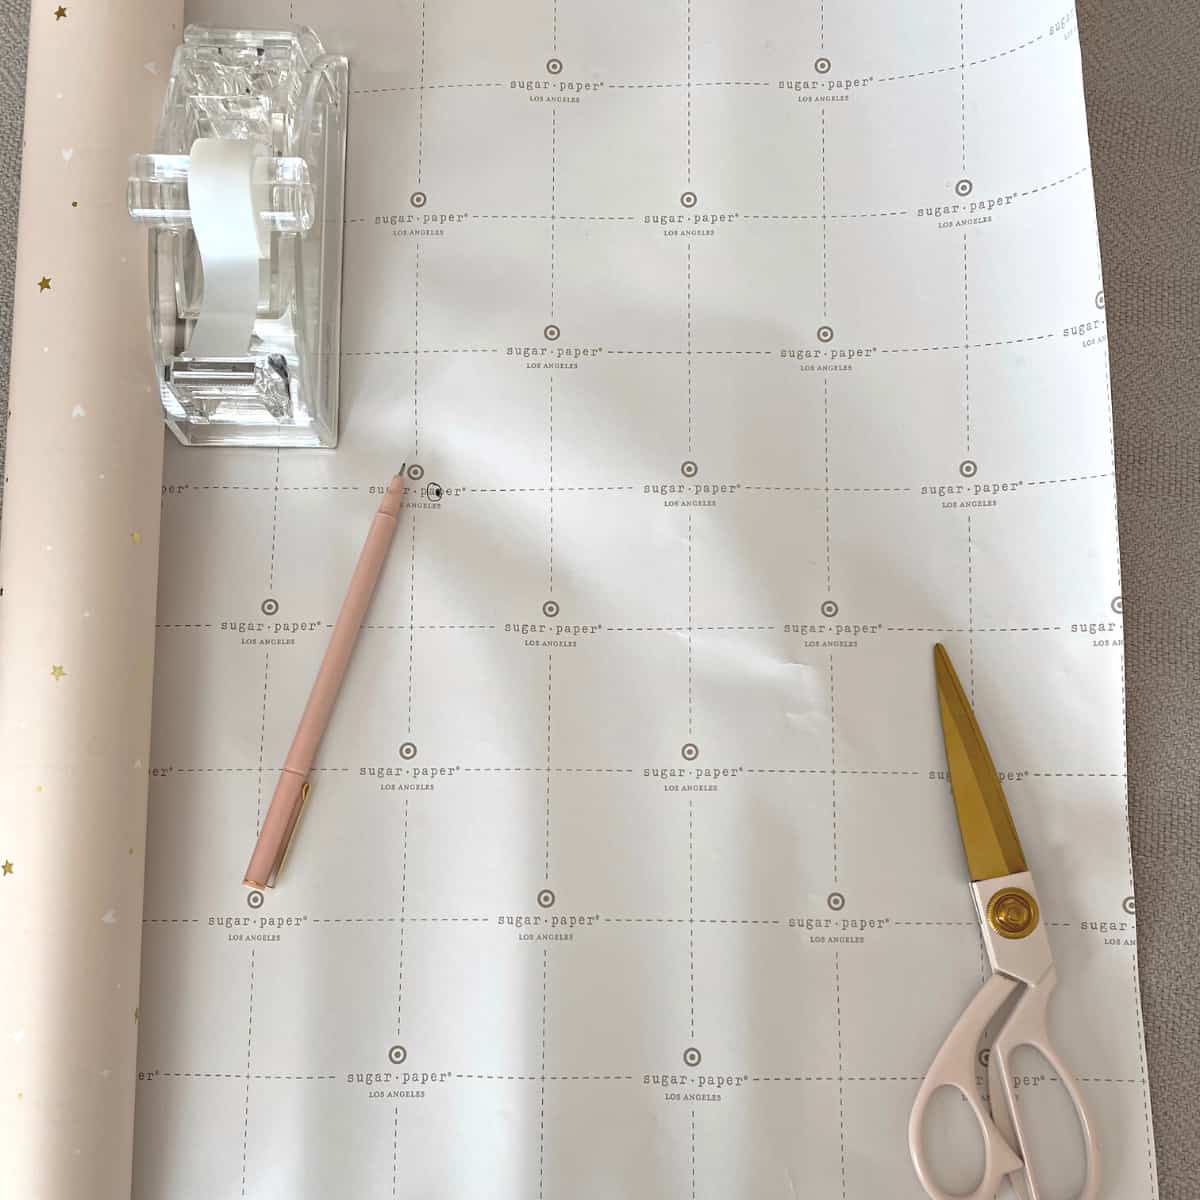
Here are the tools, materials and supplies you will need to wrap gifts:
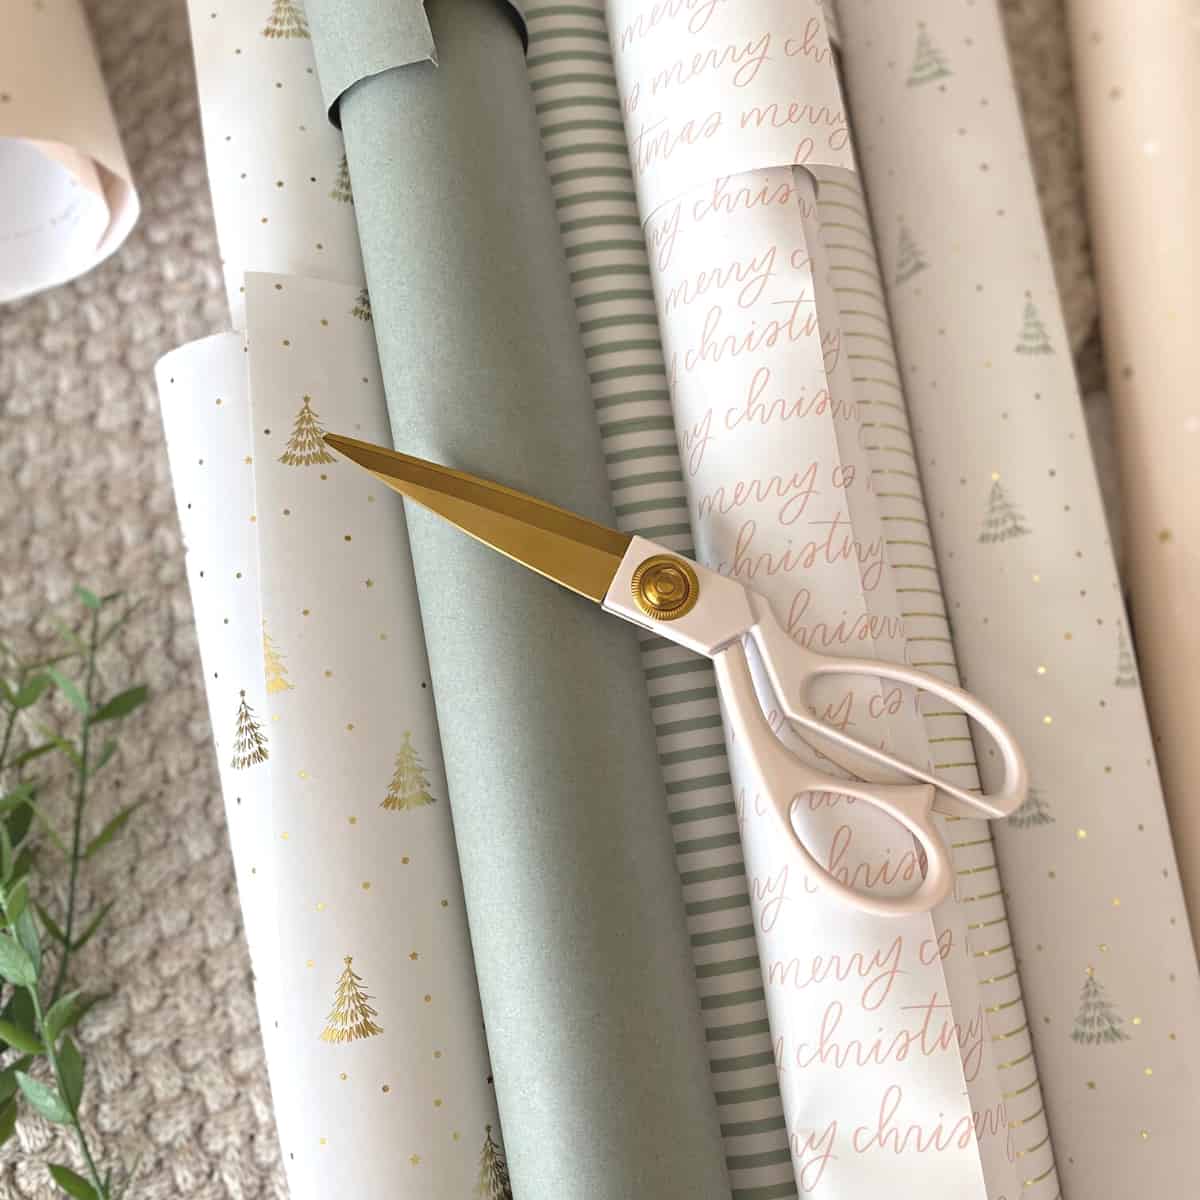
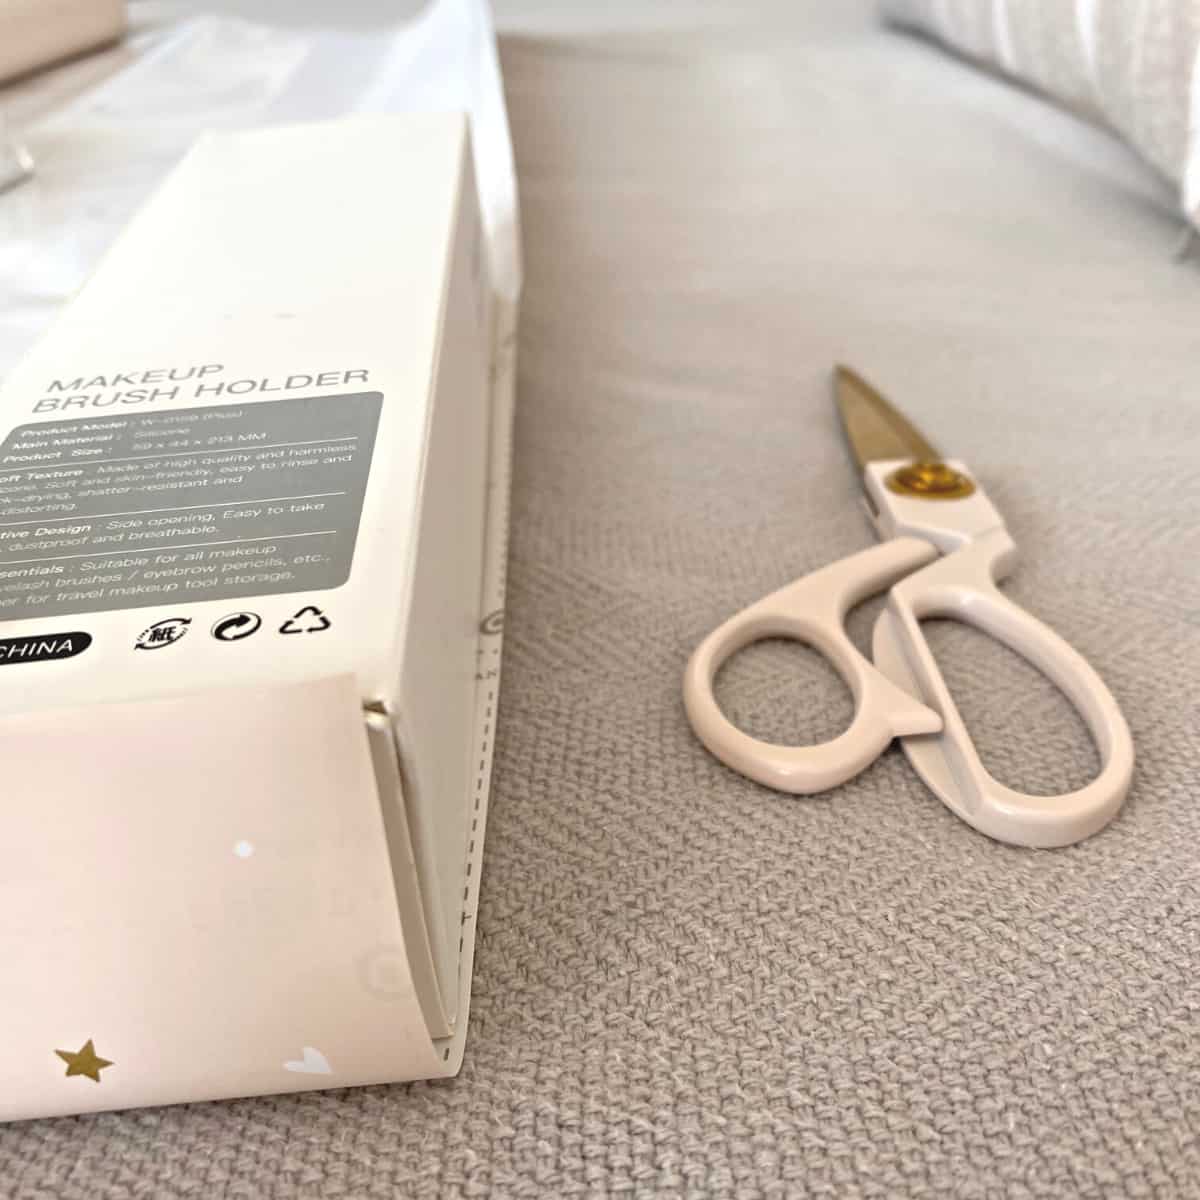
- Scissors or specialty paper cutter - I cannot overstate how important sharp scissors are for wrapping presents. Sharp scissors allow you to easily glide the blades across the length of the wrapping paper, making it significantly easier to get a clean edge.
Since I'm all about aesthetics, including for everyday items, I adore these super sharp pale blush pink brass scissors. You can also use a specialty paper cutting tool, such as the WrapMaster paper cutter or gift wrap cutter, if you prefer.
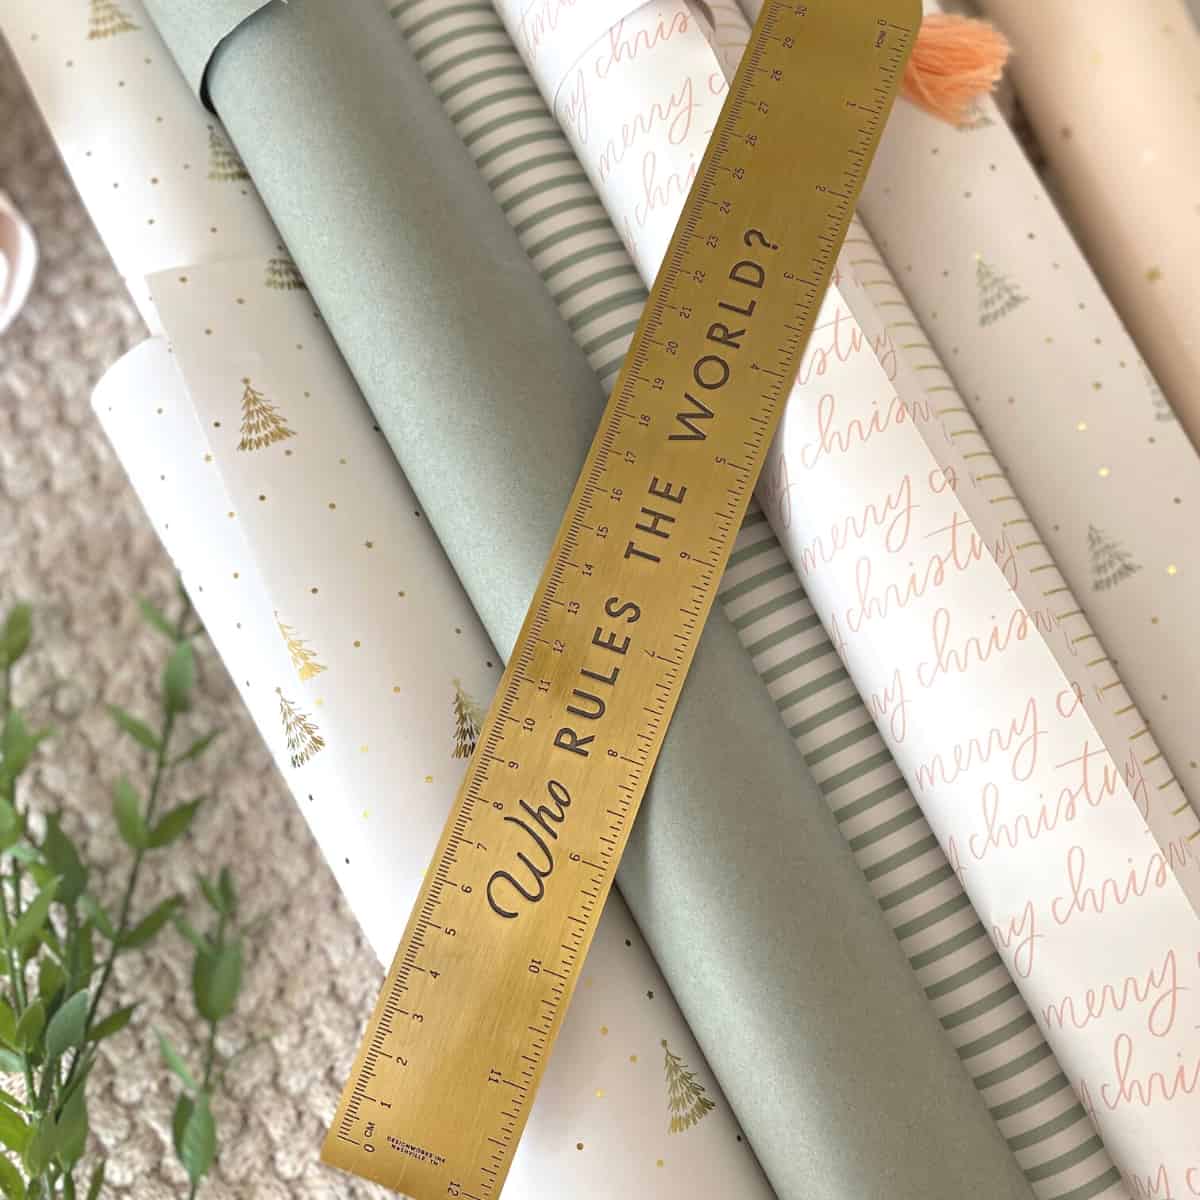
- Ruler - You may need a ruler, such as this pretty brass ruler or this other brass ruler, to measure the length, width and/or sides of the gift to gauge how much paper is needed to cover the box. A ruler can help with ribbon measurements as well.
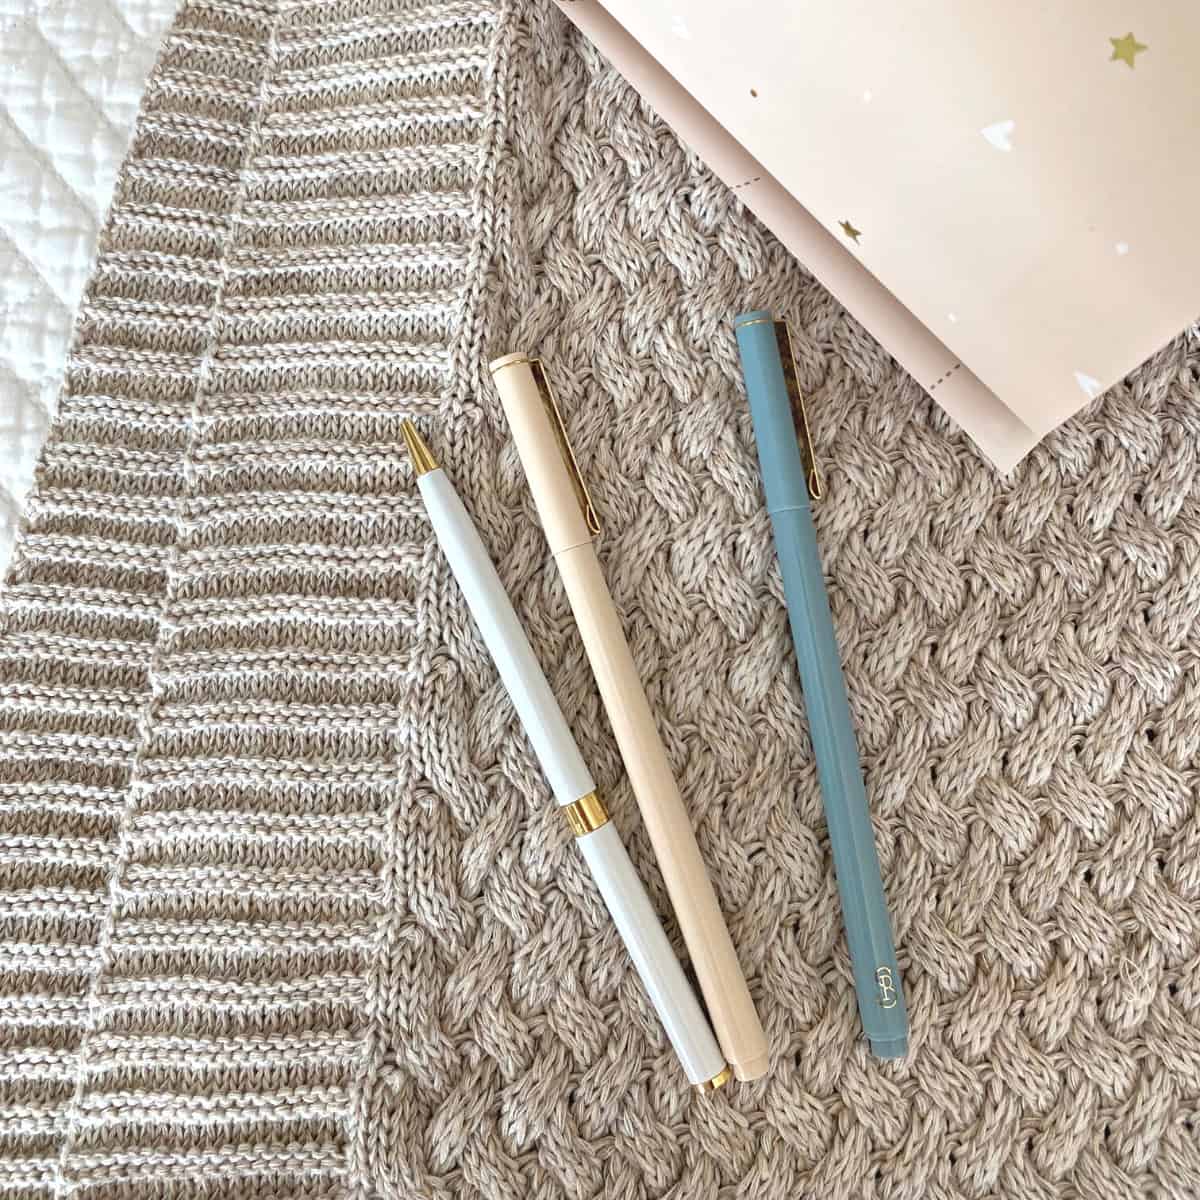
- Pen or pencil - I find a writing utensil to be useful when wrapping presents, especially if the wrapping paper does not have a grid on the back. While I use a beautiful felt pen from Sugar Paper, you can use any pen or pencil available to you.
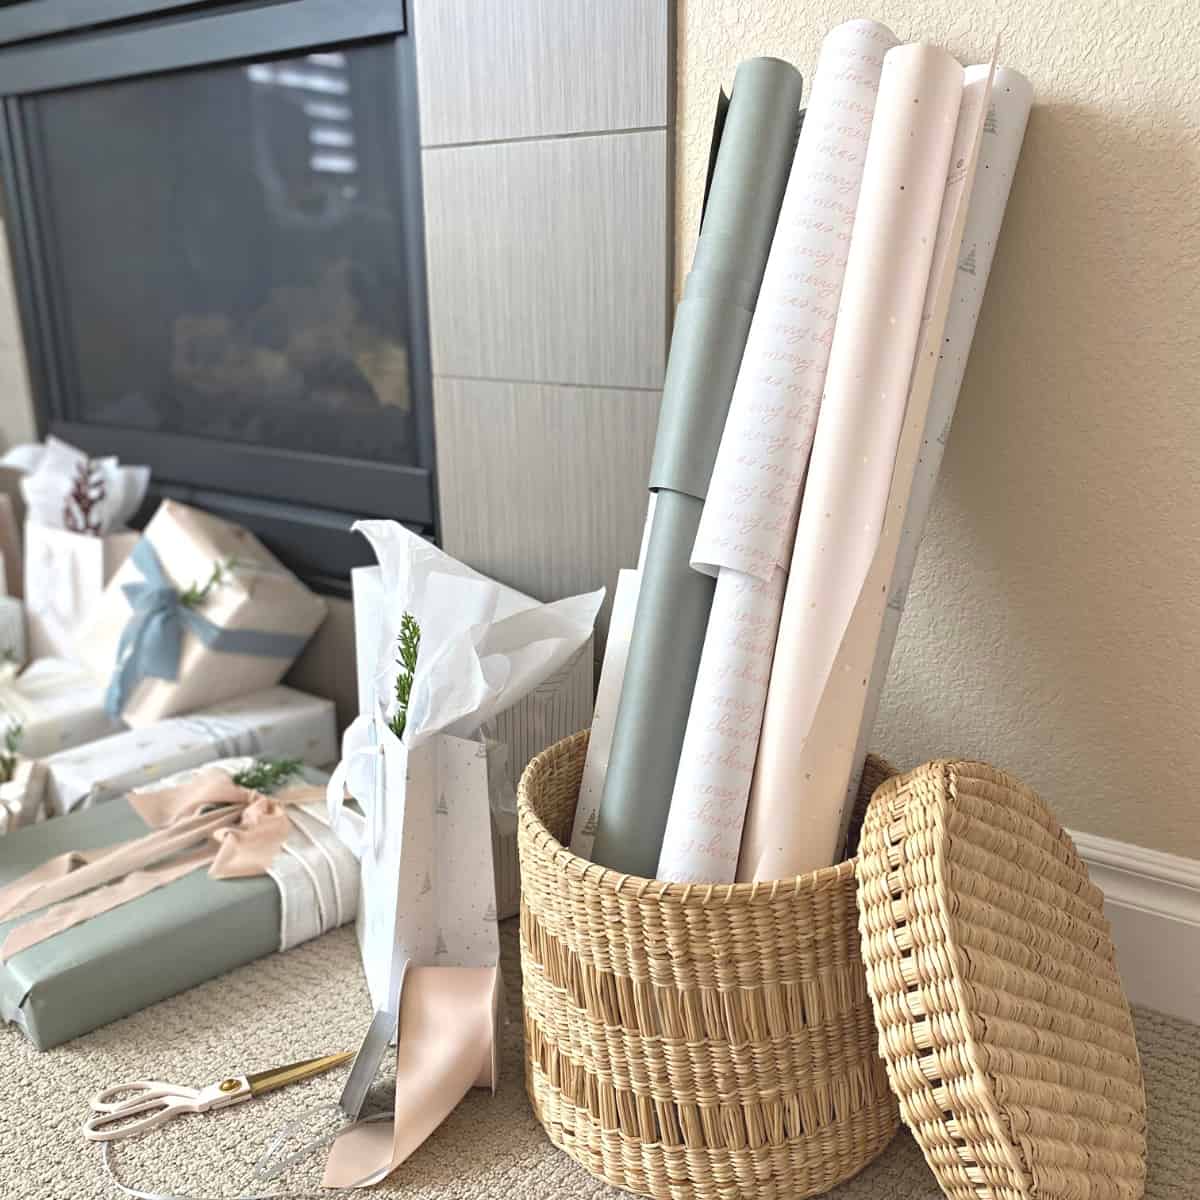
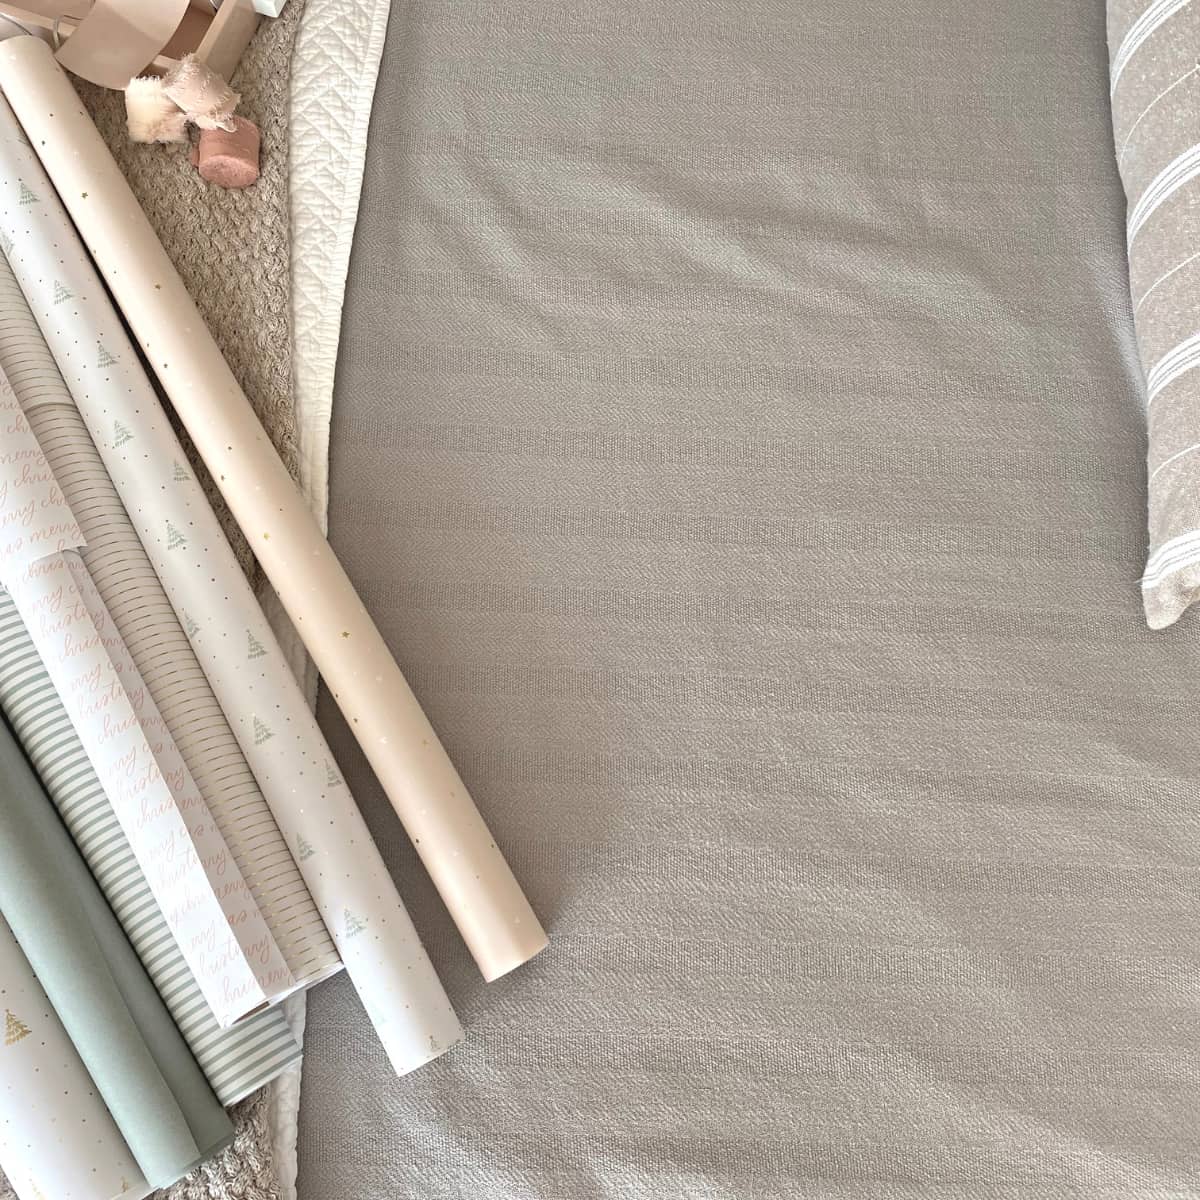
- Wrapping paper - Depending on the occasion, the look and feel of the wrapping paper you use is up to you. Some gift wrap paper is better quality than others. For instance, I love Sugar Paper gift wrapping paper. Their paper has a grid on the back, which makes measuring easier. The brand also comes out with the cutest patterns-from everyday gift wrap to holiday wrapping paper-every year.
Just look at the neutral holiday paper from the Sugar Paper Target collection. I scooped it all up! They also have coordinating gift boxes, bags and tags!
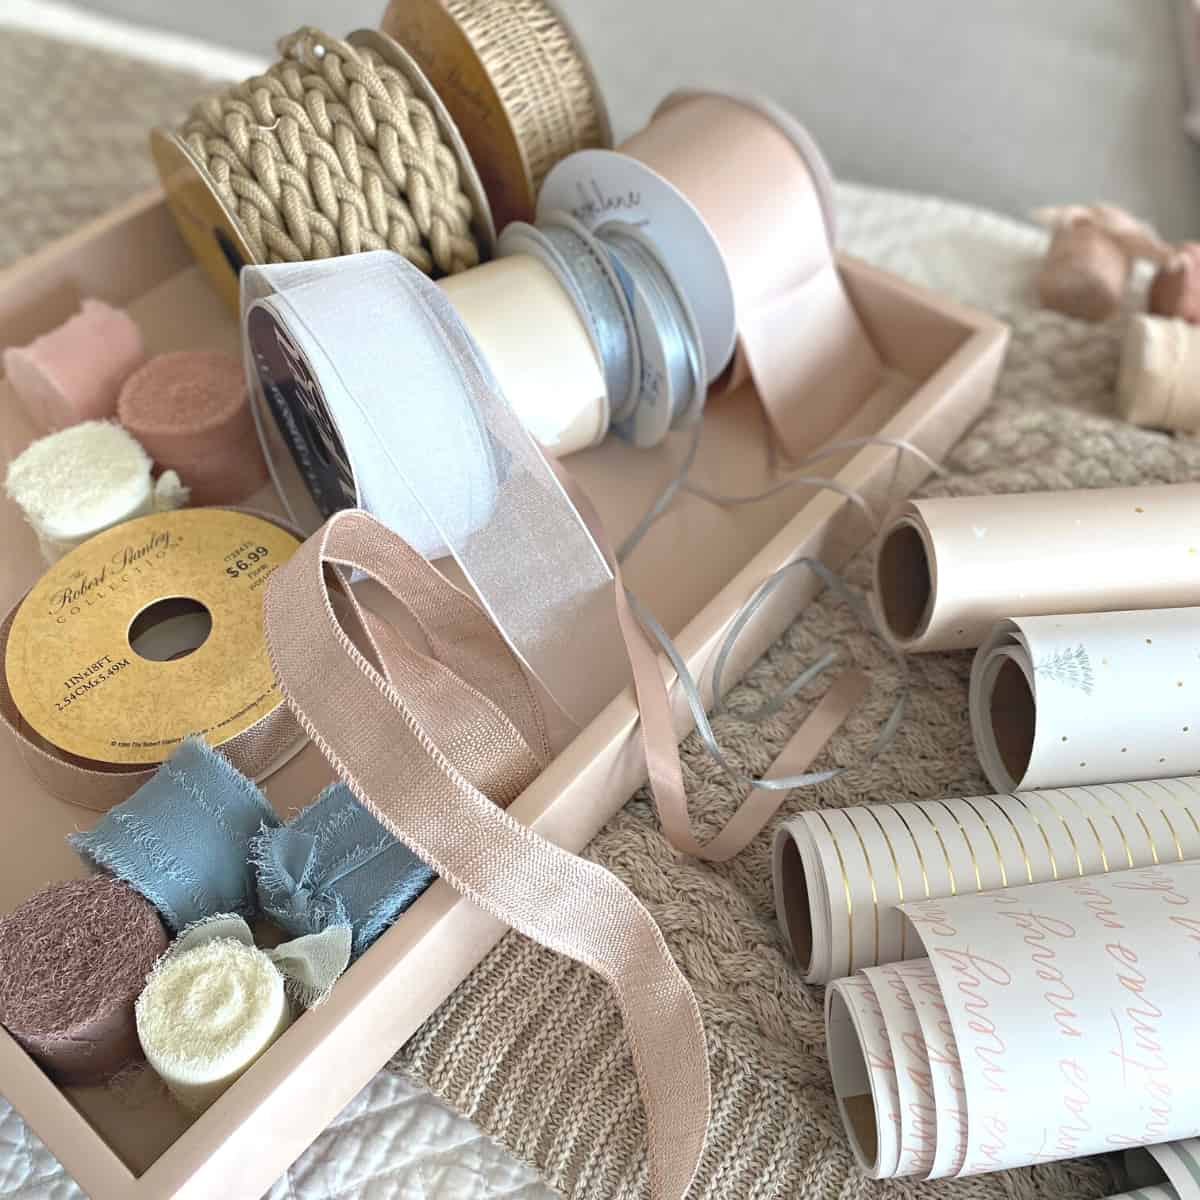
- Ribbon and gift toppers - Gift toppers make all the difference when it comes to beautifying a gift. Use your creativity with different ribbon materials-velvet, satin or chiffon-and long, drapey bows or dainty ties. Layer ribbons for an even more elevated effect. You can also add greenery, ornaments or other decorative elements to make the gift wrap extra special. JOANN, Michael's and Amazon are great places to source beautiful ribbon and gift toppers.
If you like wide ribbon, read my post on How to Hang Garland on Stairs, where I used a stunning blush pink ribbon to make long, draping bows.
- Tape - Scotch tape works perfectly to wrap gifts.
How to Wrap Presents
Now that the supplies are figured out, the next step is, well, wrapping the gifts. There is a right way and a wrong way to wrap gifts, but it all comes down to measuring.
Here's a step-by-step guide to how to wrap presents:
Step 1: Start with a flat surface
This may go without saying, but a flat surface can make or break a beautifully wrapped gift. In particular, the edges and corners will be much cleaner, which affects the overall look of the wrapping. I wrapped the gift my bed for the purpose of this post and it worked quite well.
Step 2: Align the present on the wrapping paper
Place the gift on the wrapping paper. If your paper has grid lines, align the box to the edge as well as the bottom of the wrapping paper closest to you.
Tip: For this step, the gift should be in a box with well defined edges (i.e., square, rectangular). The box I am using is simply for proof of concept. Additionally, I recommend placing the gift face down on the wrapping paper.
Note: If the gift is oddly shaped, such as a bottle or kids toys, that requires an entirely different wrapping method.
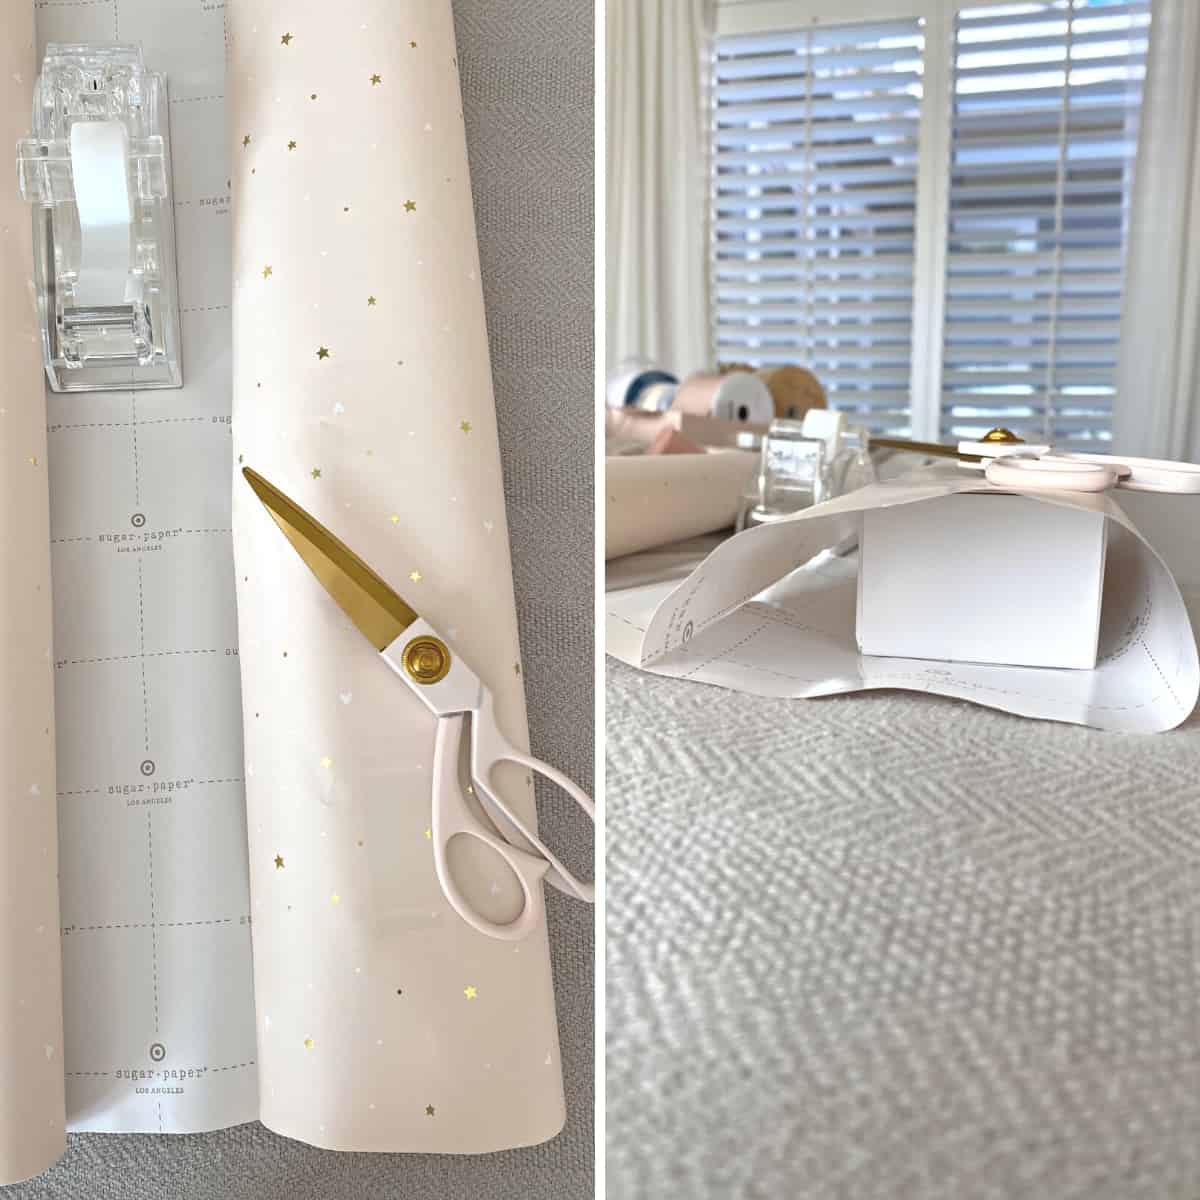
Step 3: Measure the ends
To measure how much paper you will need to cover the ends (where the folds go), using the bottom edge of the paper nearest to you, move the present away from you slowly while gently pulling the paper up the end.
Do this until the paper is level with the top of the gift box.
I usually add a little more paper, about a quarter- to a half-inch, to be safe. You just measured how much paper is needed to cover both ends.
Step 4: Measure around
Now that you have the proper amount of paper to cover (and fold) the ends, it's time to measure how much paper you need to cover around the gift.
Keeping in mind that you just measured for the ends, try to keep the gift box as straight as possible as you move the gift box toward the roll. While doing so, gently pull the paper over the box, moving the gift along the paper until all sides are covered. Again, I add a little more paper to be safe, about a quarter- to a half-inch.
Step 5: Mark the intersection cutting point
At the inside top corner of the wrapping paper-otherwise known as the intersection-make a small dot or line. This dot or line marks the spot where you will cut the paper to.
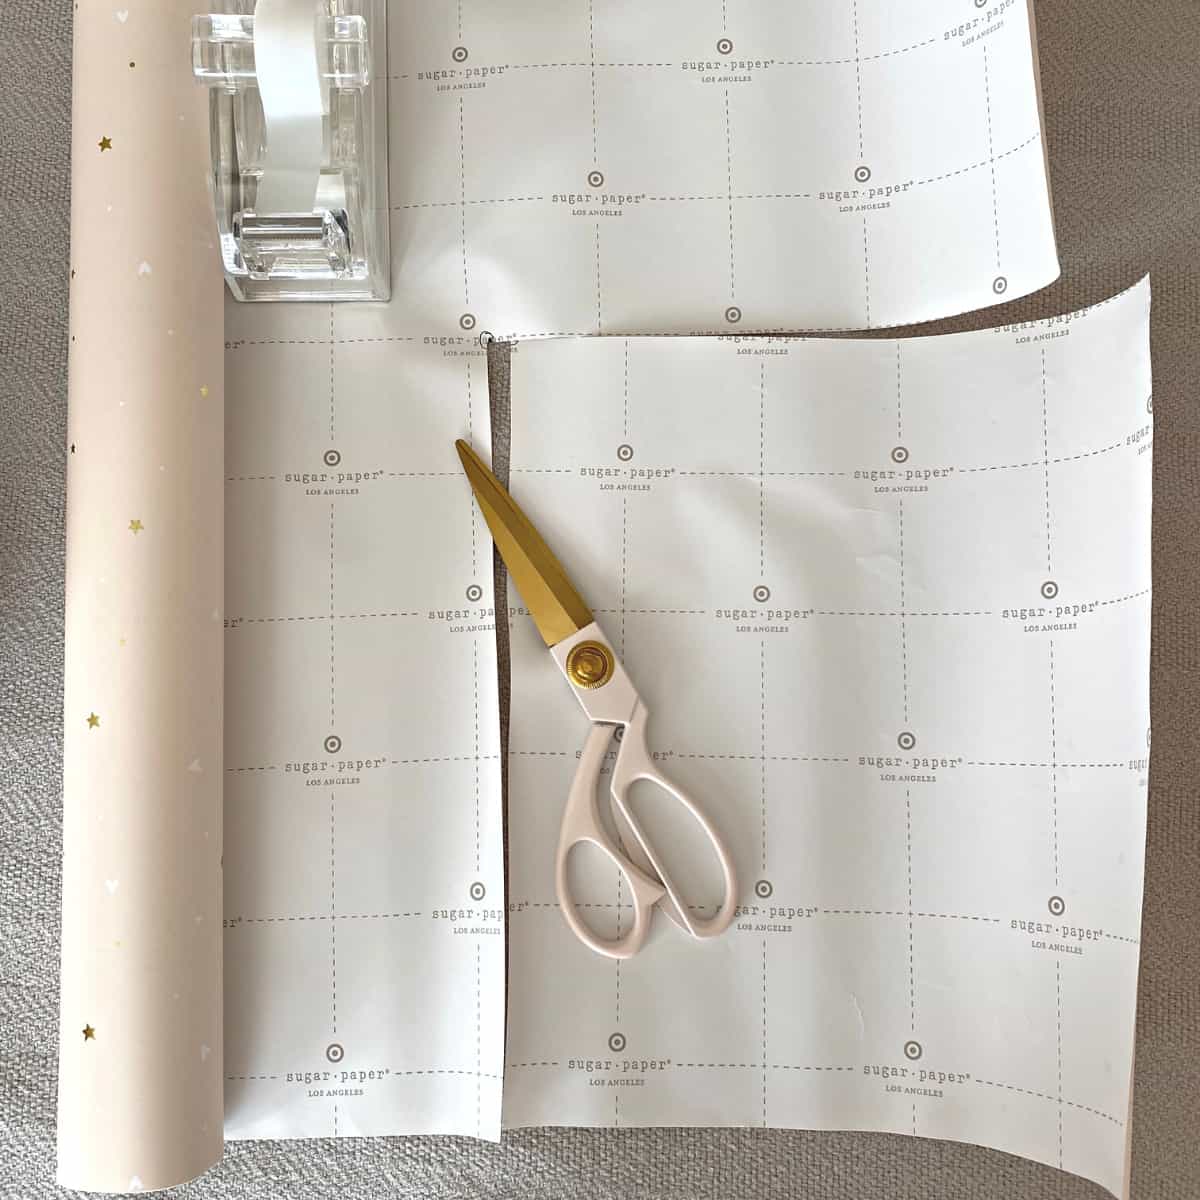
Step 6: Cut the paper to size
From the bottom closest to you, cut toward the mark you made. Do the same from the side, cutting the paper to size.
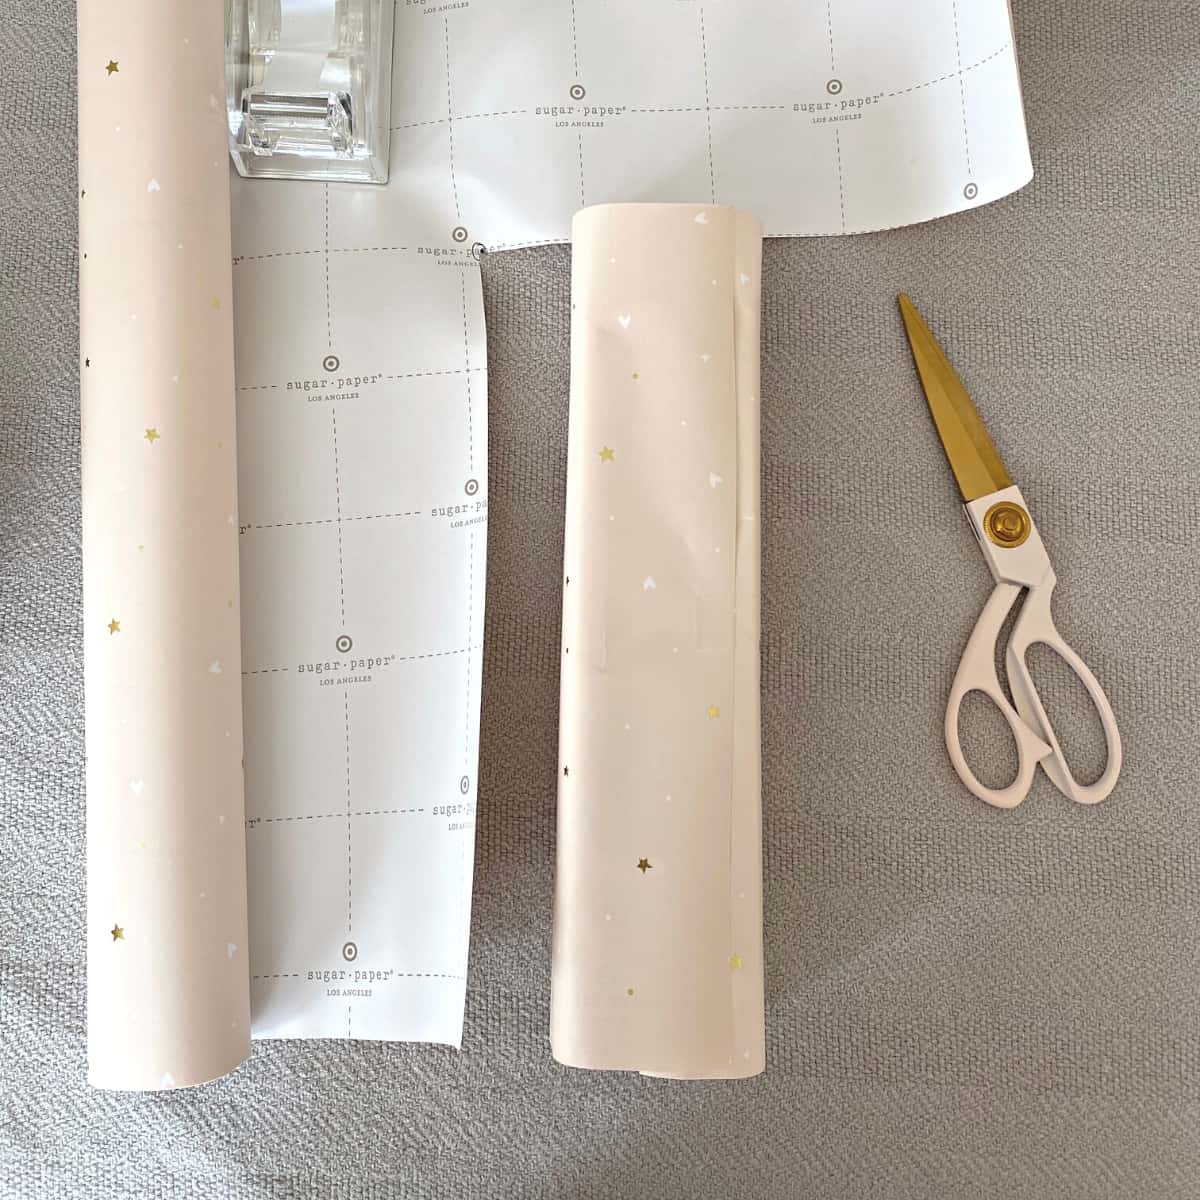
The paper that remains is the proper size to fit the gift.
Tip: To check your work, center the gift on the paper. Before taping, fold both sides over the gift to ensure it closes. Do the same for the ends to ensure the ends will be covered.
Step 7: Fold and tape the middle
Fold both sides of the paper tightly but gently toward the center. Run your fingers along the left and right edges of the wrapped box to square the edges. Tape the middle where the paper meets.
Tip: What I refer to as squaring the edges will ensure a tighter fit of the wrapping paper. You should notice less bulging of the paper in general.
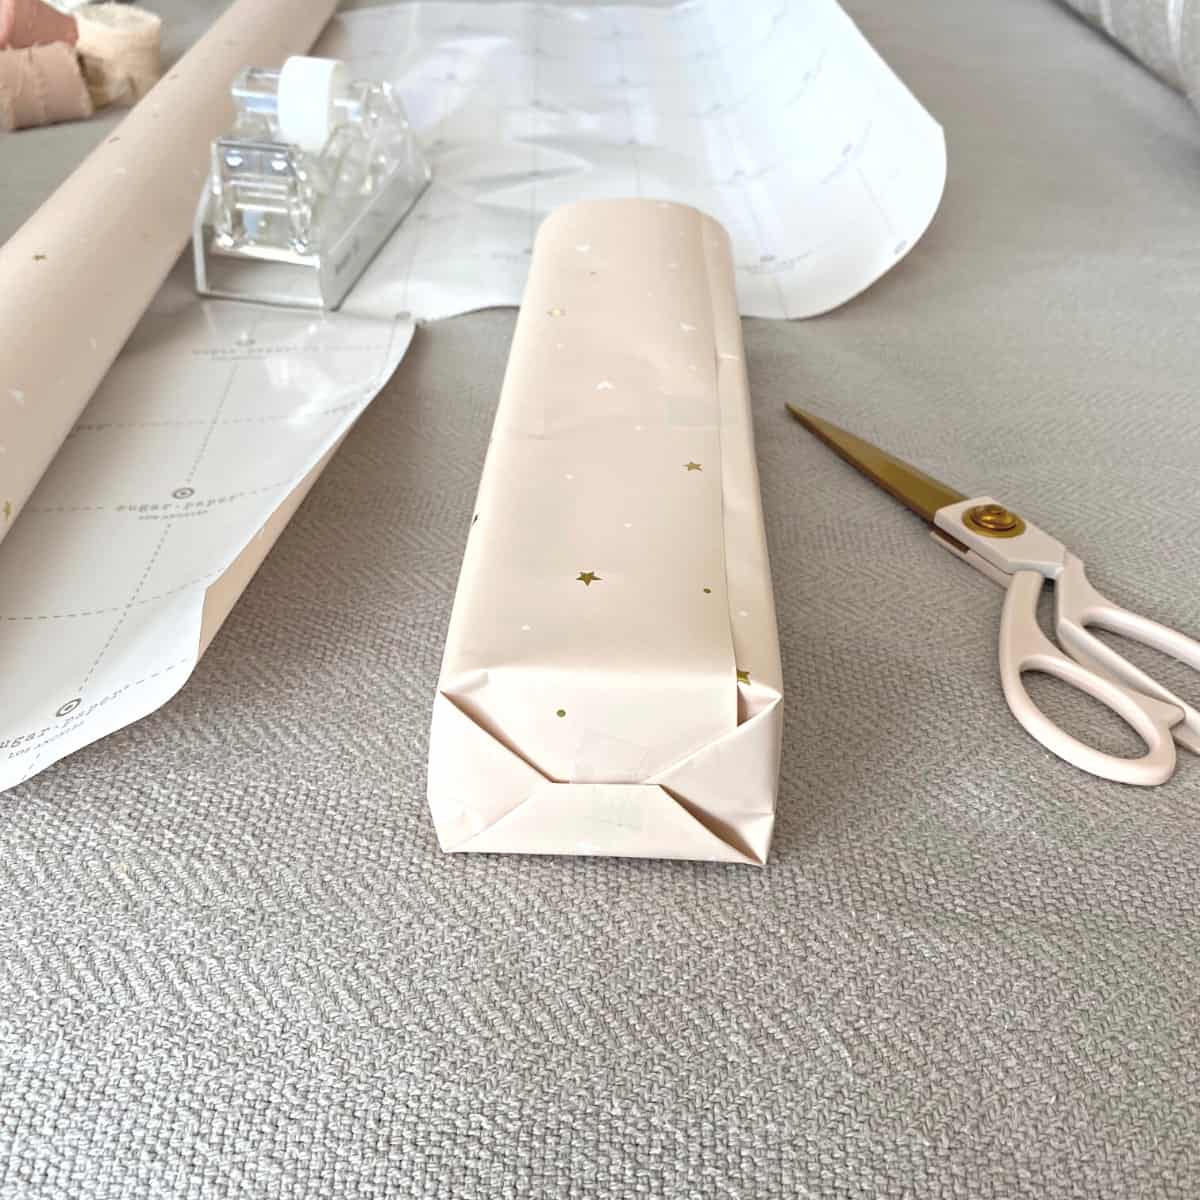
Step 8: Fold and tape the ends
On the end closest to you, fold the top down. Run your fingers along the top edge to square it.

Fold in the right edge, making a triangle. Again, square the edges.

Do the same to the left edge.
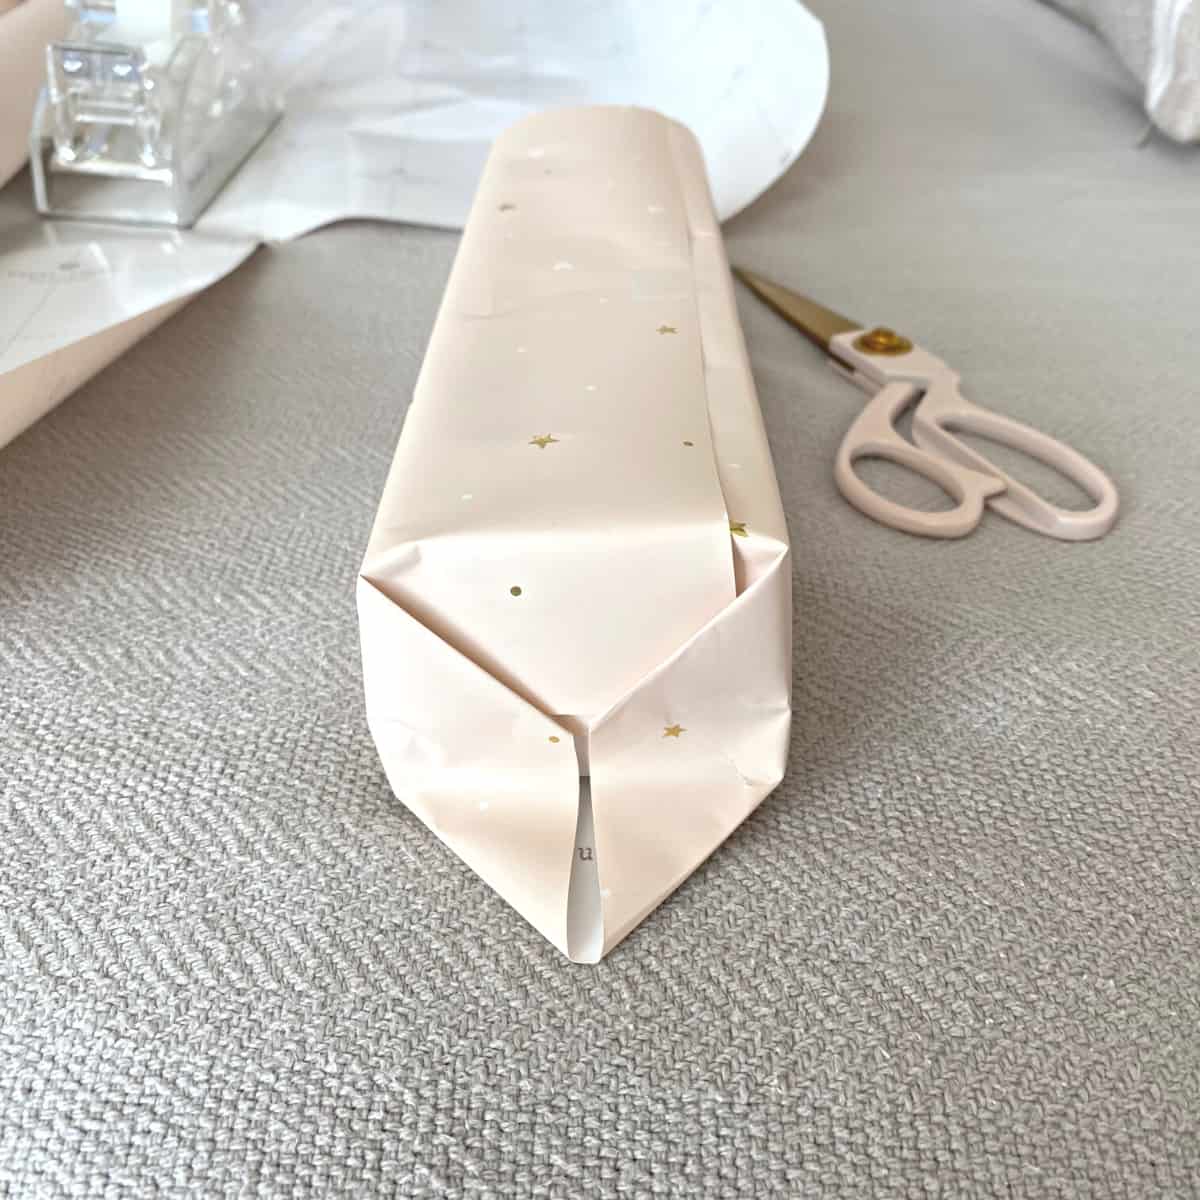
Fold the bottom up to meet the top.
To secure it, either use one piece of tape in the middle or two pieces of tape, one where each fold meets. If the package is quite large, I use two pieces of tape, as I feel it's more secure.
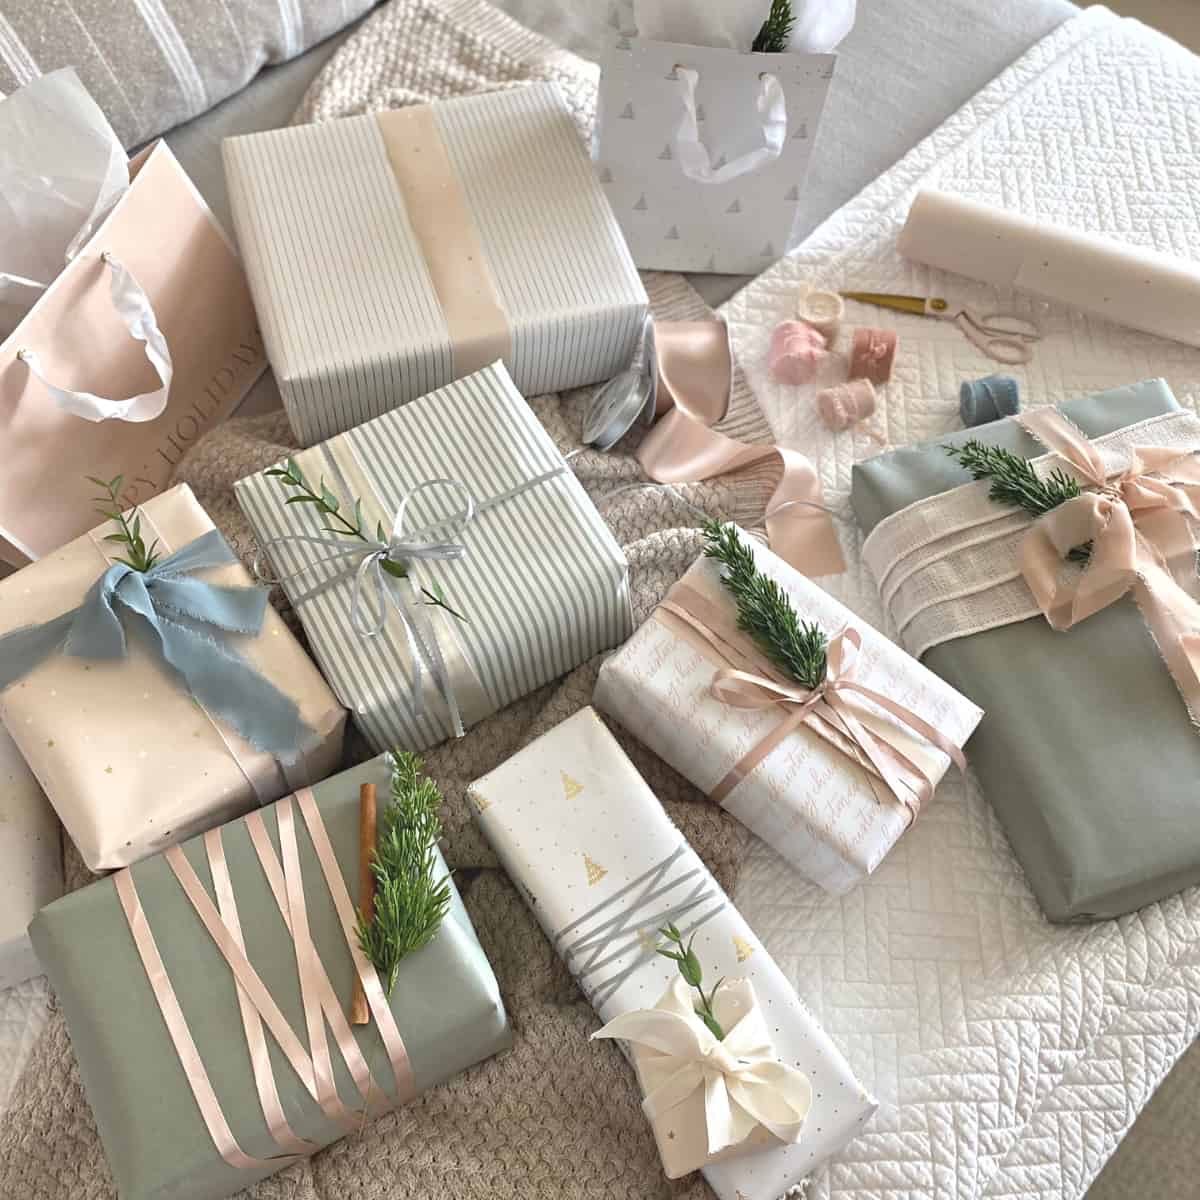
Repeat step 8 for the other end of the gift. Then, turn the gift over to admire your work!
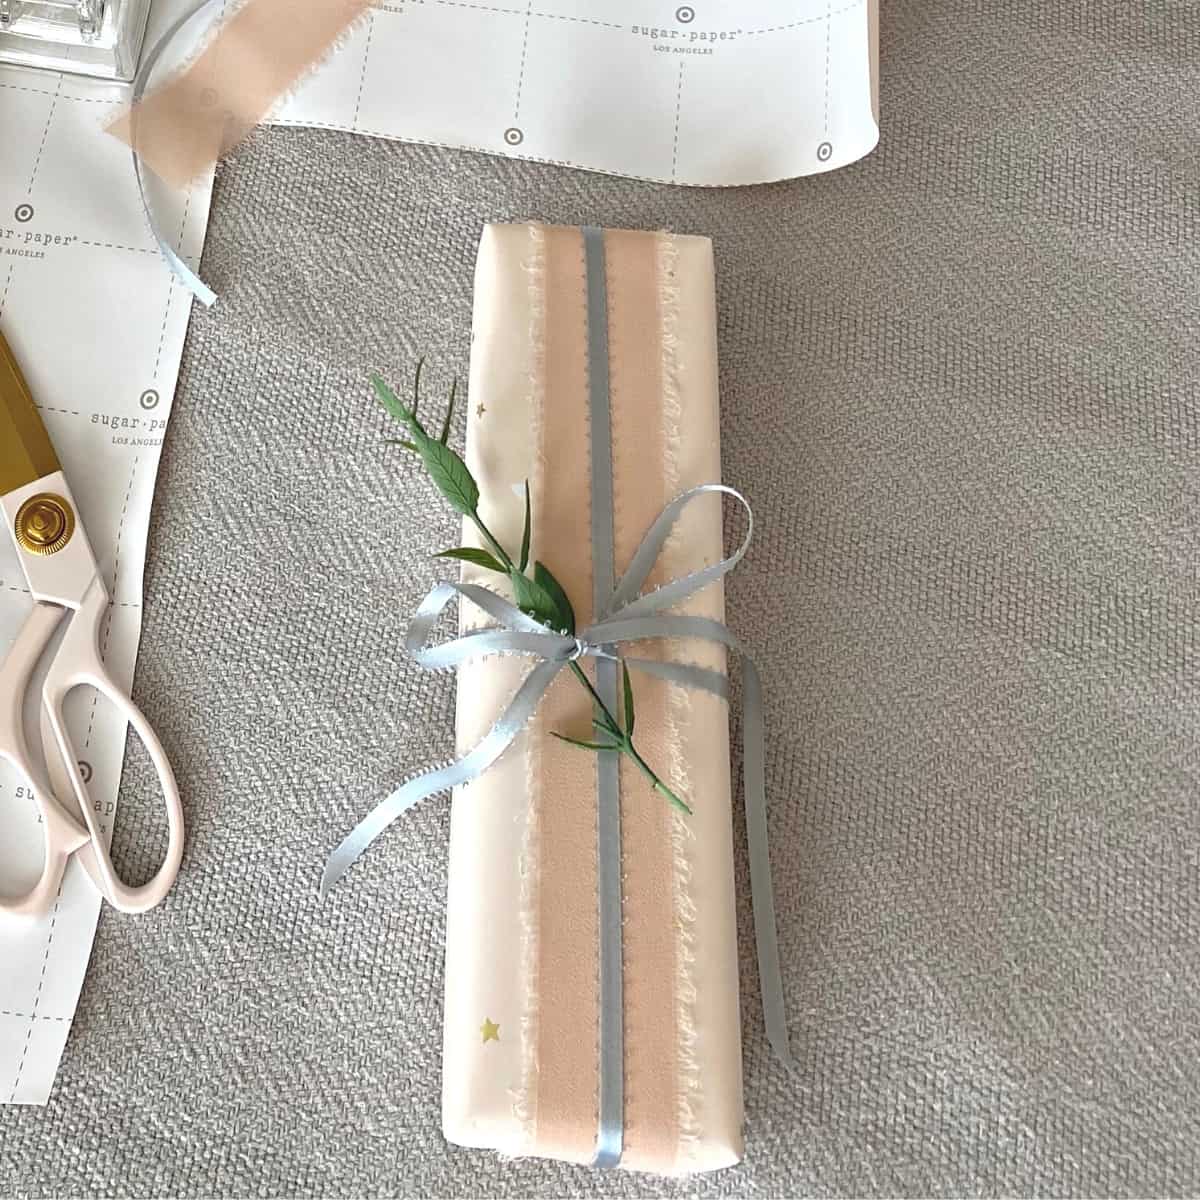
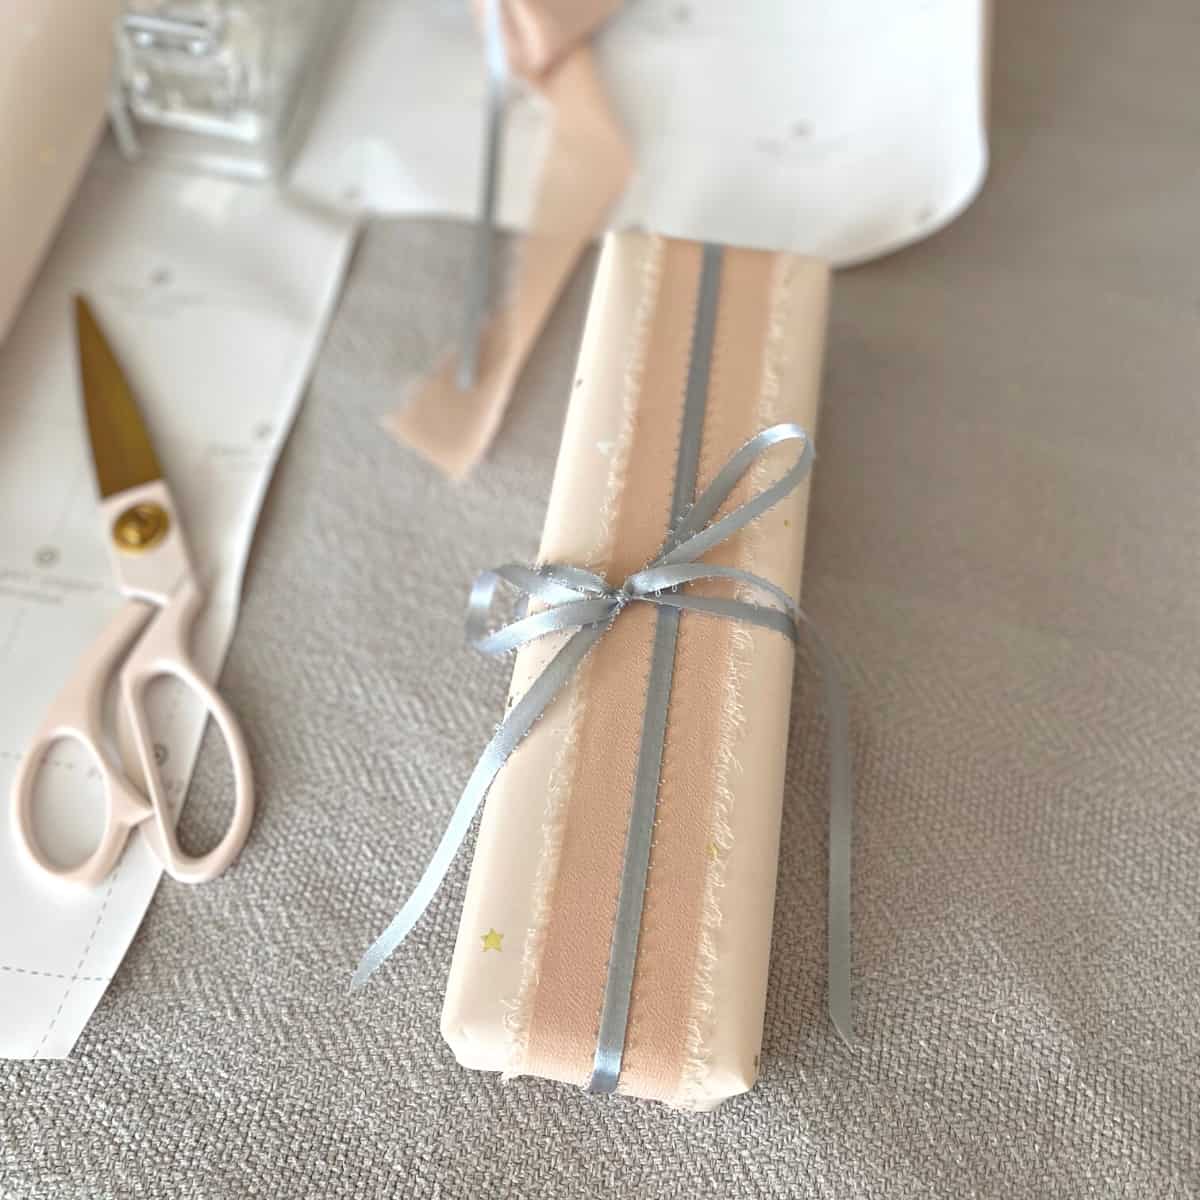
Now is the time to get creative with gift toppers. Here, I added a sprig of greenery and layered two different styles of ribbon.
- Add a little greenery
- Layer ribbon styles and textures
- Use coordinating wrapping paper across the middle, third, horizontal or vertical like how Tuft and Trim did
- Make unique gift tags out of similar paper, as Sanctuary Home Decor did for their gifts
Leave a Reply