
These dresser styling tips will take your decorating to the next level! Decorating a dresser top is easy once you know key techniques the pros use to make it photo-worthy yet functional at the same time.
When it comes to decorating a dresser, blending function with beauty is the challenge. You want your space to feel calm, collected, and put together, all without being cluttered.
That's why I put together these tips that I hope will set the foundation to help you style your dresser, as well as give you confidence when you feel like restyling it again and again.
This post may contain affiliate links which we may receive a small commission when some items are purchased at no additional cost to you. As an Amazon Associate we earn from qualifying purchases. Read the full disclosure.
Choose a Dresser to Decorate
Maybe you have a dresser in your primary bedroom, a guest bedroom, or even in an entryway, choose which dresser you want to style first.
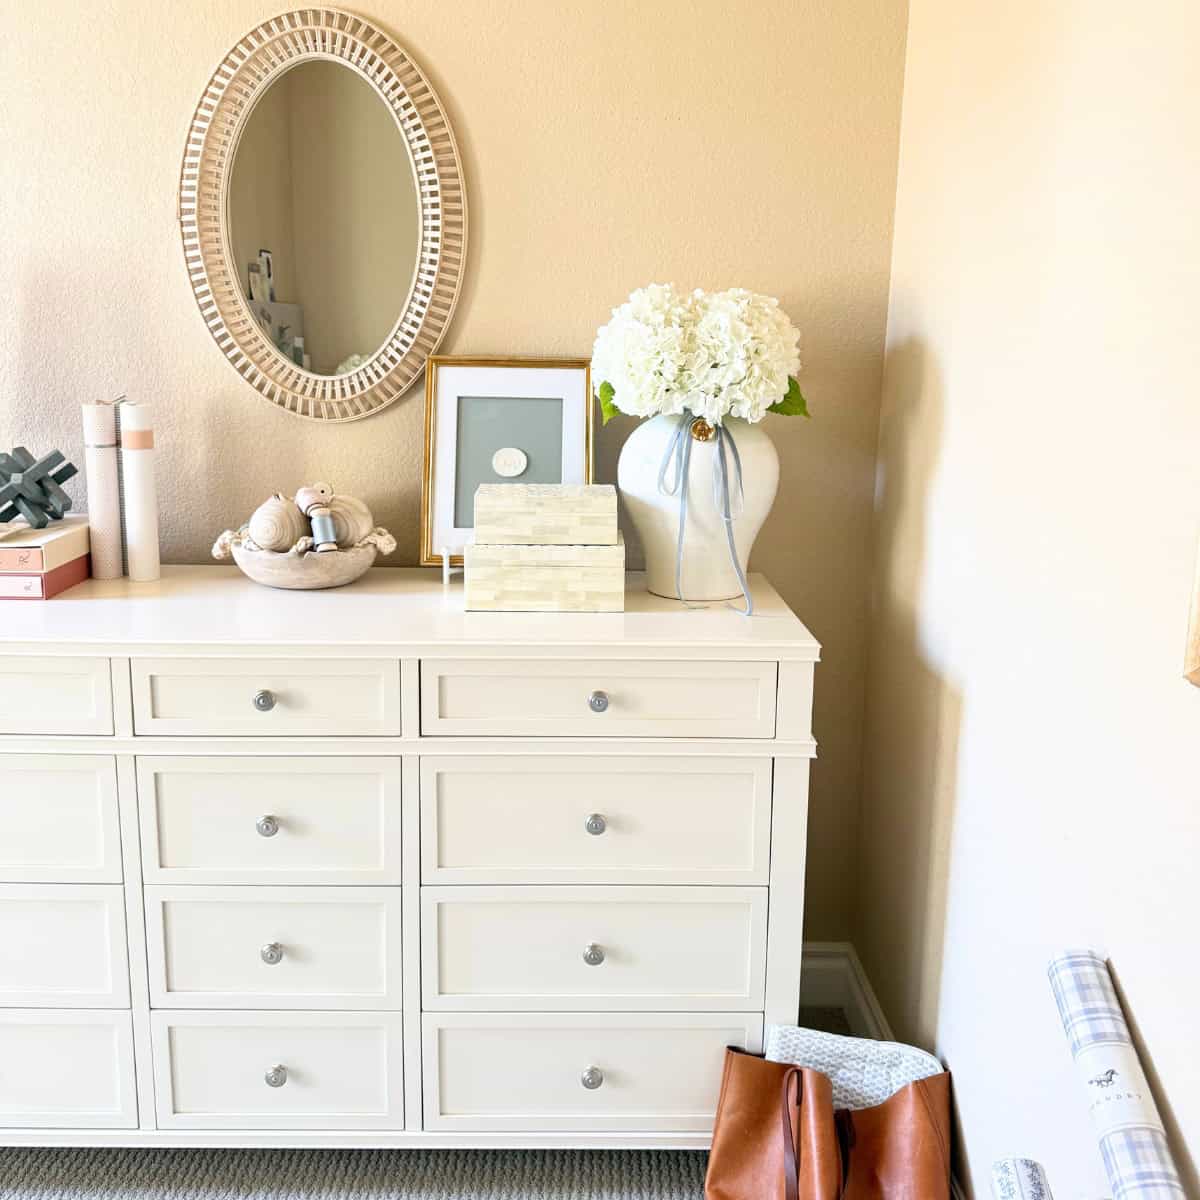
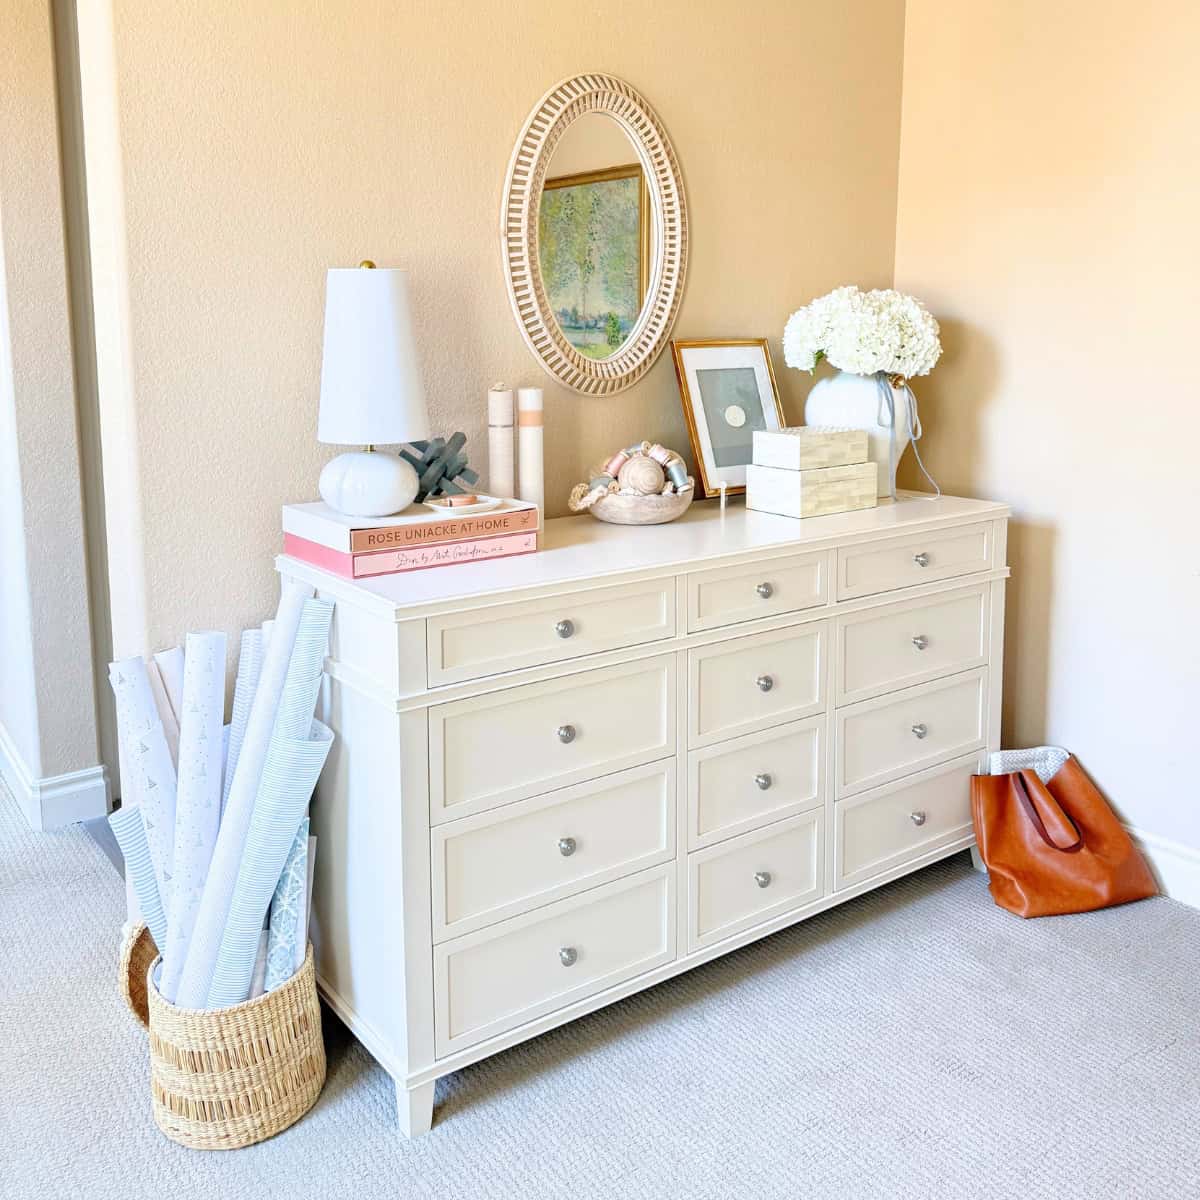
We purchased a beautiful white painted wood 12-drawer dresser from Pottery Barn several years ago for our guest bedroom. It now lives in my home office and is the dresser I will be using to show you how to decorate a dresser top.
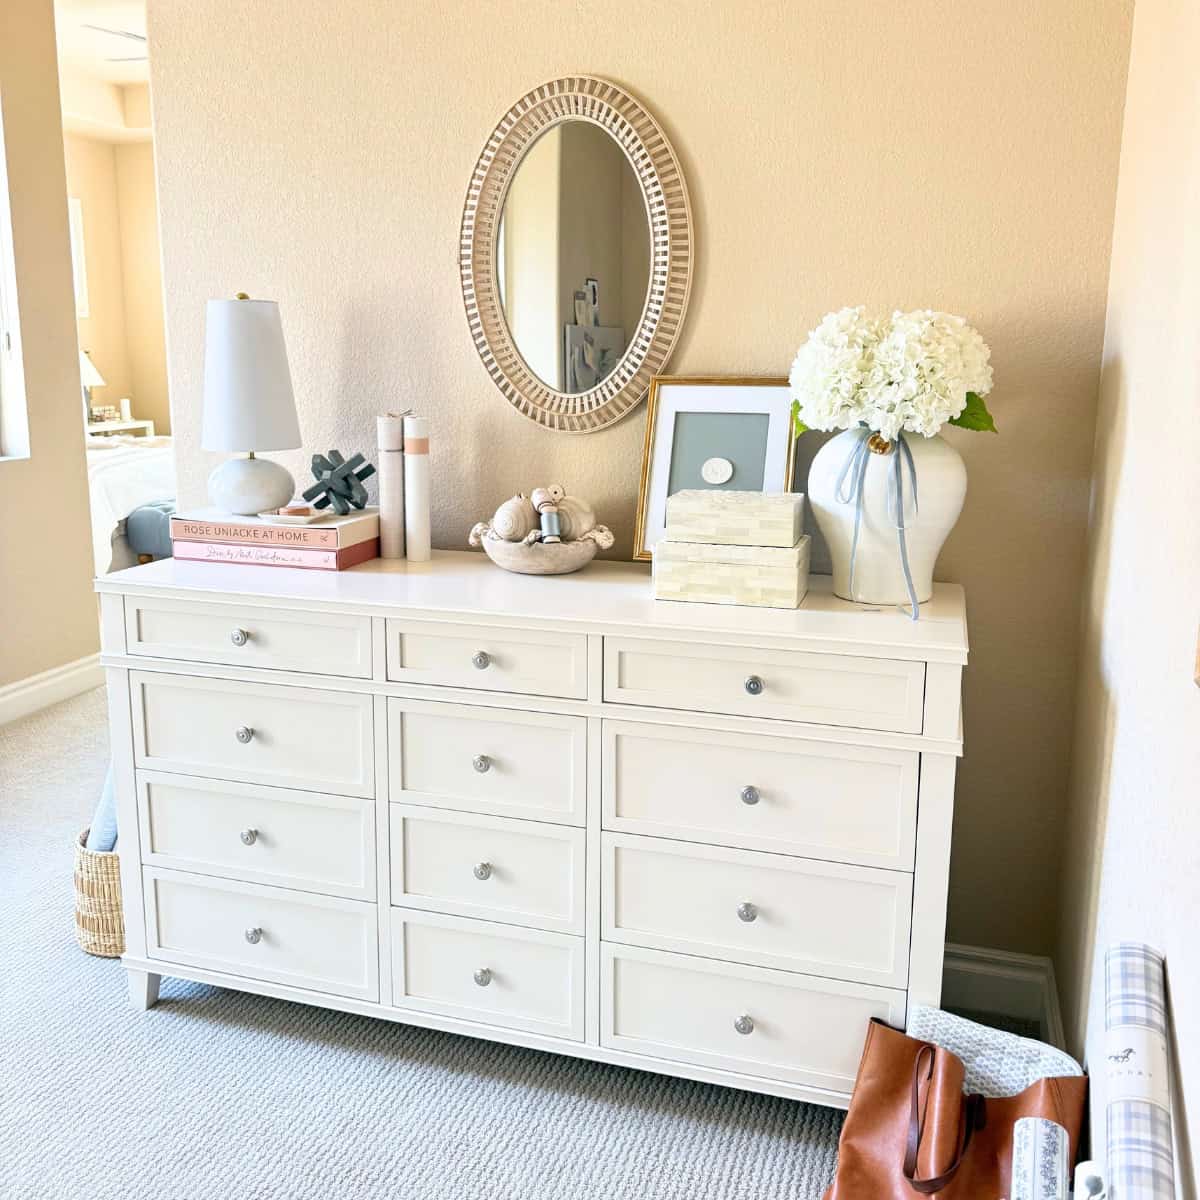
If you are going to buy a dresser, choose a nice dresser (solid wood if you can find it) that has a timeless look or at least a look that you won't tire of easily. Keep in mind, you do not have to buy new. You can find dressers at thrift stores, garage or estate sales, on Facebook Marketplace, and at local furniture shops.
Look past the hardware and the stain or paint color, because those things can be changed. Changing hardware is much easier than staining or painting, however doing a little DIY may get you closer to your ideal dresser.
As an example, for our nightstands, I detailed how we painted the originally mint green bedside tables to BM White Dove in the Stunning Nightstand Makeover post. Then, I followed it with a Chic Nightstand Hardware Update that completely elevated how they look!
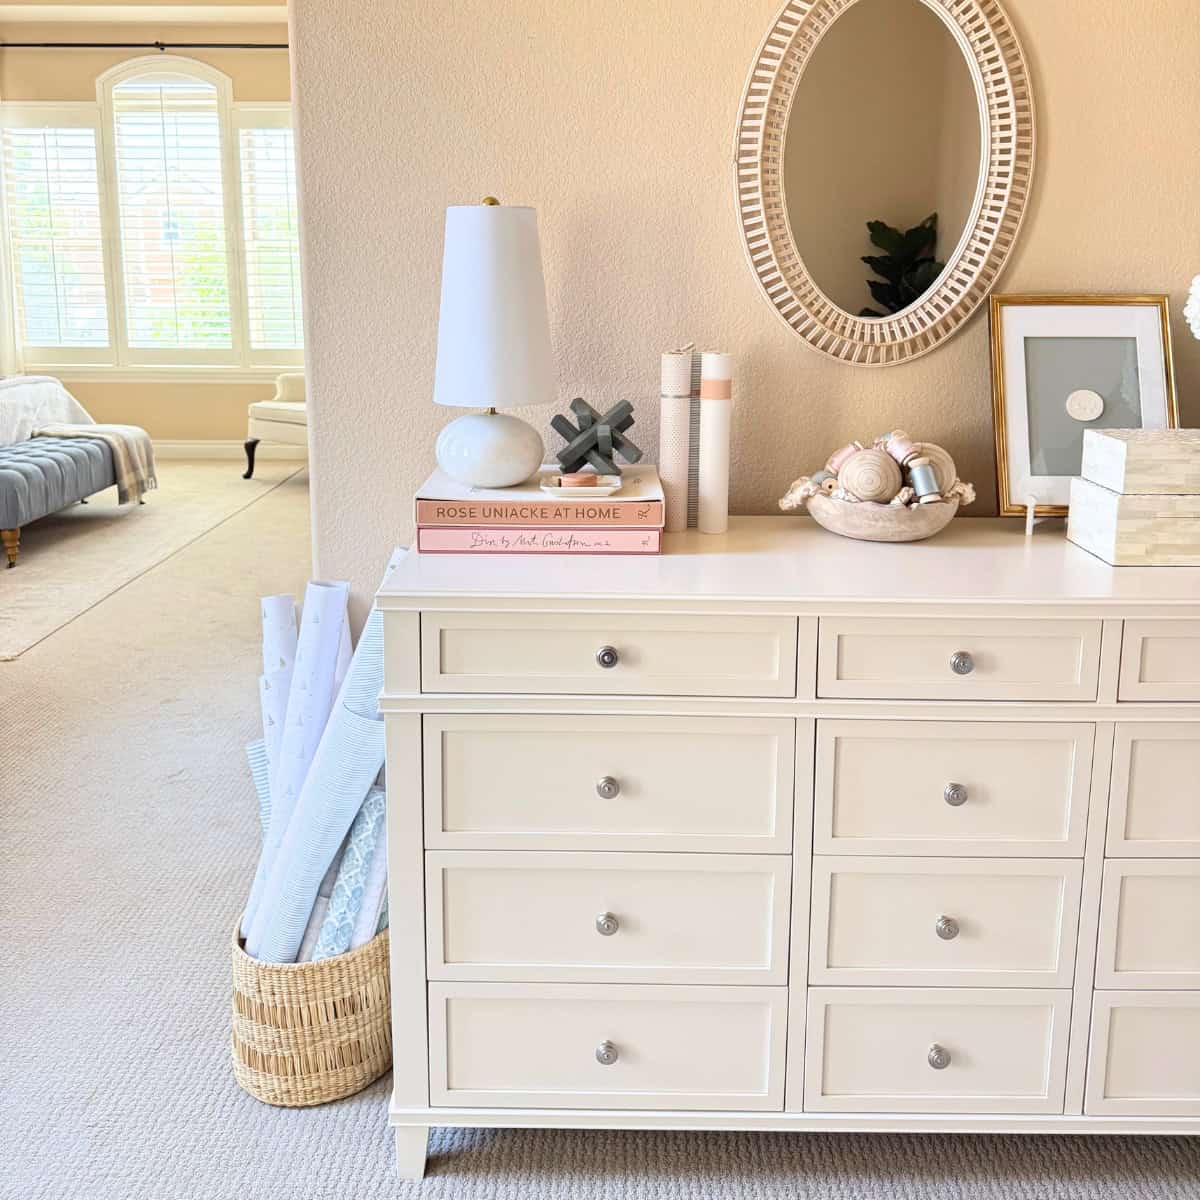
Pottery Barn no longer sells the dresser we own, but you may want to check out their Sausalito white 8-drawer dresser as an alternative.
Gather Decor Together
Before styling your dresser, shop your house first. Gather any and all decor you may want to use from around your home.
Seeing everything together makes it easier to pick and choose what decor goes well together, what to use, and what to skip. Moreover, knowing what you have available provides a better sense of scale, how colors work together, and if you're missing something.
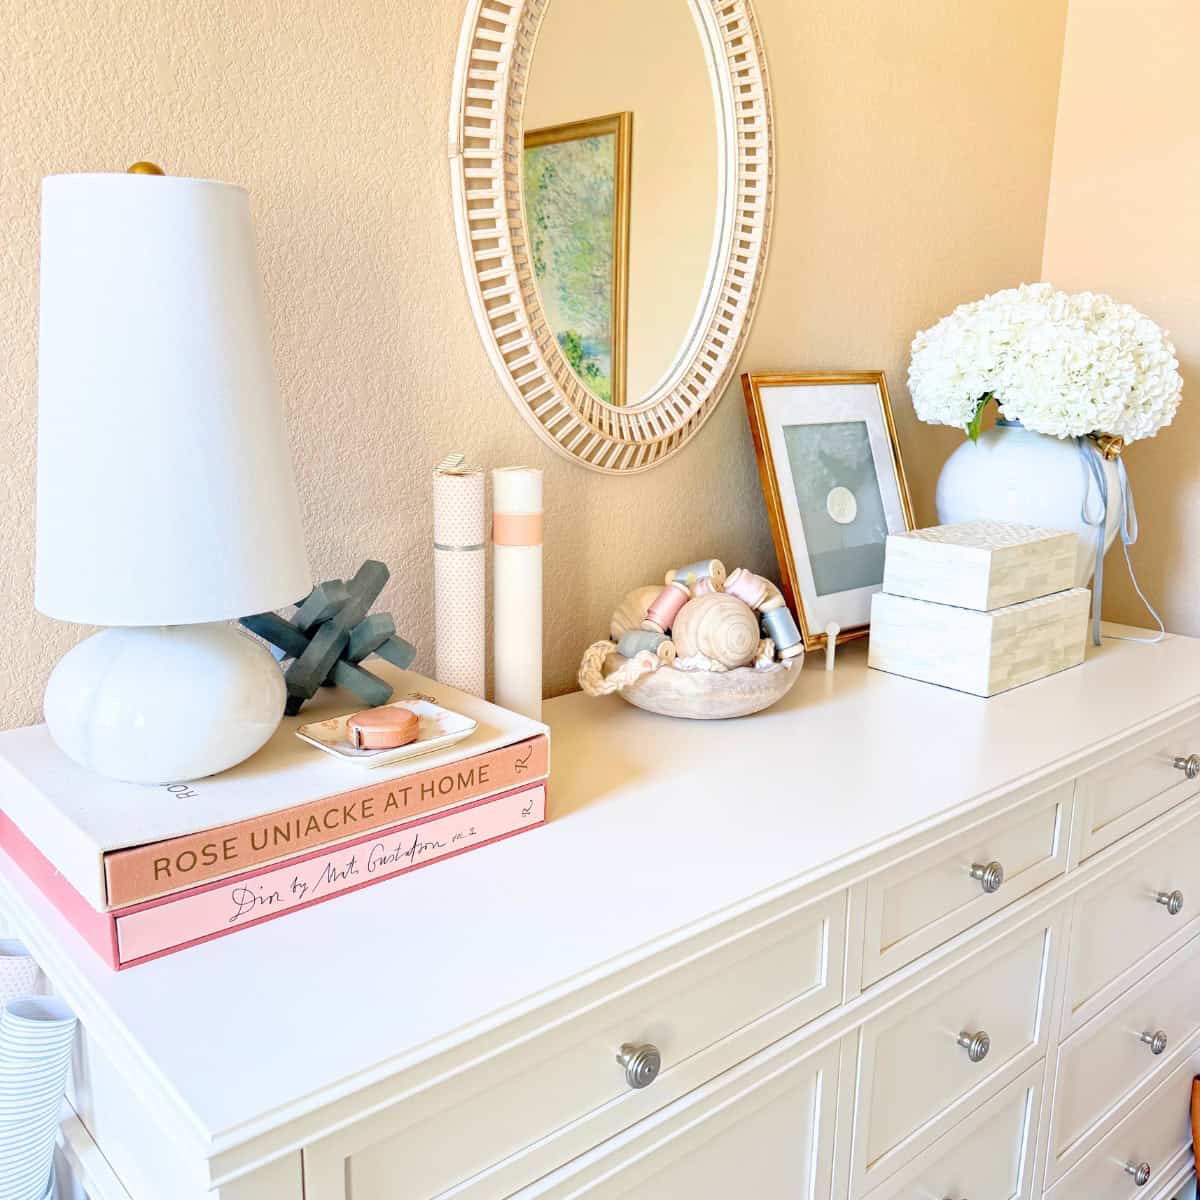
Decor to Style a Dresser:
- Lamp for illumination and ambiance
- Vase to add height and interest
- Decorative boxes holds items you don't want to look at
- Tray to neatly organize little things
- Books stacked with decor on top
- Trinket dish or bowl to hold jewelry
- Real or faux flowers/plant to bring life into the room
- Art, photos, or mirror on or above or both
- Objects and keepsakes to reflect who you are
- Candle for a pleasant scent
Decor is more interesting when it is a mix of old and new. Maybe you have keepsakes from a special trip you took or a piece of original art, unique items like these tell a story you may want to display.
Again, shop your house first. You can always buy something new if you need to, but this way you use what you already have.
Consider Colors or a Feeling
As you gather your decor together, consider if you want to stick to a certain color palette. Maybe use colors that appear elsewhere in your home, which will keep a consistent flow from one room to the next.
Or, maybe you are going for a feeling when you walk into a room. Use that as inspiration for your decor.
Even if only one color is consistently used in each room in some way - a blanket, in a piece of art, through decor - that is how designers make whole homes feel connected. Color is used as a thread to connect all of the spaces together.
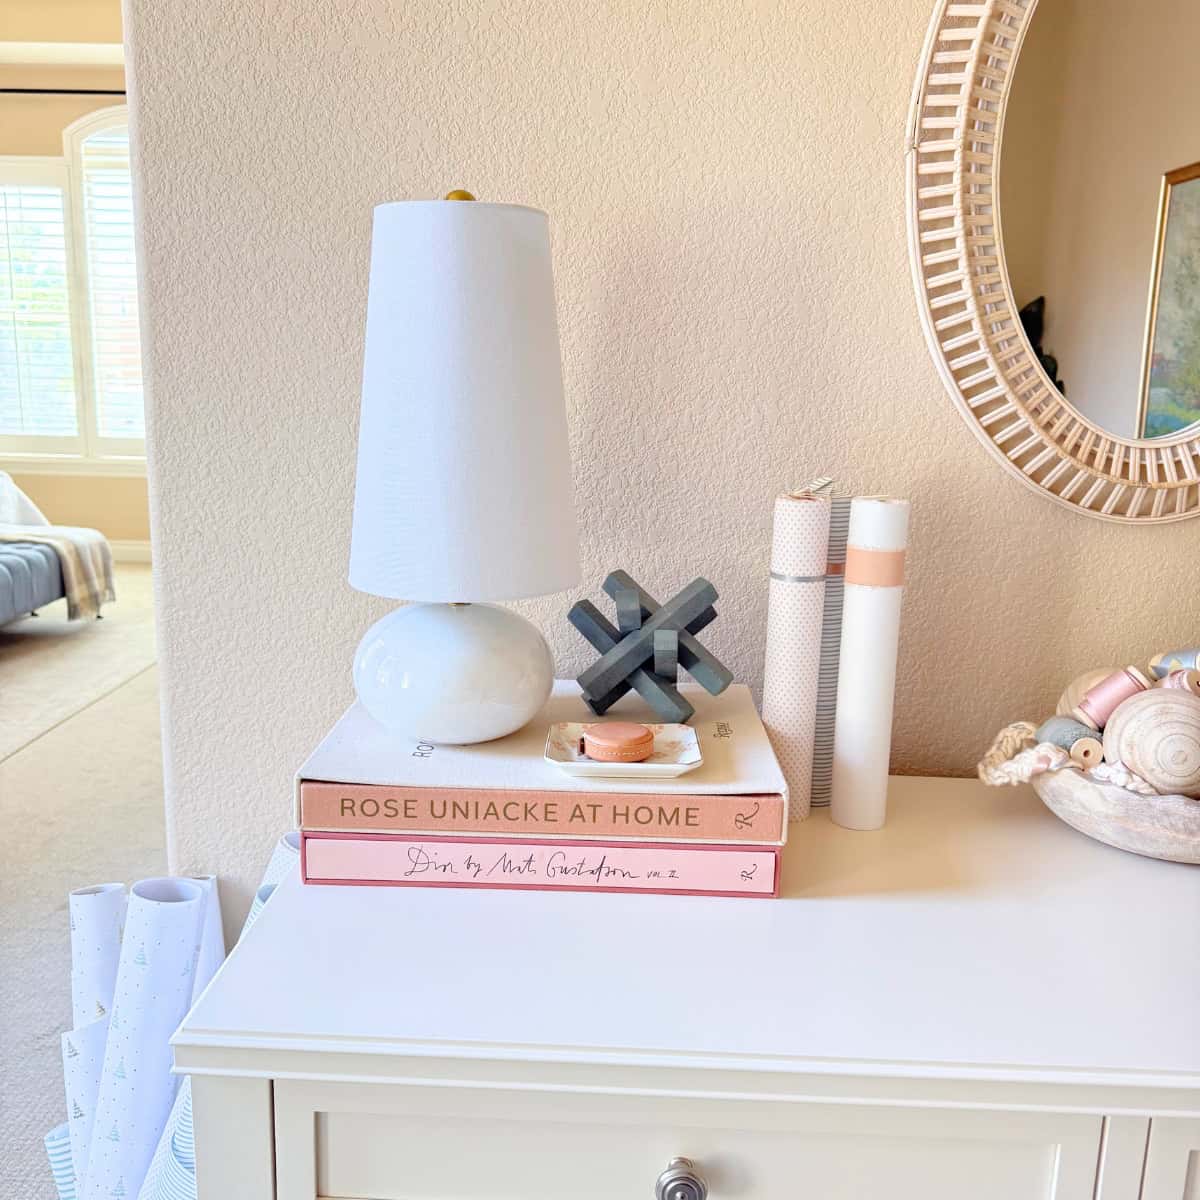
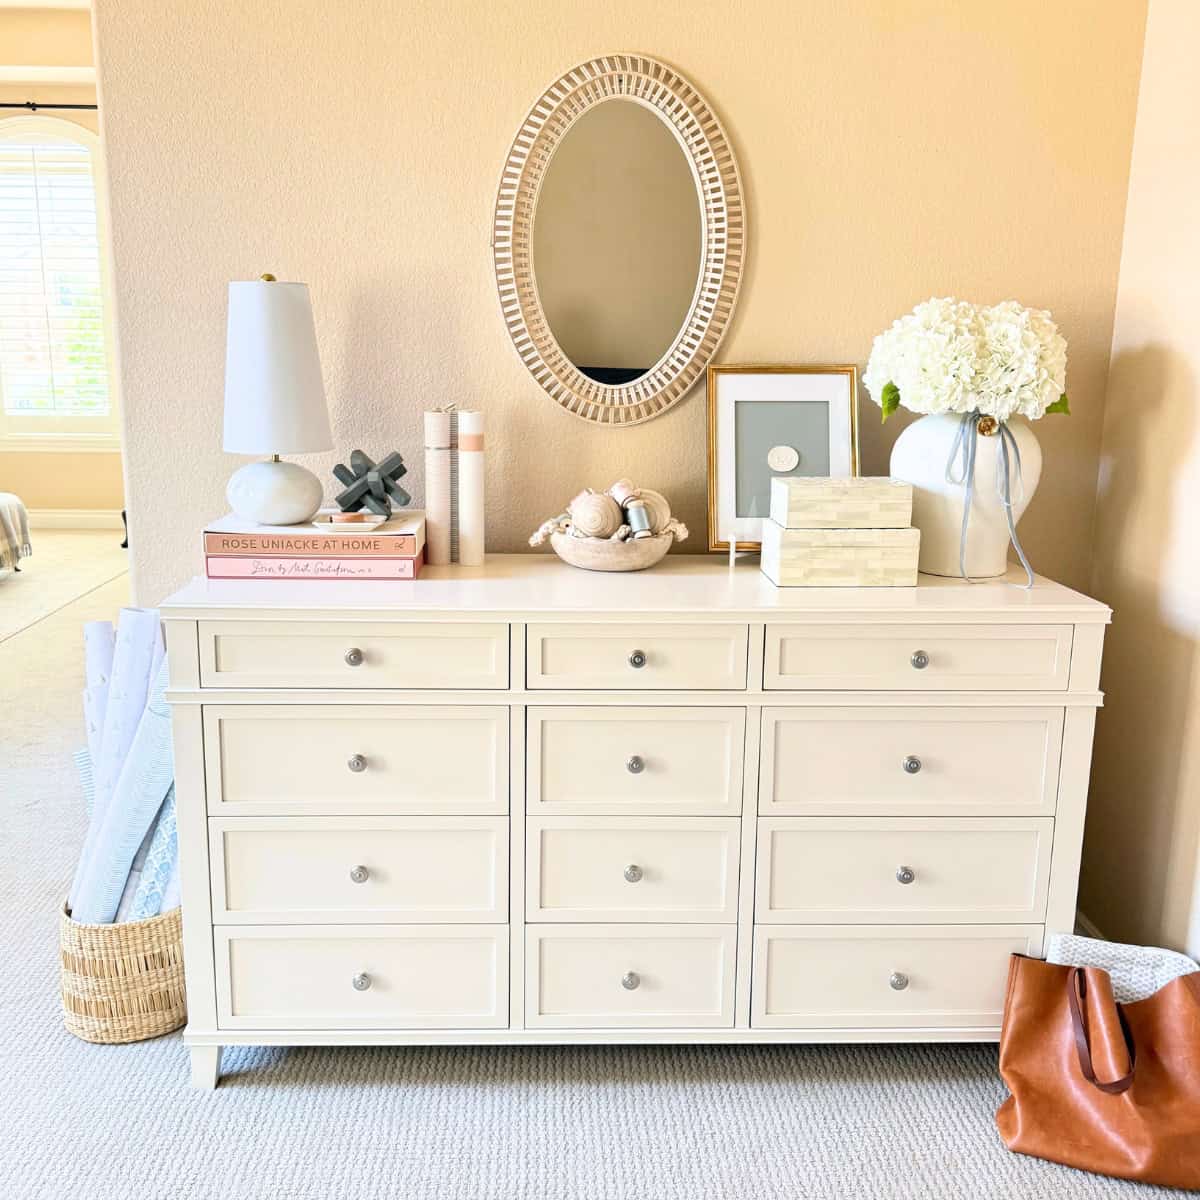
You'll see I used white and cream, dusty blue, and blush pink across the dresser decor. These colors appear in other rooms in our home. I went for a very calming, soothing palette that I absolutely love.
For your space, ask yourself what it is that you like. Do you like moody, calming, colorful, or neutral? Whatever makes you happy, try it! You can always change it.
Style with decor in colors that fit your preferences. You can't go wrong if you ignore trends and just go with what you love.
Start with an Empty Dresser Top
The first tip is to remove everything from the top surface of the dresser.
Starting with the dresser top completely empty will give you a fresh perspective. It also helps you to visualize how much surface area you are working with.
Hang Art, Photos, or a Mirror
After you have cleared the dresser surface, hang any artwork, photographs, or a mirror above the dresser before you add anything to the dresser top.
It can get very challenging to hang something above the dresser after styling. You may end up knocking over a beloved vase or break a glass candle holder, who knows. Of course, use your own judgement when it comes to this.
For a traditional look, hang the piece of art/mirror in the middle of the dresser. For a more contemporary look, hang the piece off-center.
I left a charming light rattan oval mirror hanging above the dresser. It lends such a beautiful texture against the smooth dresser. I realize the scale of the mirror is incorrect, and that it should be larger (about two-thirds the width of the dresser), but I love it too much to care.
Unfortunately, they no longer make the mirror we have; however, this pretty rattan oval mirror is a nice alternative that comes in two sizes.
Here are a few other alternative mirrors (be sure to check that the dimensions work for your space):
Style Large Items First
Another tip is to style the largest items first, usually placing a lamp or tall vase at one or both ends of the dresser. Some people like to use two lamps at either end of the dresser, so place those first.
It is okay if you have a lamp at one end and a tall vase at the other end. In fact, variation of large decorative elements oftentimes lends interest to a space or vignette.
Personally, I like varying the items at each end of the dresser. I also prefer the item on the left end to be taller than the item at the right end. To me, it looks more aesthetically pleasing to the eye than having both items be the same height.
If you plan to lean a piece of art or a mirror somewhere on the dresser top, now would be the time to place those items. We will cover layering later, which is why it's important to place these types of items now.
To style our dresser, I placed DIY Intaglio Art I made to the left of the mirror on this pretty white picture easel (small size).
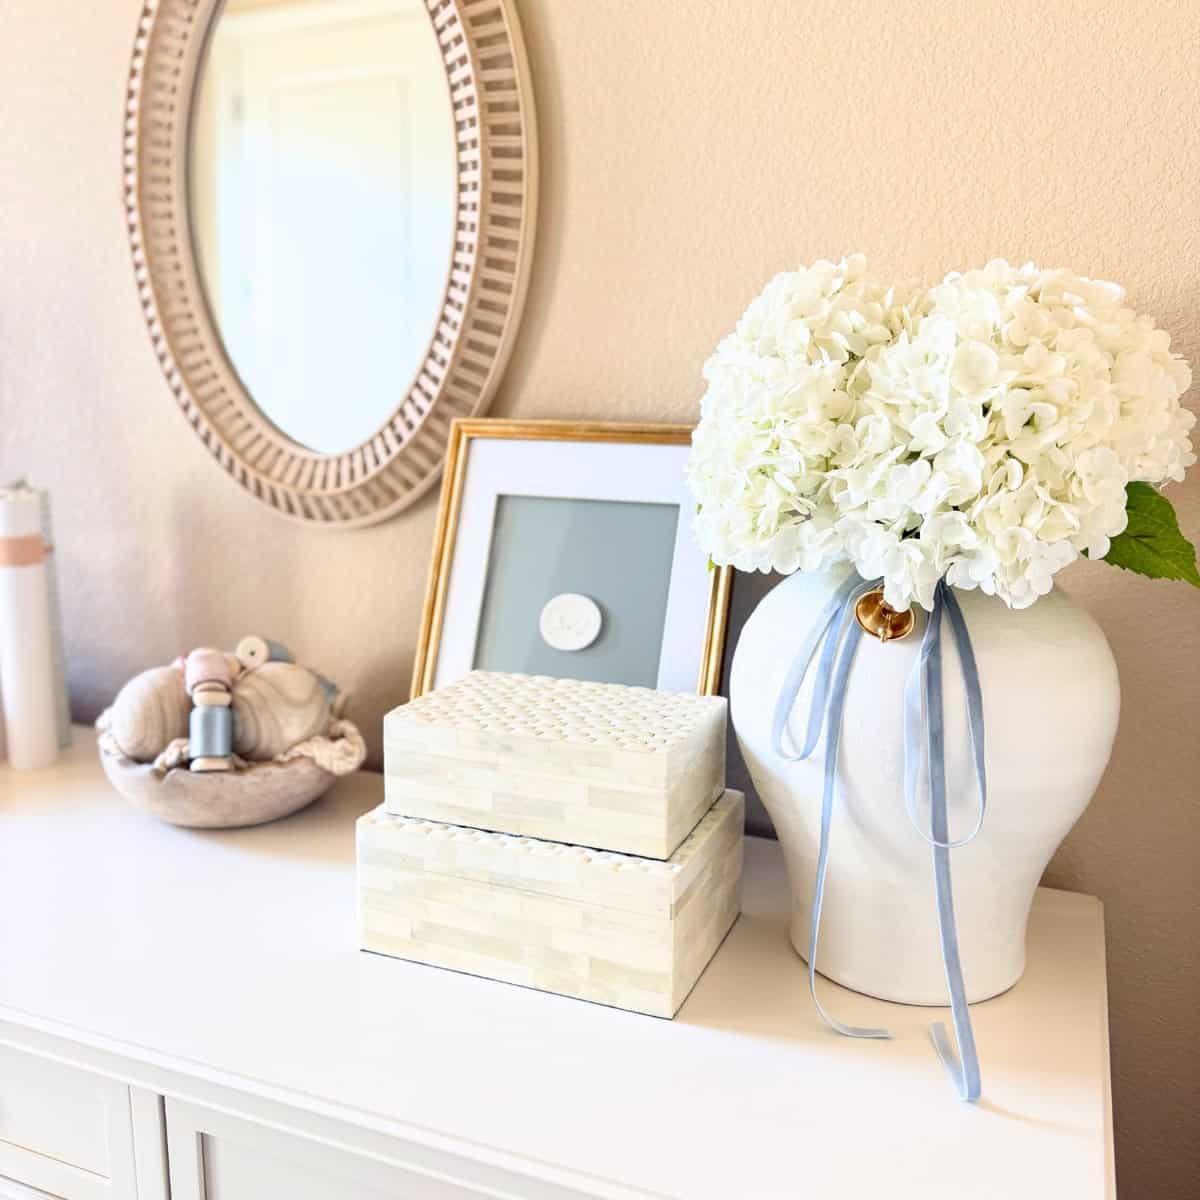
I then placed a favorite gorgeous tall white cachepot vase on the right side that I like to fill with these faux white hydrangeas flowers.
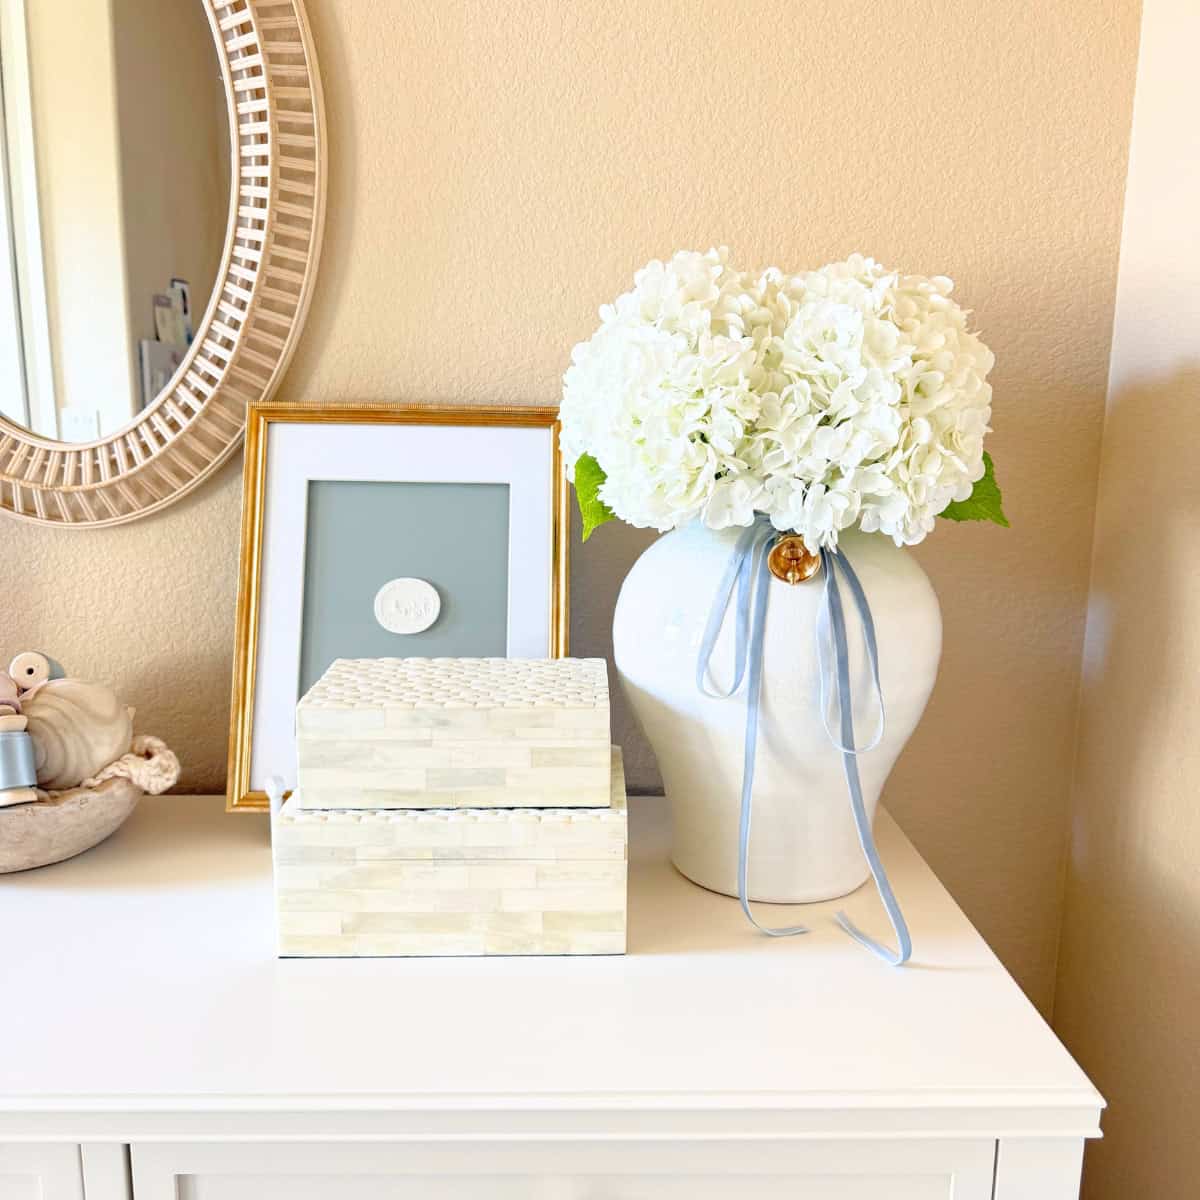
Once all of the large items are placed, stand back to take it all in. Does it look the way you want it to so far? Does it look balanced to you? Move things around if need be.
Layer Decor on the Dresser
Now is what I consider to be the most fun and creative aspect of styling: layering.
Having placed any large art, vases, or a lamp on the dresser top, you can now begin layering smaller items in front of these things. Place an object in front or slightly off to one side, stack a set of decorative boxes, or add a tray.
Basically, you are trying to create vignettes, or small moments, among the overall larger dresser styling design. Play around with moving objects until it feels right.
Here, I stacked a set of decorative bone boxes (alternative and a few sizes available) in front of the art.
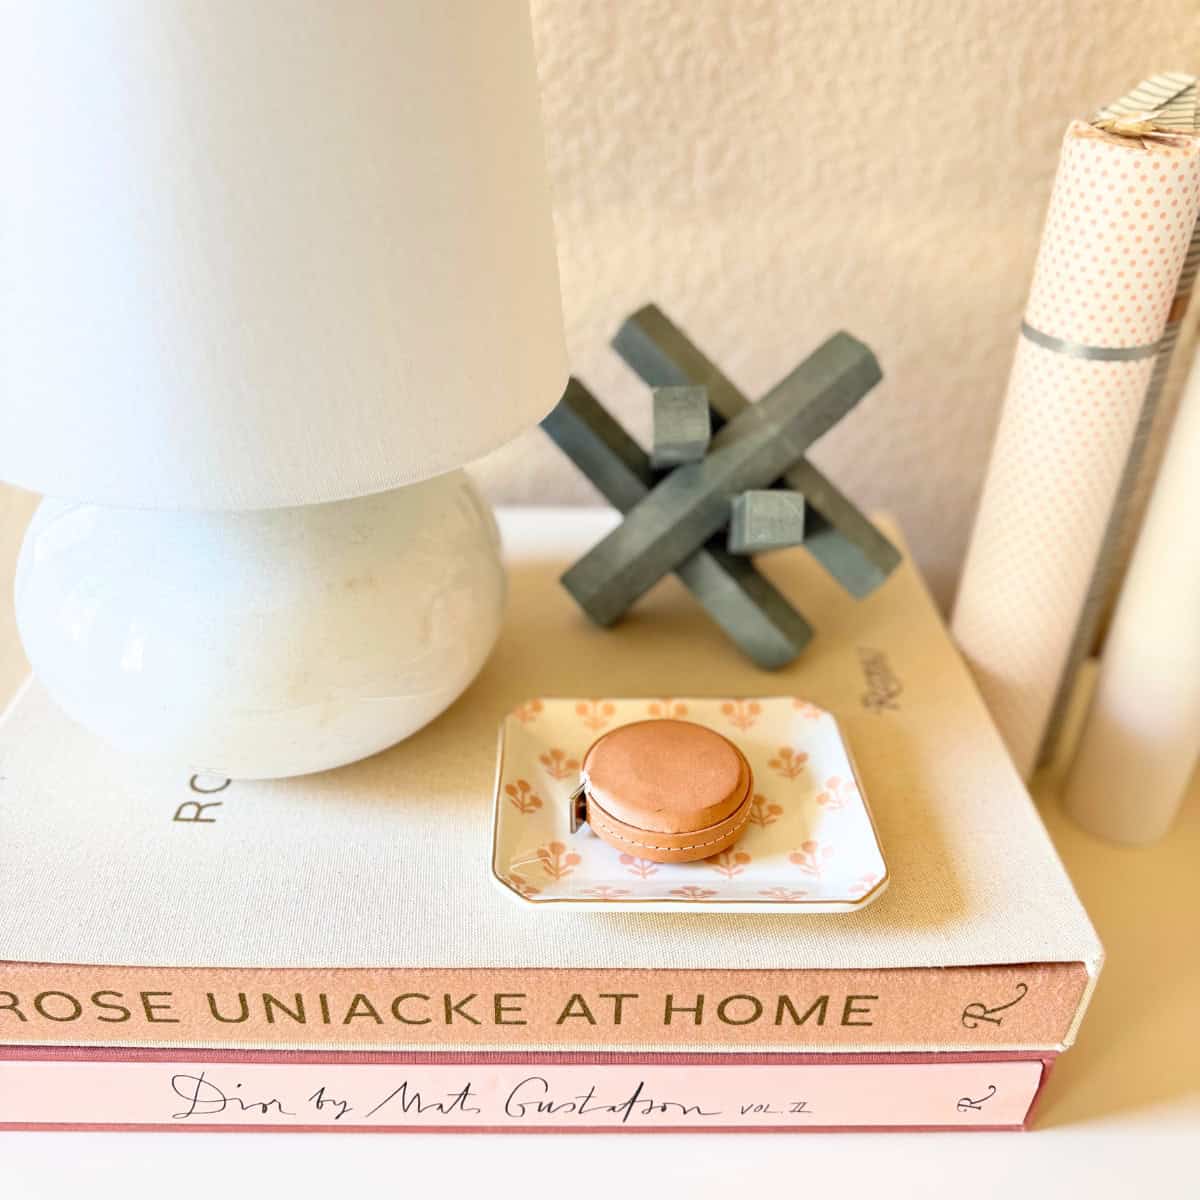
To add interest and depth, I layered a blue soapstone object, a gorgeous marble table lamp, and this small rose floral trinket tray dish on top of two large stacked books - Rose Uniacke at Home and Dior by Mats Gustafson vol 2. Next to the books are my Matchbox Tube DIY for an aesthetic way to store long stem matches.
Be sure to leave some negative (empty space) in between groupings so it doesn't look like one continuous stretch of decor across the dresser.
Empty space is important to give our eyes a break as we scan a room.
In the center of the dresser, I placed a charming round wood bowl (alternative) that I use to store spools of various ribbons and my DIY Yarn Garland. Who says you can't stack bowls of different materials and textures together? It is unexpected, but looks so good!
Once you have styled the dresser the way you want, stand back again. How does it look? Do you need to move anything around? Does it feel balanced or is something missing?
Make any adjustments you want. When you have it how you want it, you're done! Now you know how to style a dresser top just like the pros!
What items do you like to style a dresser with? Share in a comment below that others may also learn even more ideas!
Leave a Reply