This DIY matchbox can be done with short matches or long fireplace matches you've probably seen on social. With only a few supplies you most likely already have, makeover those not so pretty matchboxes sitting in a drawer.
This is not a diy in the exact definition; rather, a makeover in the form of matchbox crafts. Specifically, a tube matchbox that isn't particularly aesthetic-and lives in a drawer somewhere-but that you want to make look pretty and use as home decor.
Matchbox crafts are a fun holiday activity when you may already be nestled around a crackling fire anyway.
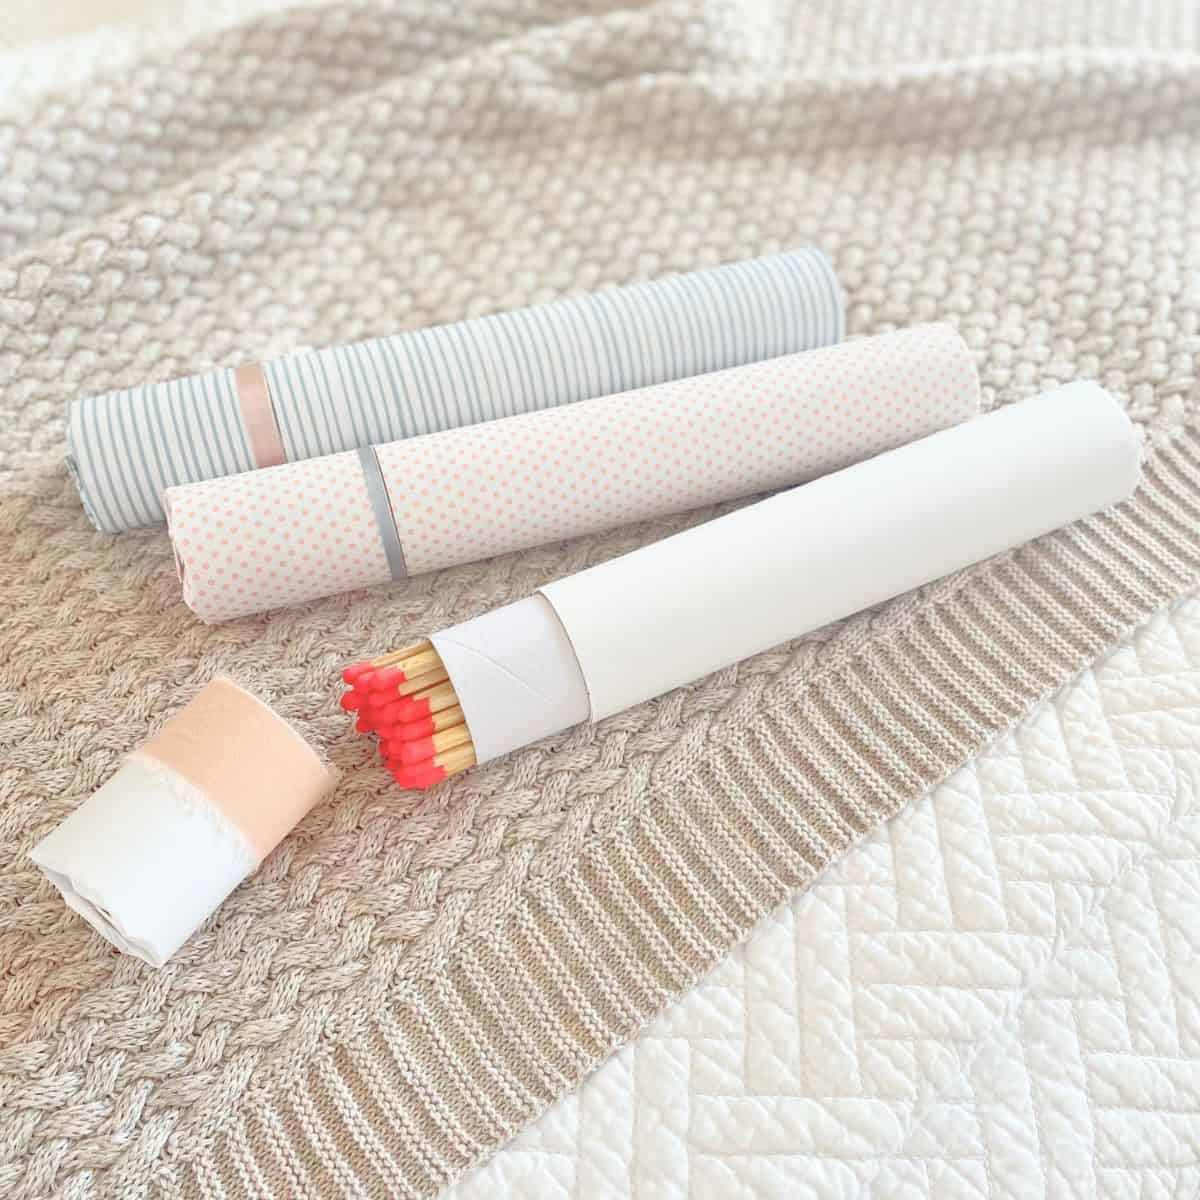
This is a completely unnecessary, over the top, yet oh-so satisfying project.
To take an otherwise utilitarian object, such as a tube of matches, and elevate how it looks, is very rewarding. For some, that may seem like an odd concept. Why make something over that lives in a drawer? For others-the ones that curate every corner of their home-it just makes sense.
When all is said and done, and you reach for your matches, you'll understand just how satisfying a simple project like this can make you experience your home differently.
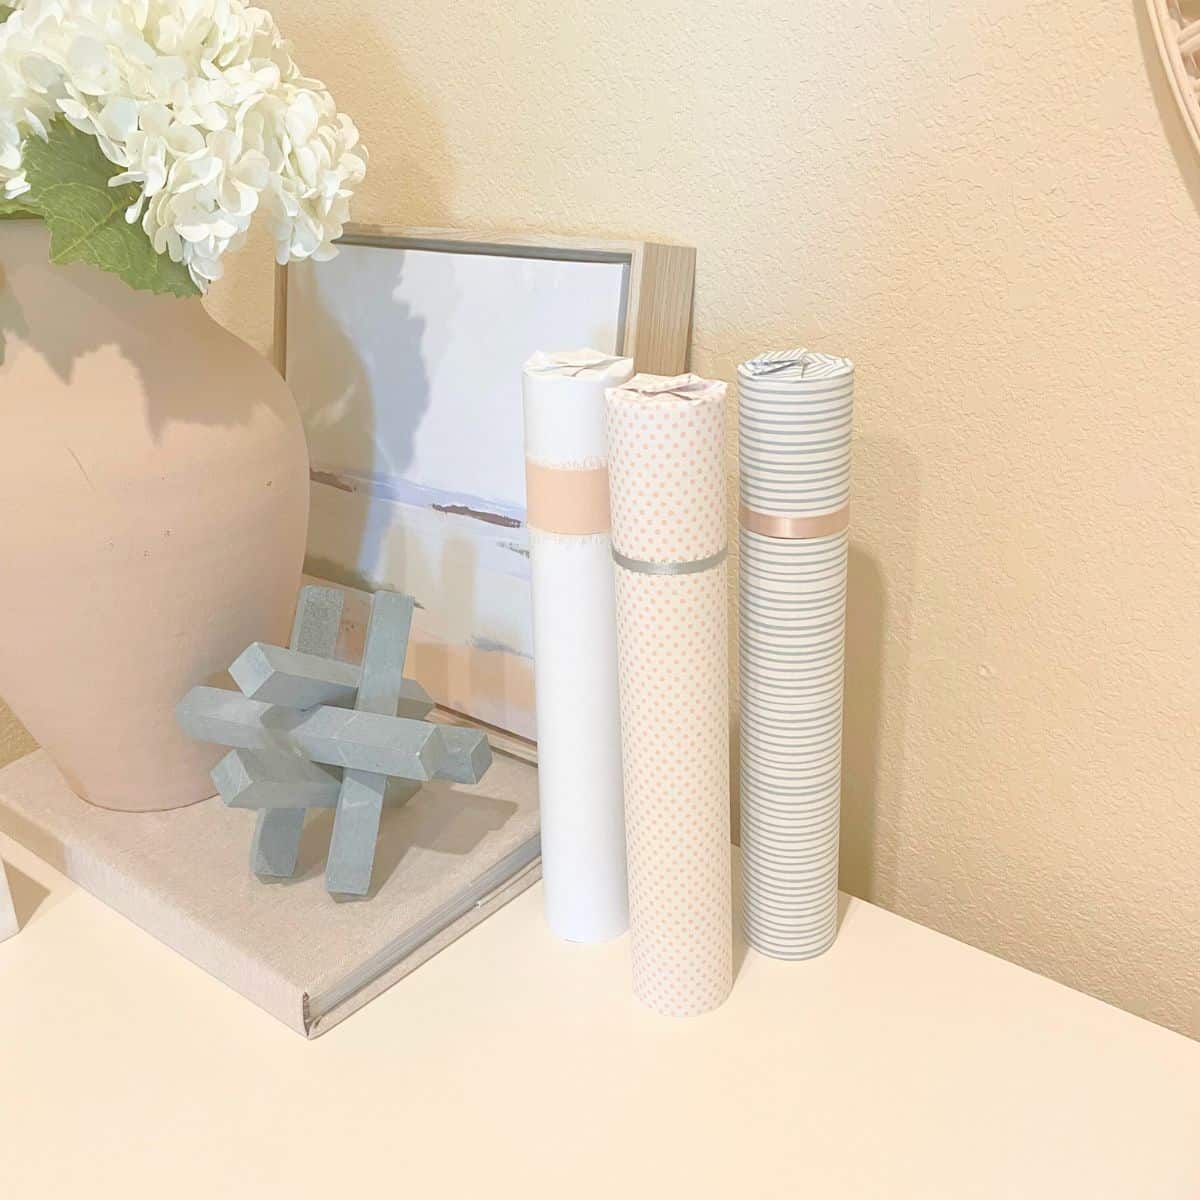
Why DIY Matchbox Crafts
We have a few fireplaces in our home as well as a gas rangetop. Living in a climate where it gets cold and snowy, I have always thought having long fireplace matches is a good thing to have on-hand. In the event of a prolonged power outage, long matches enable us to still cook, boil water or whatever else we need to do.
So, because I'm extra, I went in search of aesthetically pleasing long matches. What I found was a mix between overly expensive matches in glass containers and matches in overly branded cardboard tube containers.
Then, in my holiday decorating research stupor one year, I came across this pretty holiday-themed tube matchbox at McGee & Co.
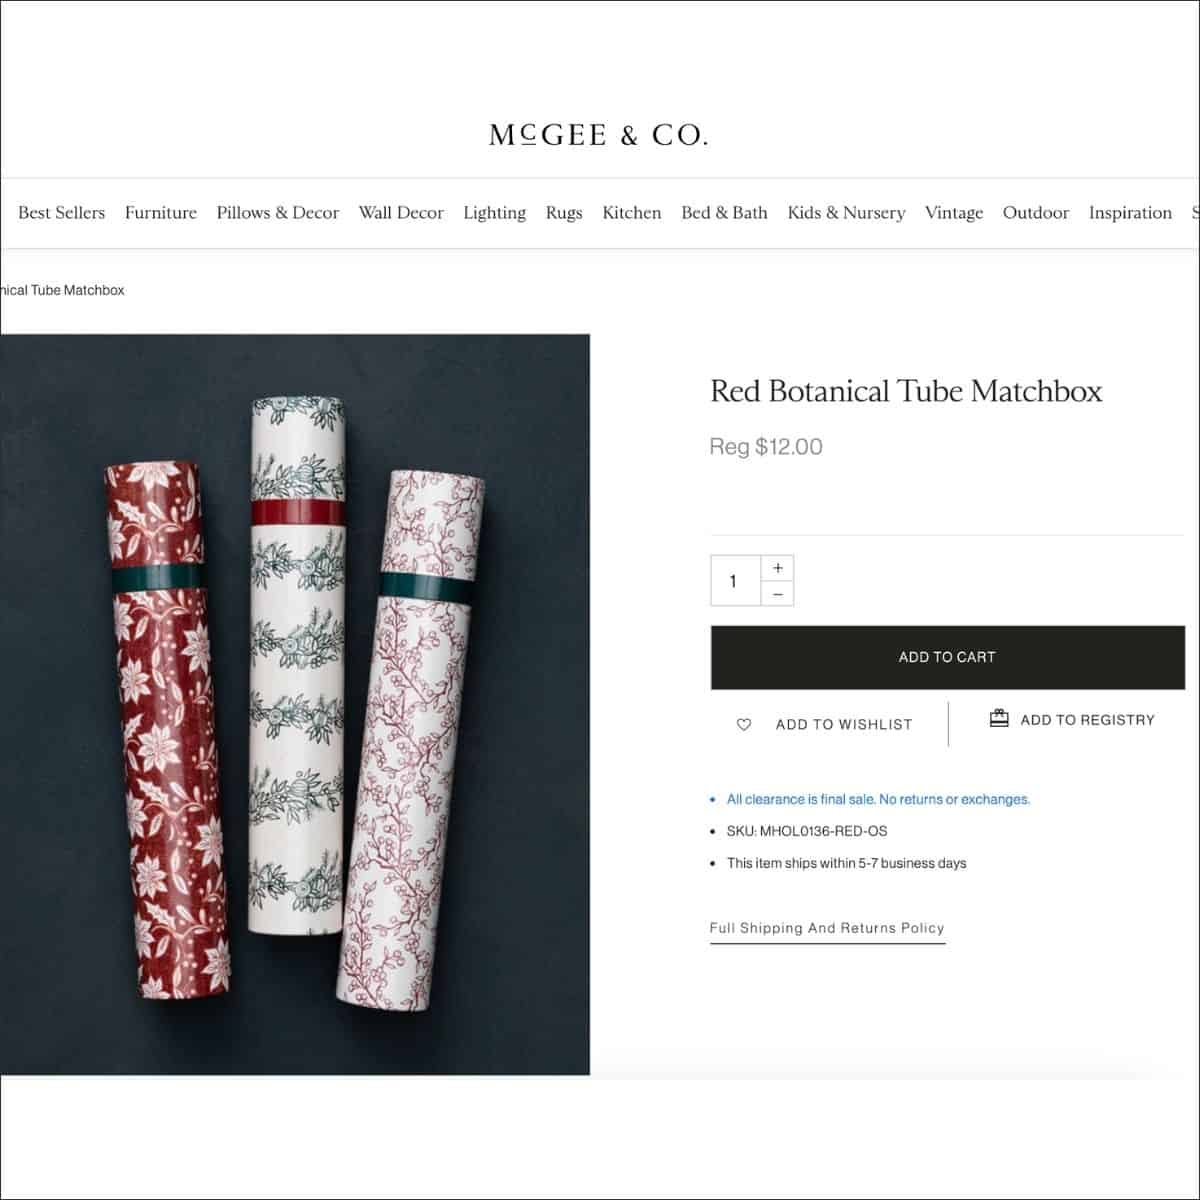
Between the statement-making paper and the touch of ribbon, I was hooked. But I wanted something I could use as home decor any time of year. The holiday theme was not going to happen. Back to researching.
I found the empty packaging tubes the McGee & Co vendor most likely used. Since it's product packaging, if you don't buy in bulk like companies do, it is entirely cost prohibitive for a simple at-home project. Back to researching.
Finally, I saw these long decor style Duraflame fireplace matches in a rustic birch bark pattern.
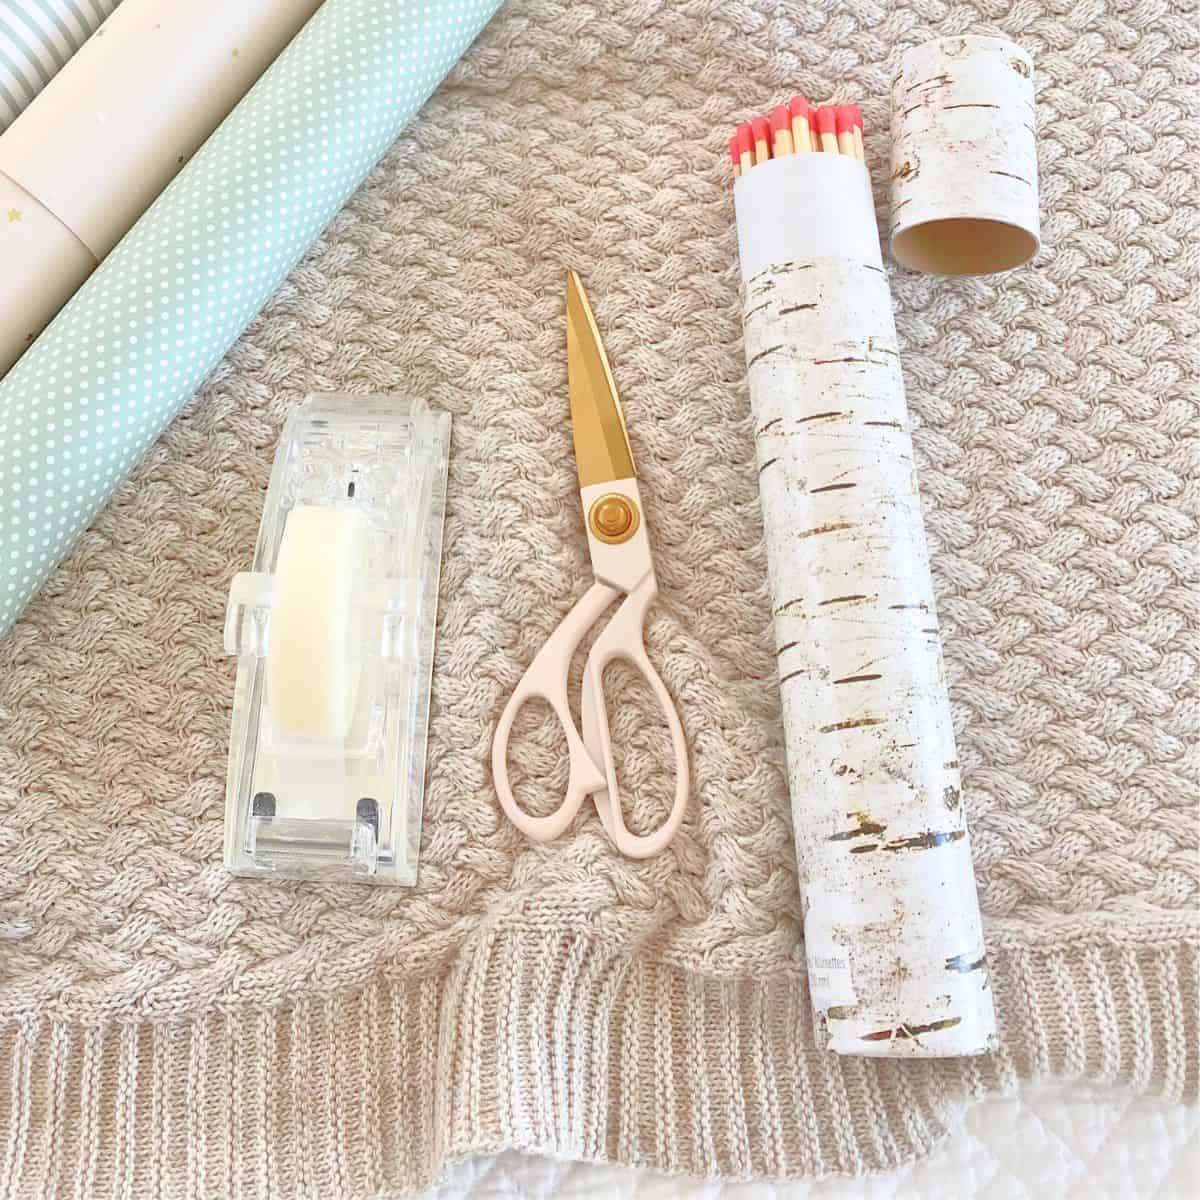
They are perfect for matchbox craft projects, because they meet key criteria for an at-home diy sort of project:
- inexpensive but functional, easy to makeover packaging
- covered in a not-so-pretty paper or branding to make a good diy project
- about the same size as the McGee & Co matchboxes
Immediately add to cart. Sold.
Supplies for Matchbox Crafts
A project as simple as this does not require many supplies. In fact, aside from the matchbox tube, you most likely have these craft supplies on-hand.
- Matchbox tube - A number of diy matchbox crafts use rectangular boxes. This project is for the long fireplace safety matches that come in a tube about 2 x 12 inches. You can get smaller or larger from the Paper Tube Co. As mentioned earlier, if you don't buy in bulk, it can get costly with shipping.
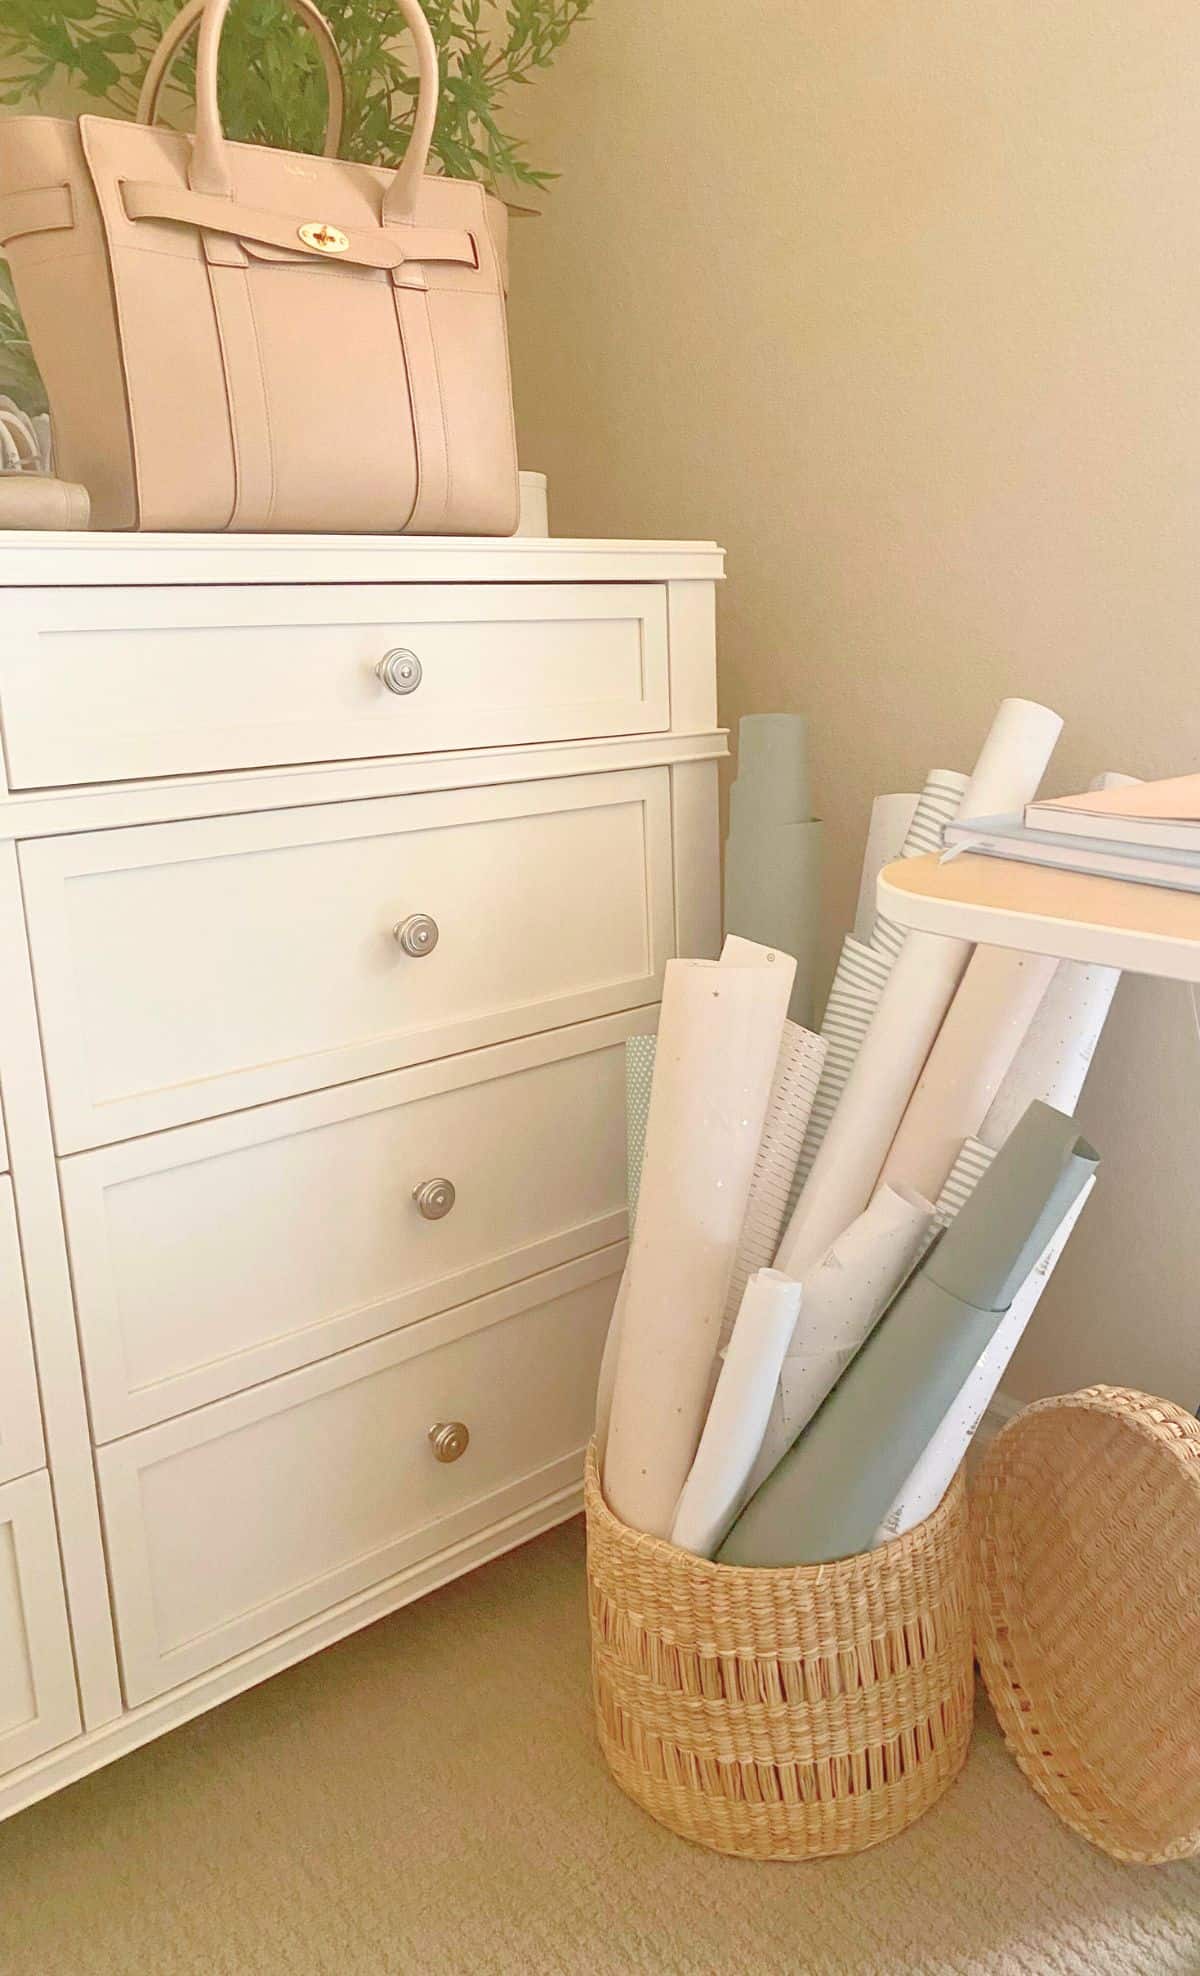
- Wrapping paper or wallpaper - Choose any pretty paper to wrap the matchbox in. I used my go-to high quality wrapping paper. I use this brand of wrapping paper for all of our gift giving for holidays, birthdays and other occasions. They have many different pretty patterns to choose from and the inside has a grid to make cutting a breeze. You should be able to use wallpaper, even peel and stick wallpaper, though I have not tried that.
- Double sided tape or glue stick - For this project, double sided tape, a glue stick or a hot glue gun should work. To keep things simple, I used a mix of double sided tape and a glue stick.
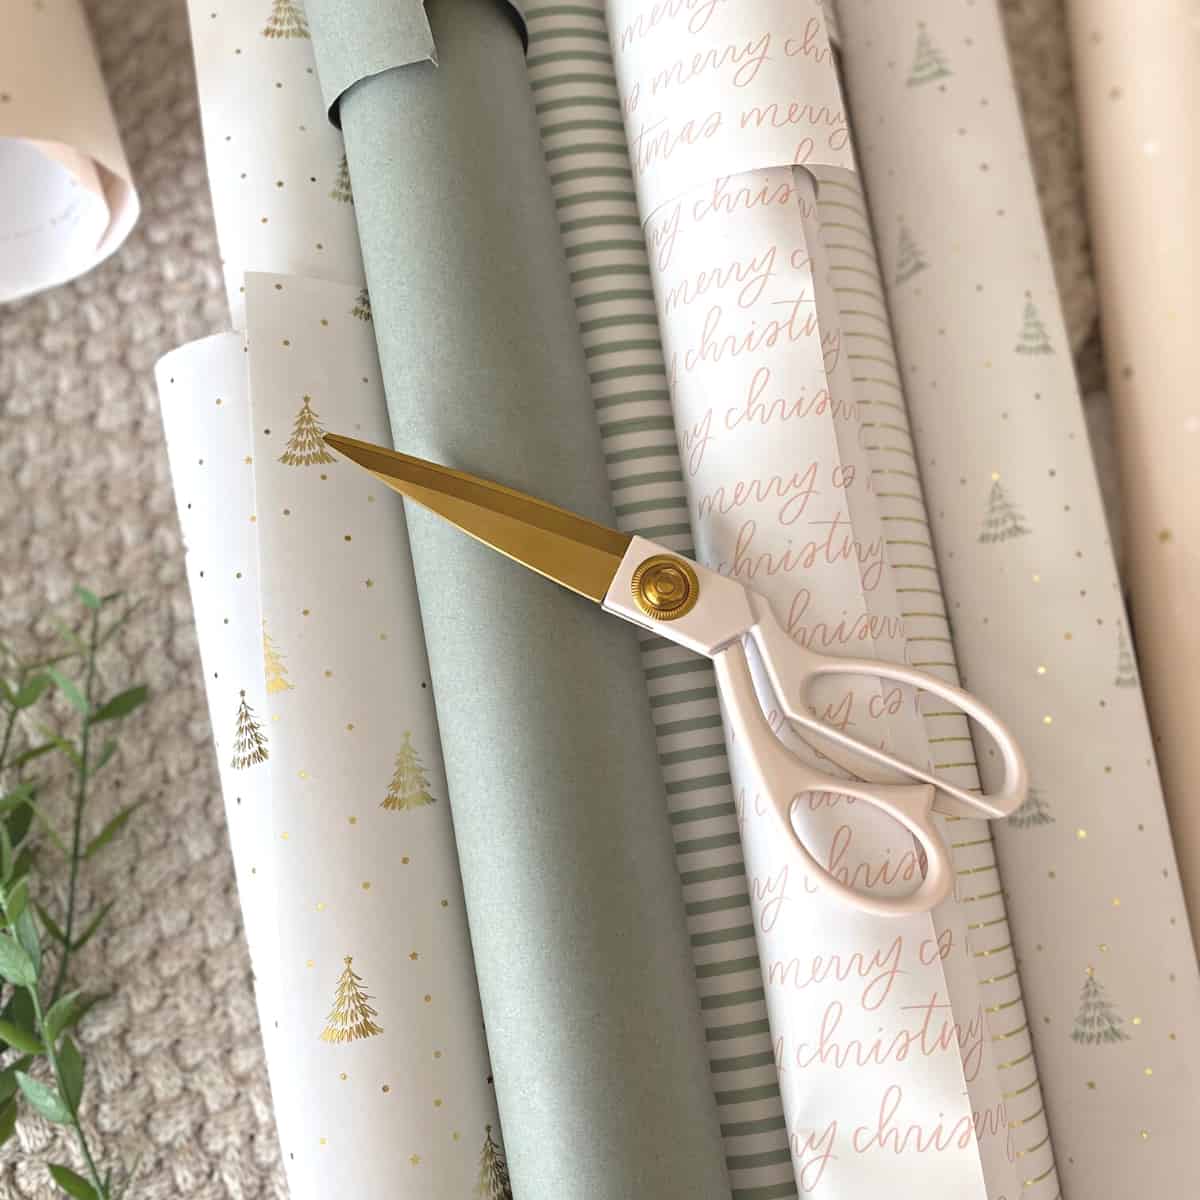
- Scissors - Sharp scissors is what you need for this craft project. My gorgeous stainless steel blush scissors are just as sharp as they are beautiful. The scissors come in other pretty colors. You could also try gold dressmaker shears or Russell+Hazel's beautiful golden acrylic scissors may also work.
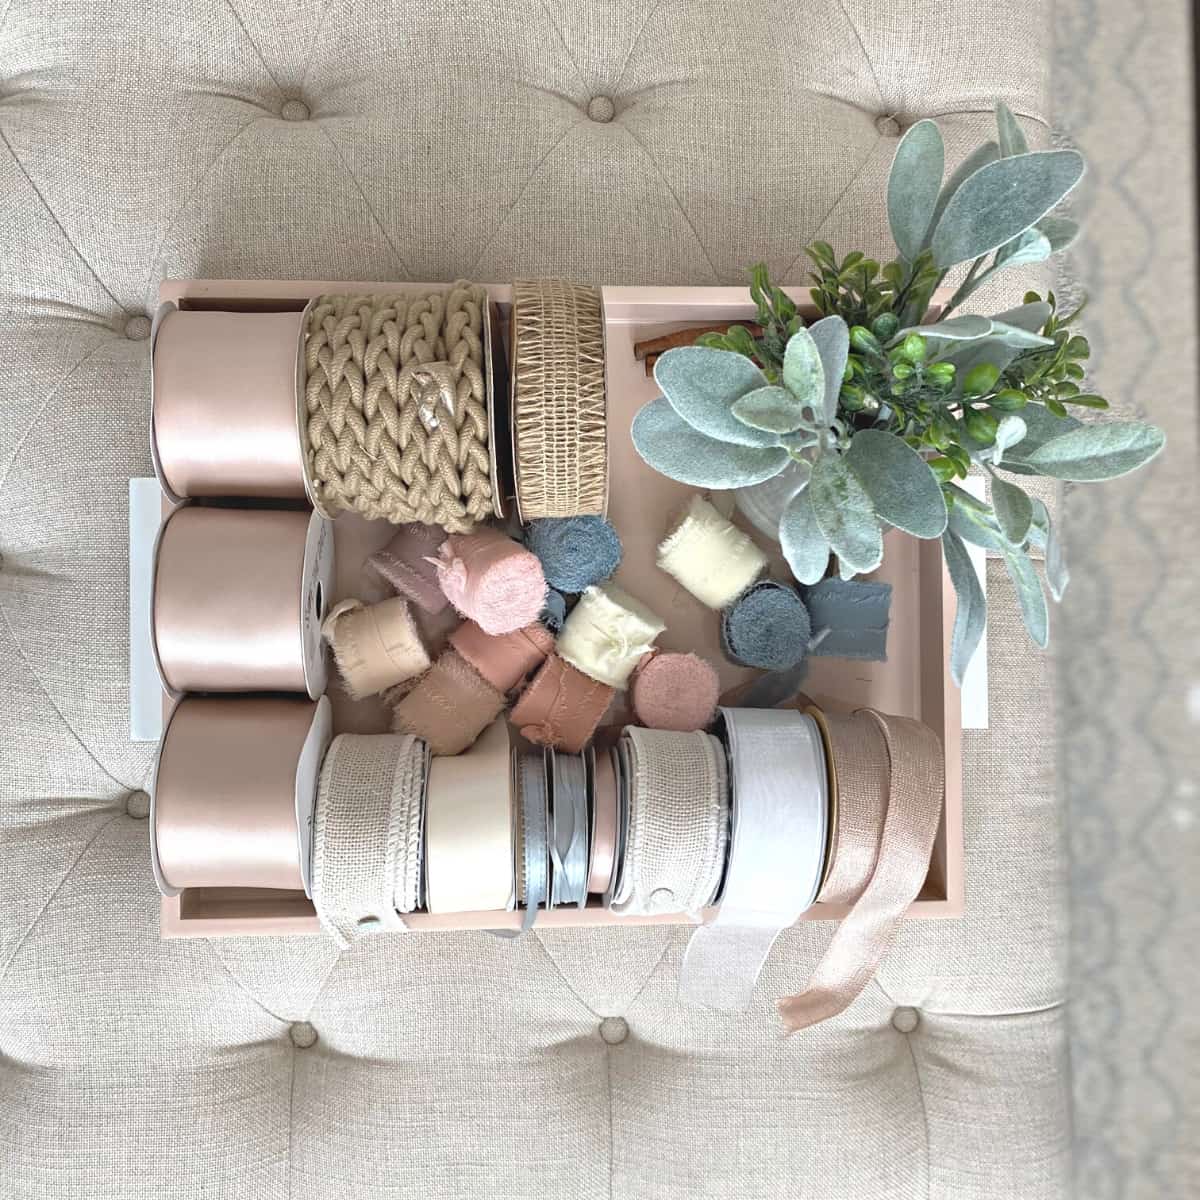
- Ribbon - You can use ribbon of almost any material. Satin ribbon, crossgrain and chiffon complements the paper nicely. I used satin ribbon for two of the three tubes of matches and chiffon ribbon in a lovely blush rose color for the third matchbox. JOANN, Michael's and Amazon are great places to source beautiful ribbons.
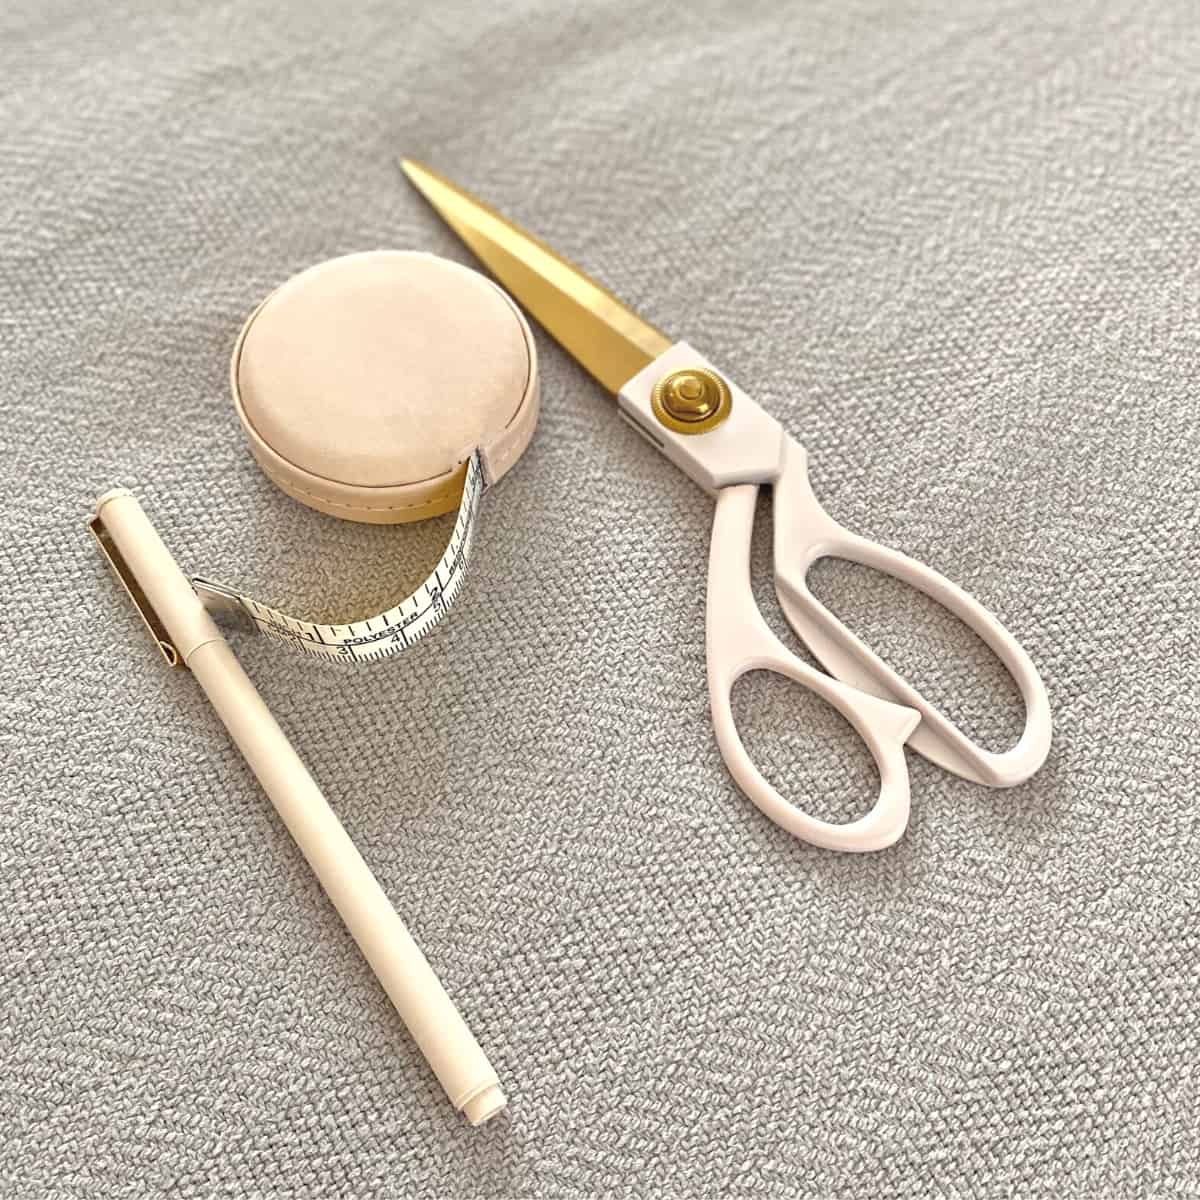
- Measuring tape (optional) - I find a fabric tape measure to be much easier to maneuver around wrapping paper. Any fabric tape measure will work. That said, if you've read any other posts here on Mornington Lane, you know that I'm extra. I try to buy aesthetically pleasing everyday items. When I came across this neutral colored leather tape measure, I knew it had to become part of my life.
Looking for gorgeous wrapping paper inspiration for this project? Read the beautiful gift wrap ideas post for all the details on the prettiest wrapping paper.
How to Makeover a Matchbox Tube
The cylindrical nature of the tube matchbox poses the challenge of ensuring the wrapping paper will look as beautiful when you're done. With a little trial and error, and a very helpful video on YouTube, pleating the top worked wonderfully.
Here is how to wrap a craft matchbox tube:
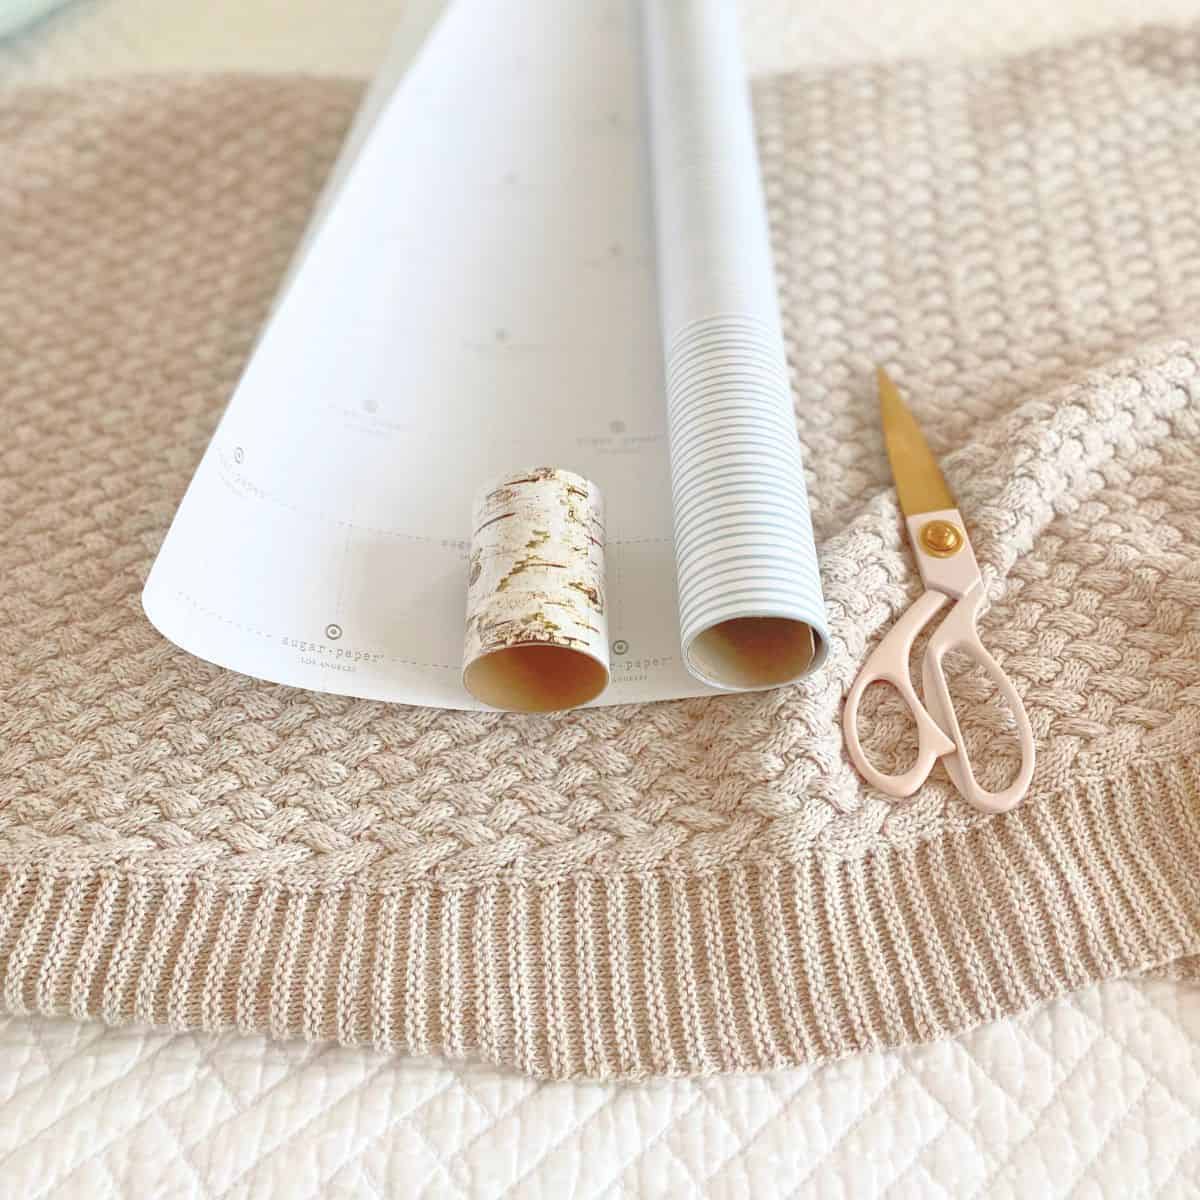
- Wrap the lid first. To do so, place the lid on top of the paper at the bottom edge of the paper with the top side away from the edge.
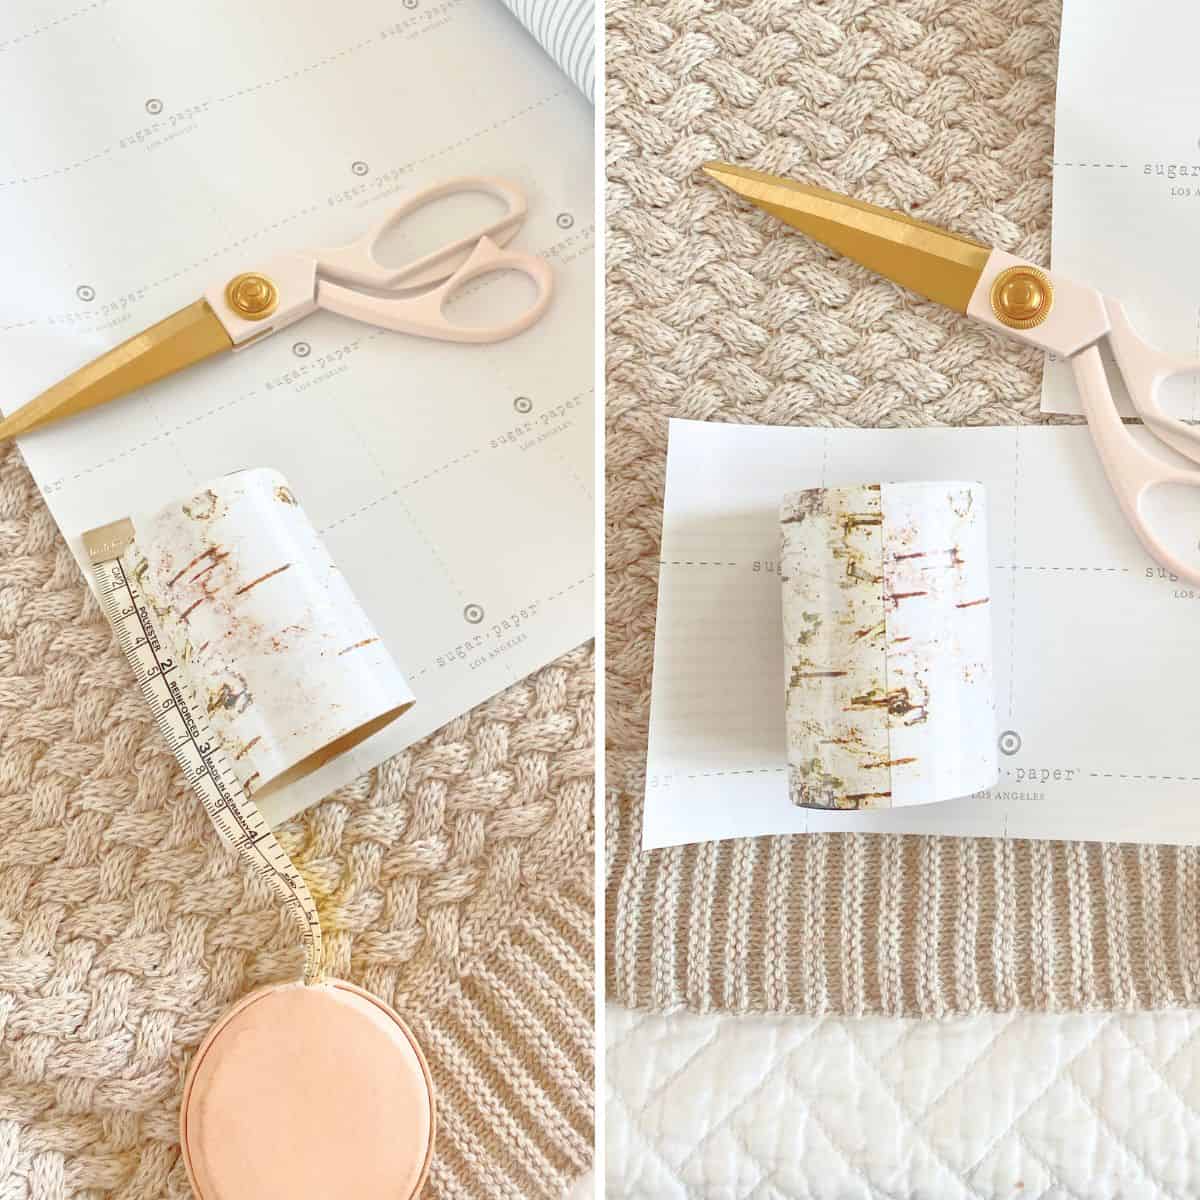
- Wrap the paper around the lid, taking care to only slightly overlap where the paper meets, about ¼ to ½ inch. There should be about 1 ¼ inch total paper. For my lid, it was about 4 inches for the height on the match tube lid. Cut the paper to size.
Tip:
Make sure to keep the paper on a straight edge as close to the bottom of the lid as possible. You do not want any paper inside the lid or it won't close properly and the paper will eventually wear very poorly-most likely even rip/tear-at the bottom.
- Wrap the paper around the lid, again taking care to keep the bottom edge tight to the bottom of the lid. Secure the paper with double sided tape or glue.
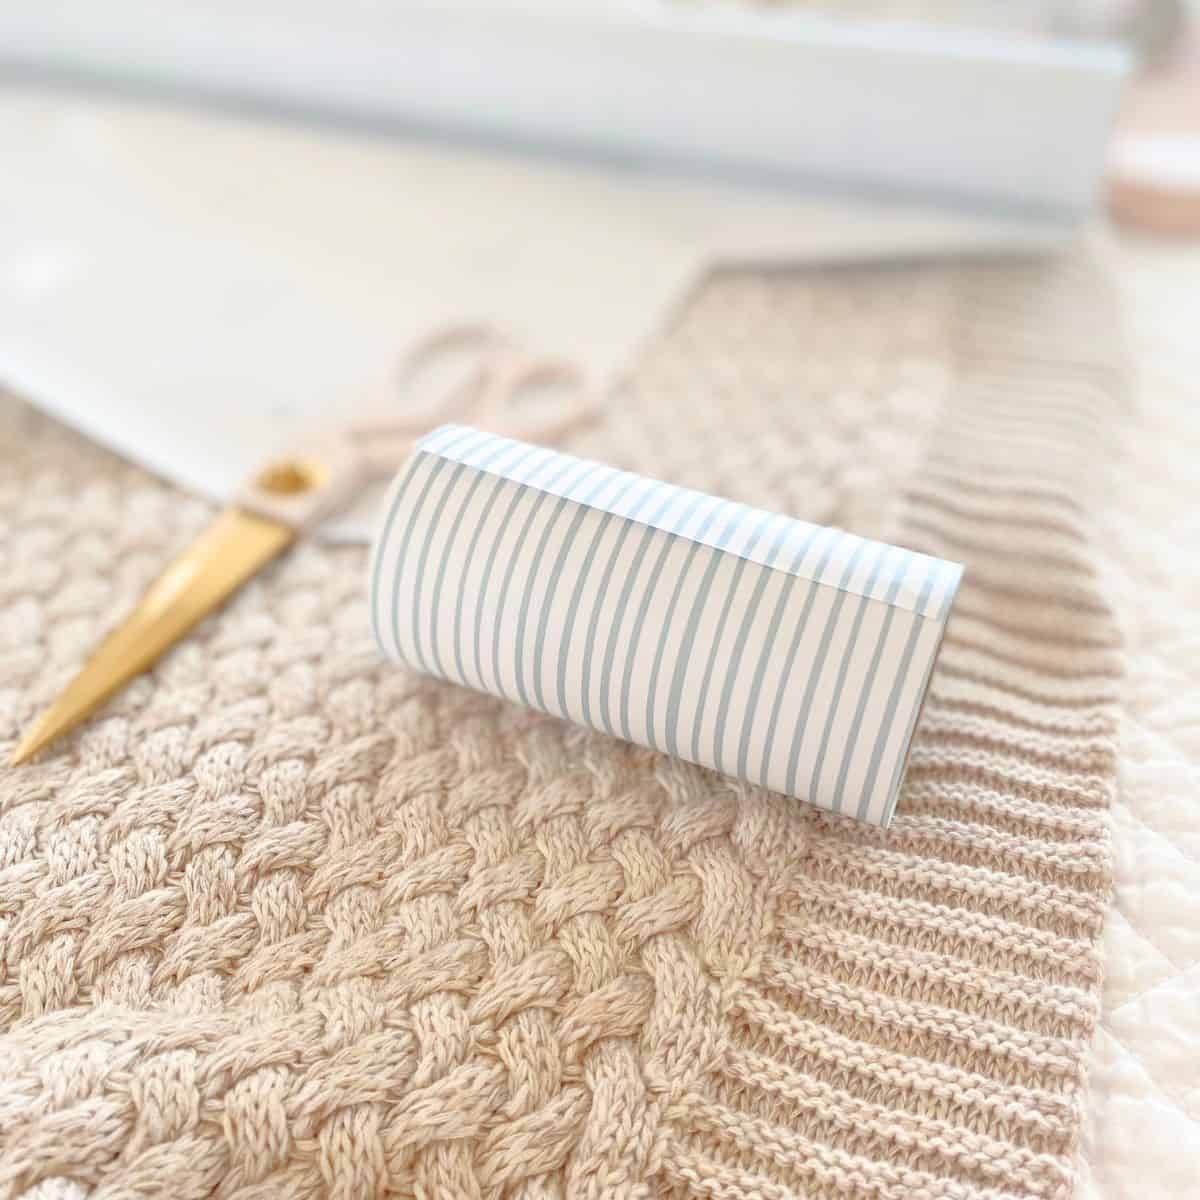
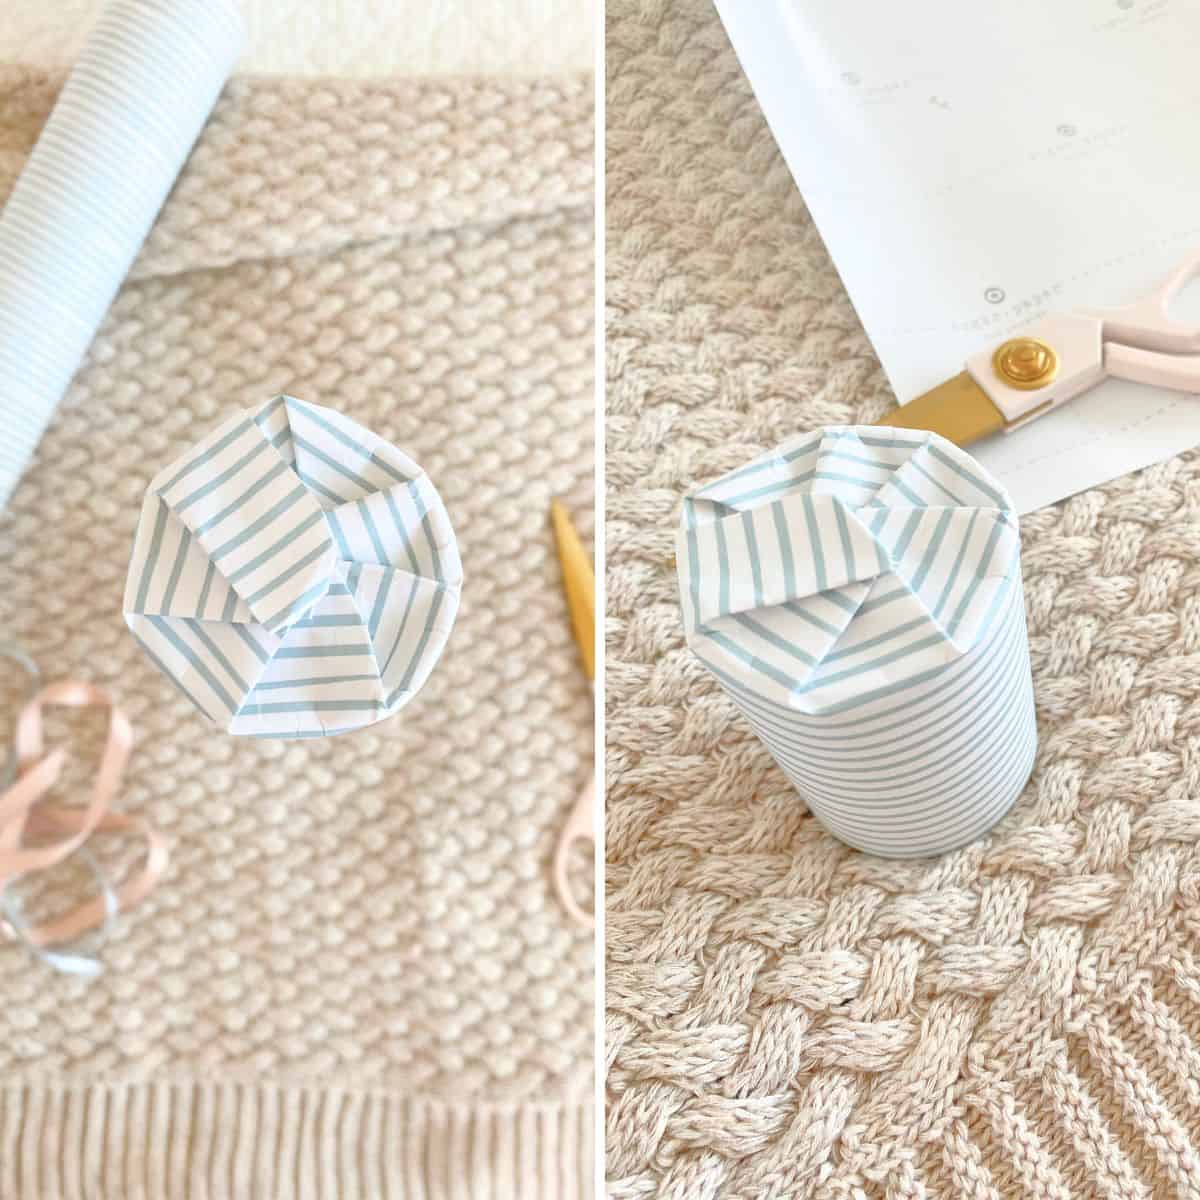
- Begin to pleat the top by pressing the inner paper that overlaps to the center and creasing the paper. While holding the center piece down, pull the paper next to the first pleat into the center, overlapping the first piece slightly, to create a pleat. Crease the paper. Continue pleating until the end of the paper.
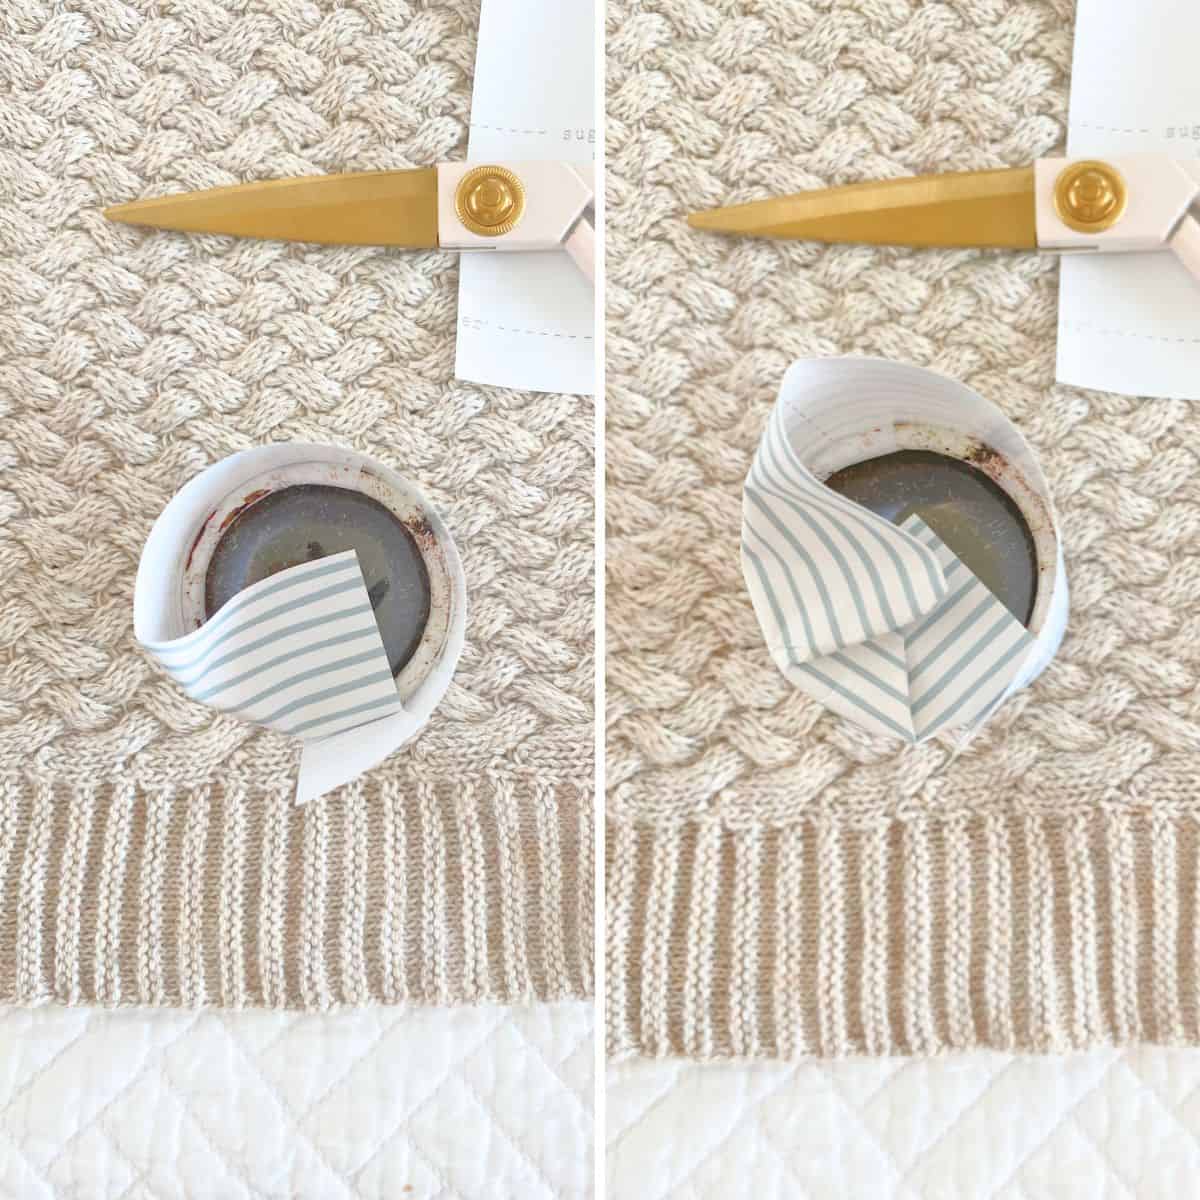
Tip:
Pay attention to the bottom edge that you you don't pull the paper above the bottom and expose the lid. The edge should remain tight at the bottom. If you need a better visual, this short video on how to pleat a cylinder may be helpful. Go to the 02:47 minute mark for the pleating portion.
- At the end, cut off any excess or fold the side over to create a clean line. Secure with double sided tape or glue.
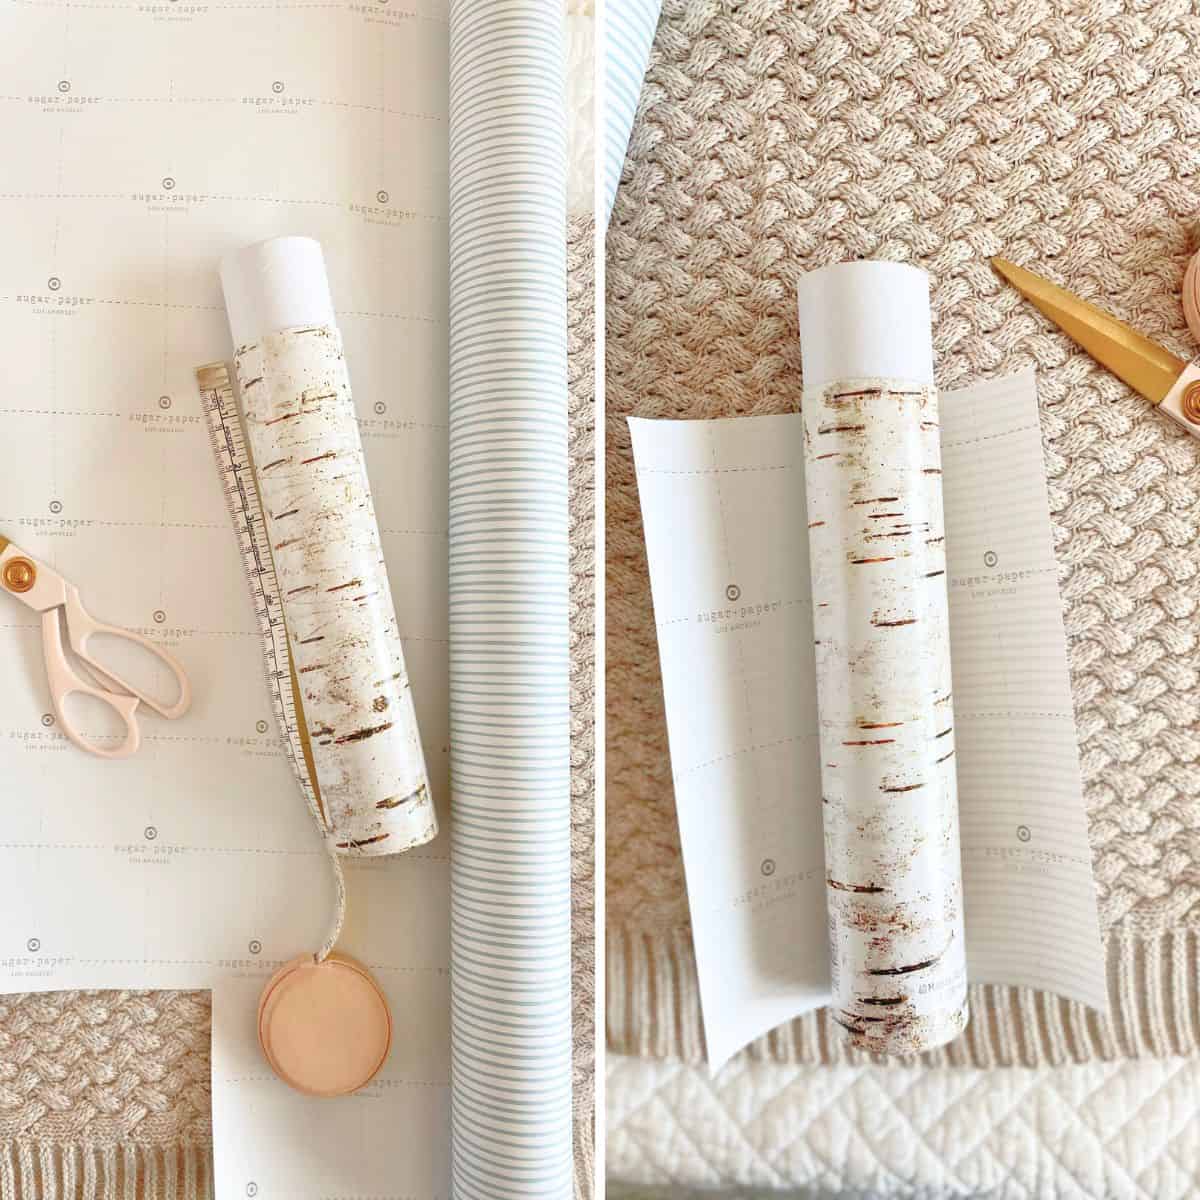
- Now it's time to wrap the main body of the matchbox tube. The matchbox tube I used had a striker on the bottom that I did not want to cover, for obvious reasons. Measure and place the matchbox with the lid side toward the bottom of the paper up to the notch where the lid meets the body. Cut the paper to the exact size. See pictures for clarity.
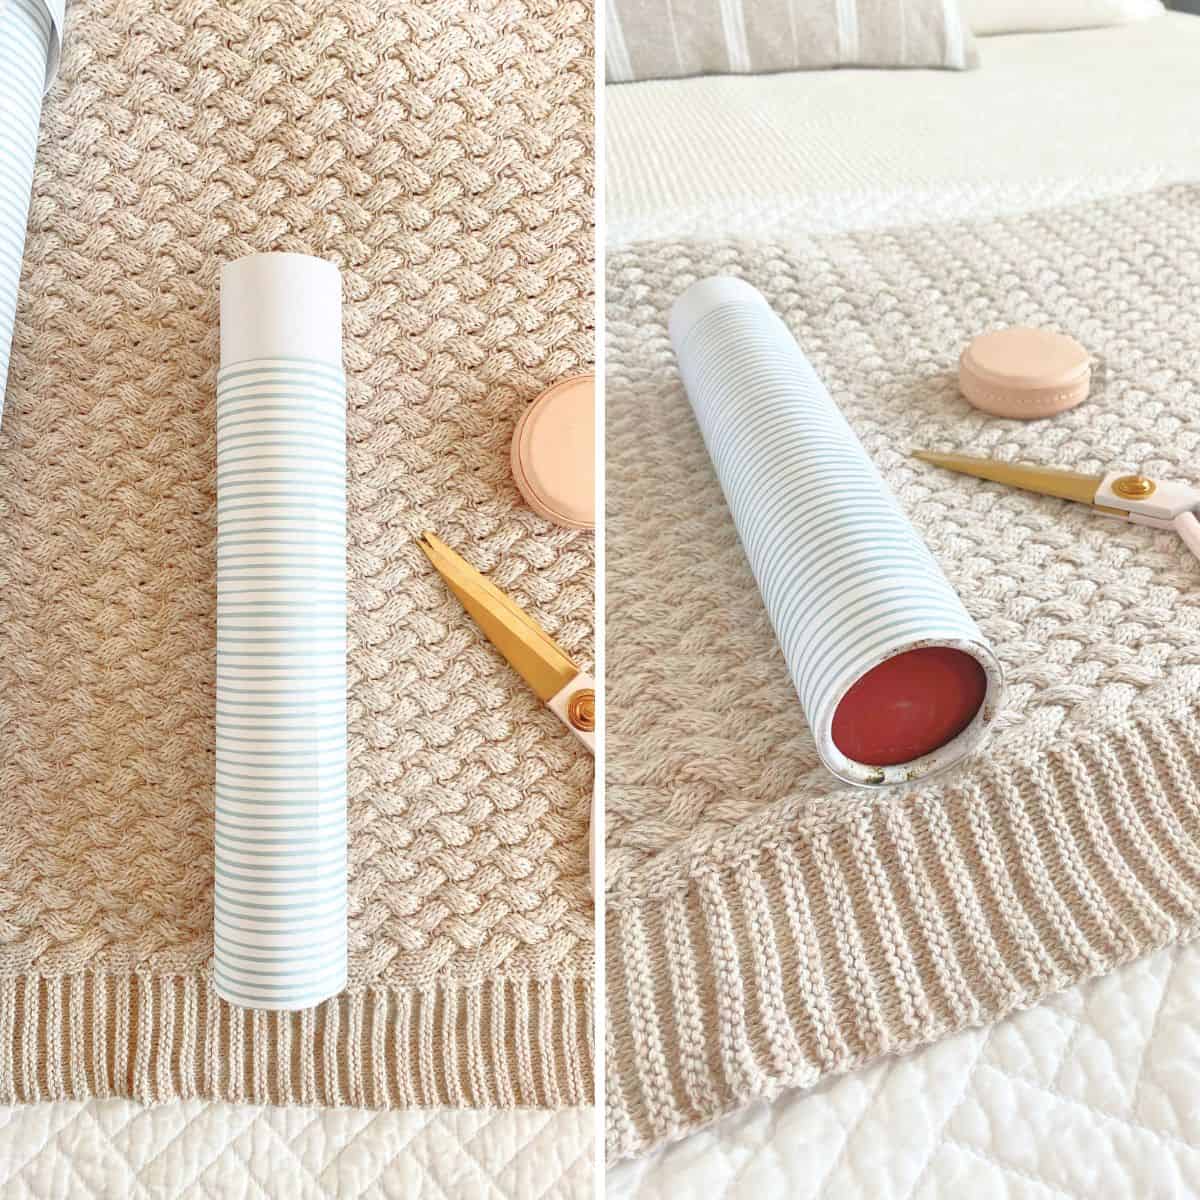
- Wrap the paper around the holder, taking care to keep the bottom edge tight to the bottom and the top of the paper in line with the top edge where the lid will go. Secure the paper top to bottom with double sided tape or glue. See pictures for clarity.
- If you want to include ribbon, as I did you will be adding it to the lid, as opposed to the main body of the tube. Measure the circumference of the lid. Add just enough to overlap where the ribbon meets and secure with double sided tape or glue.
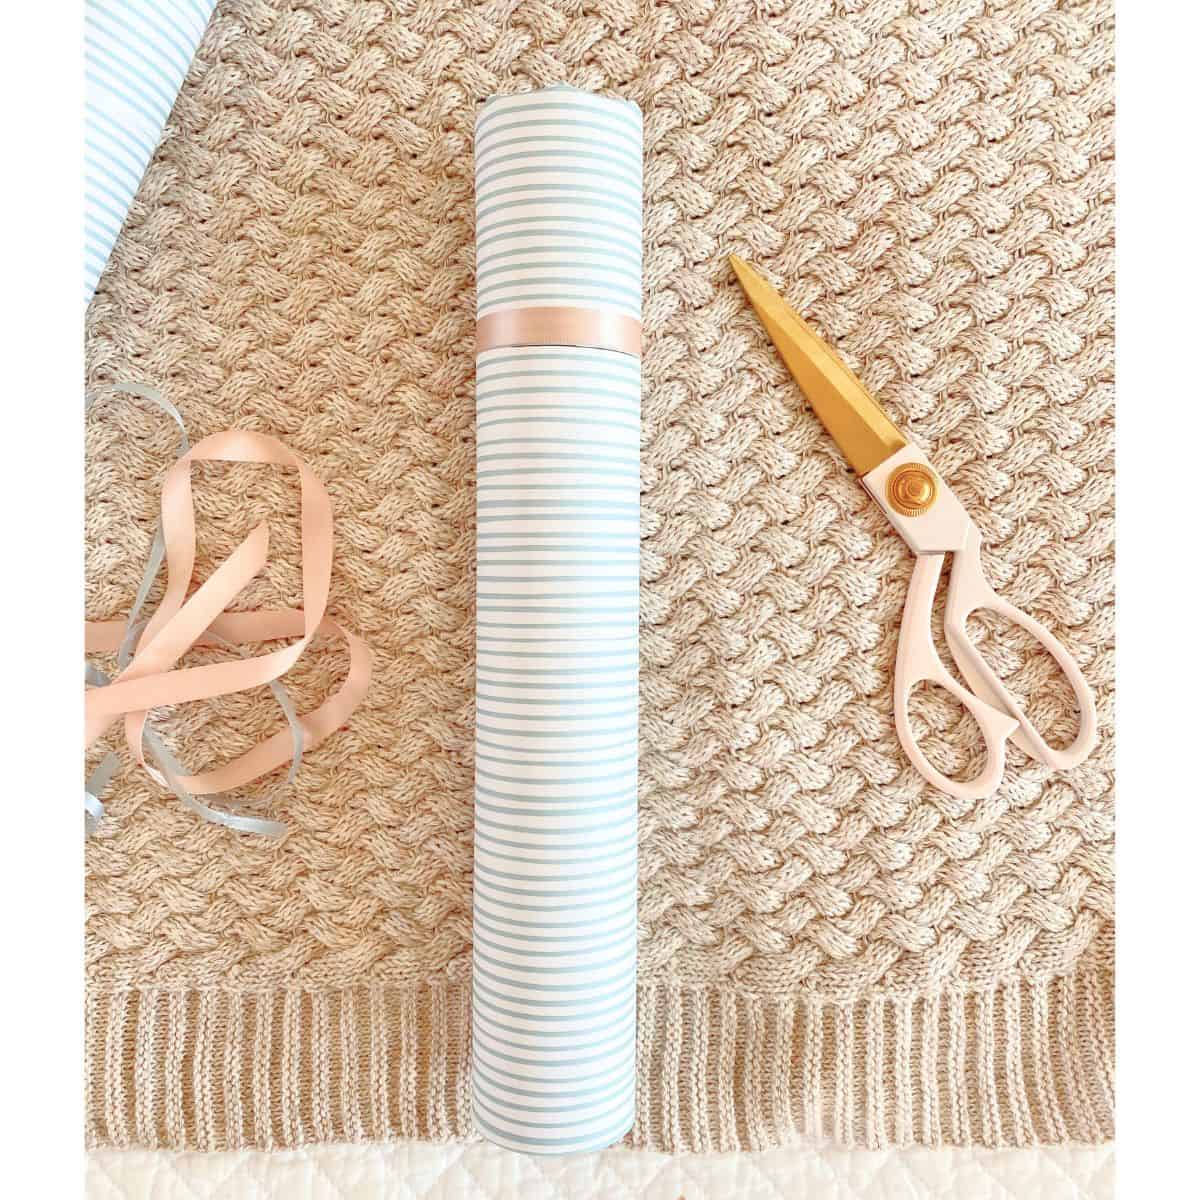
Now, put the lid on the main body of the tube and admire your diy matchbox crafts in all its glory! As you can see below, I made three matchbox tubes in different patters.
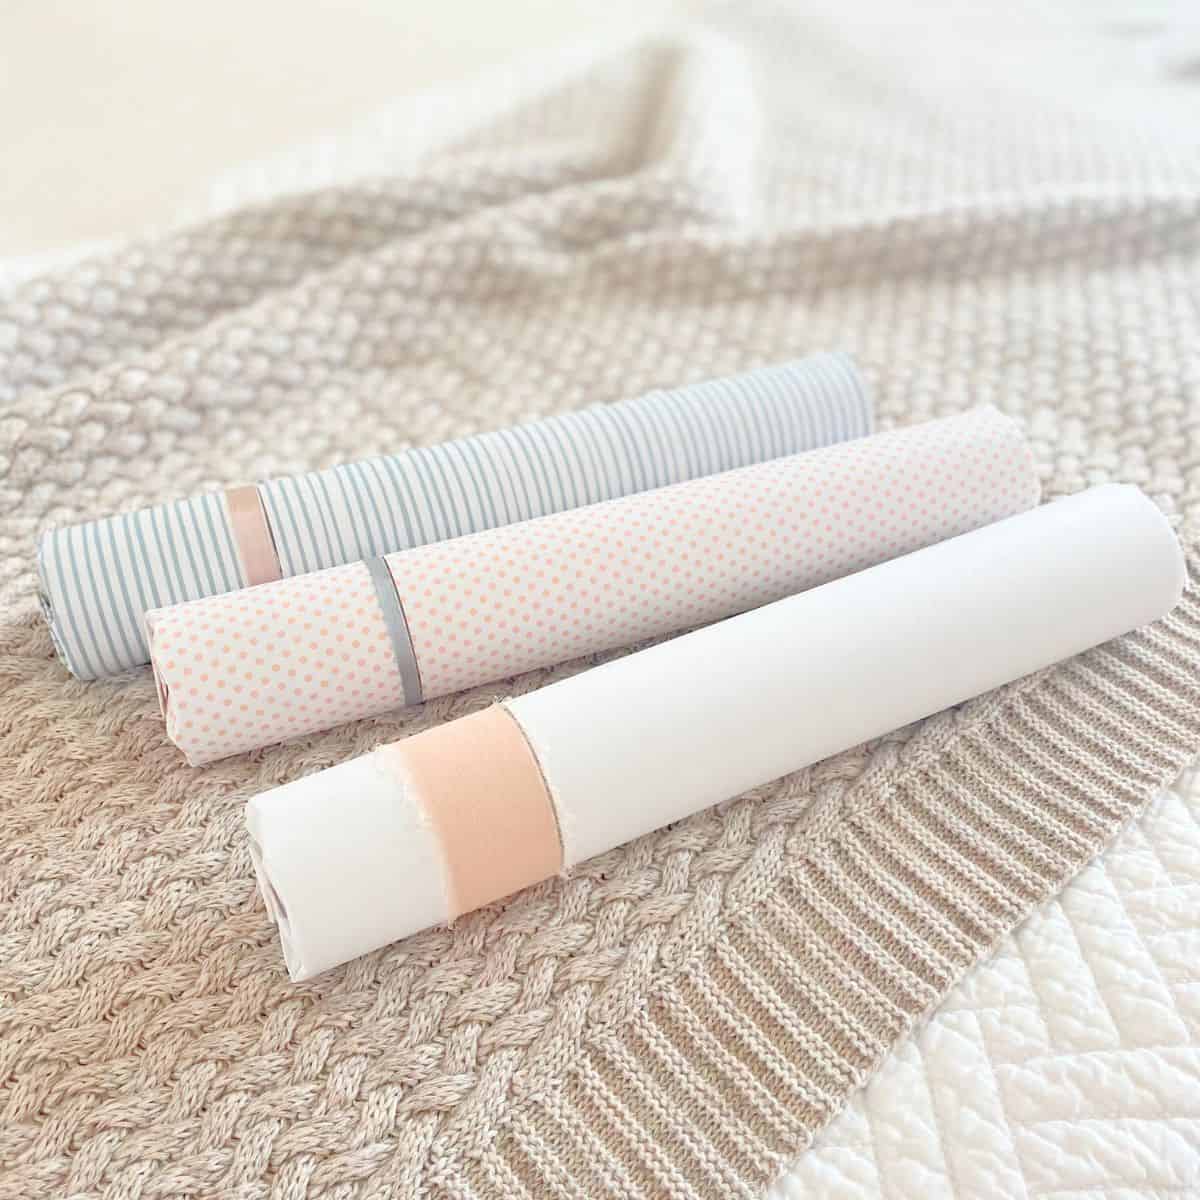
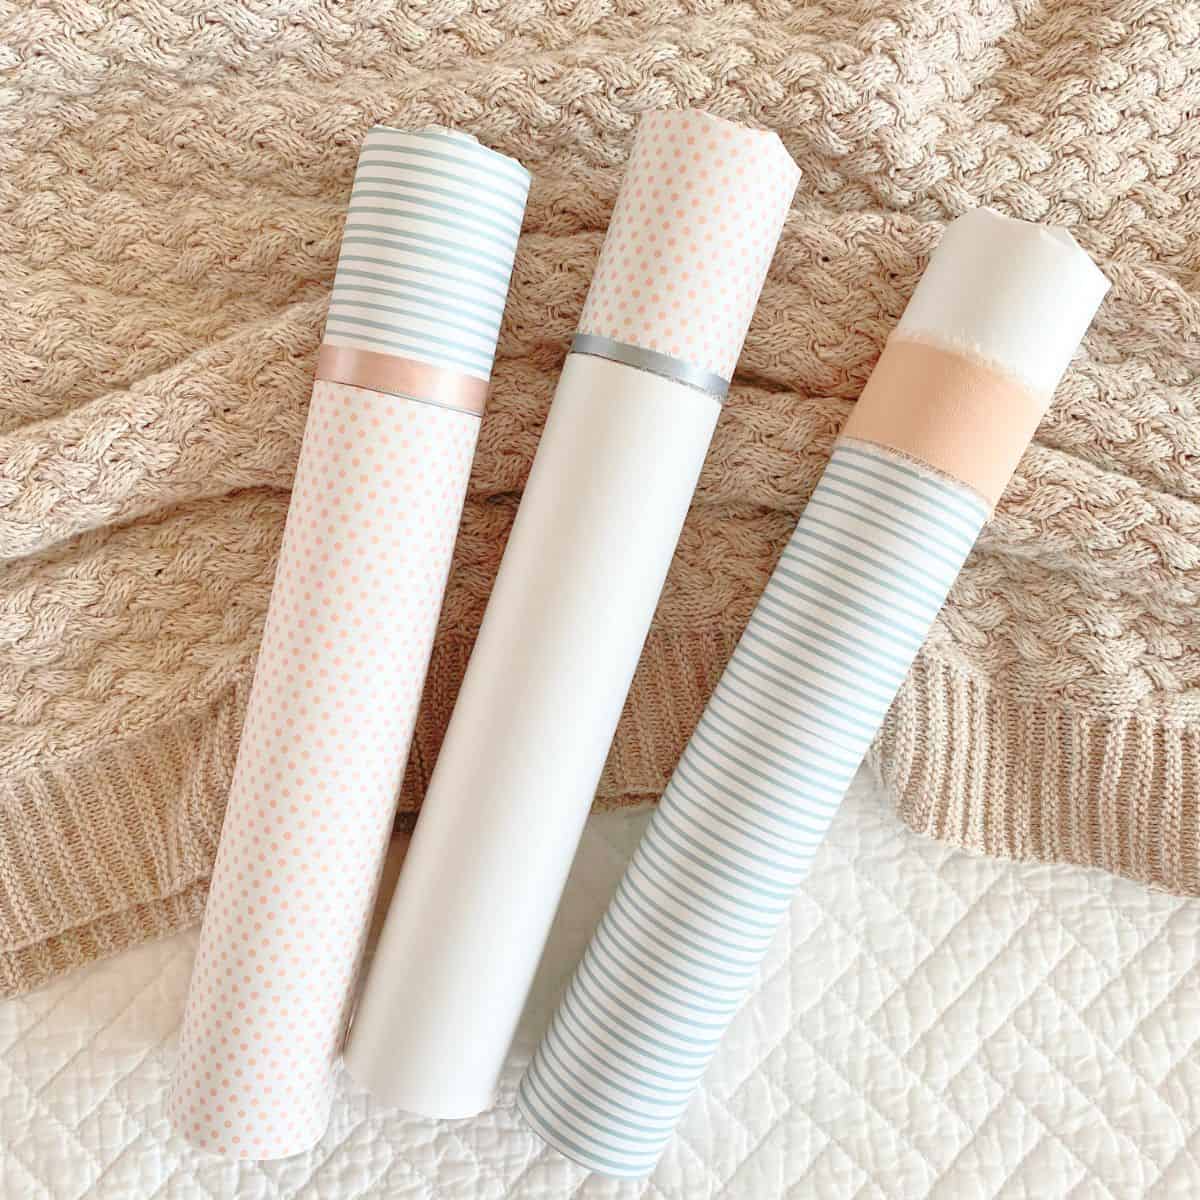
You can also mix and match the lids with different patterns of the main body for a more curated look.

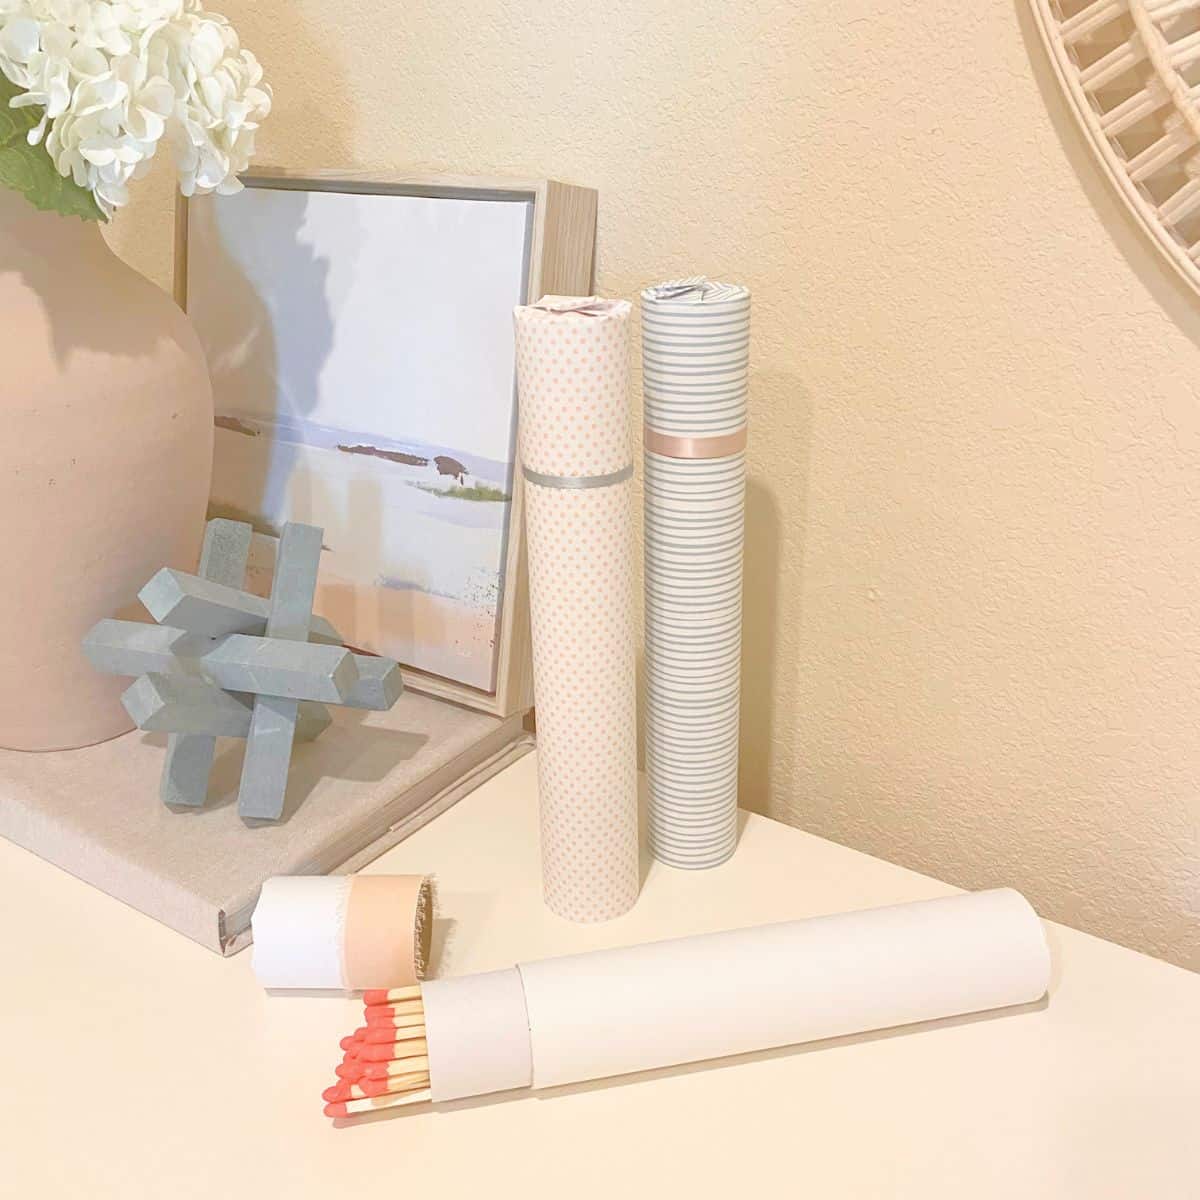
At Christmas, birthdays or as a hostess present, these matchboxes make interesting, thoughtful gifts.


Leave a Reply