
Stop wasting time hunting for your sewing pins and make your projects less stressful with a simple DIY pincushion. In just a few quick steps, you can easily make your own pincushion in minutes!
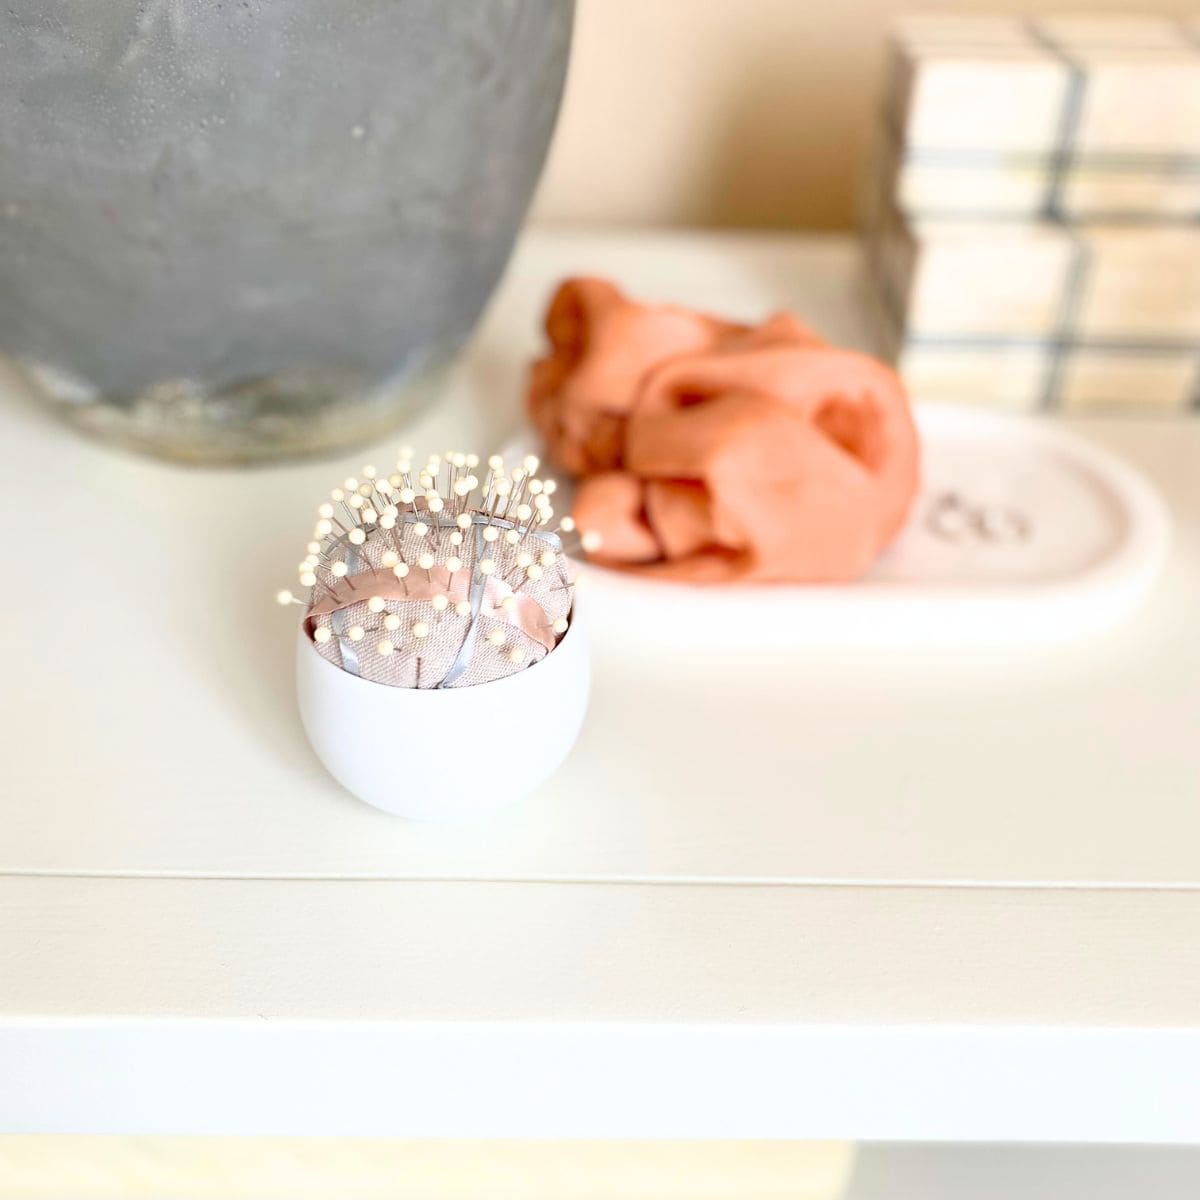
If you've ever wanted (or needed) a pincushion that matches your decor or general design aesthetic, this is the project for you. I'll show you how to make your own no-sew pincushion pretty enough to leave out as decor!
Let's get to it and break down the steps for how to make a pincushion.
This post may contain affiliate links which we may receive a small commission when some items are purchased at no additional cost to you. Read the full disclosure.
Why Make Your Own Pincushion
Whether you sew or just have sewing pins around for other projects, there is a lot to be said about the importance of having a good pincushion (or pin cushion). Usually, I keep my sewing pins in the box they come in which makes it challenging to not prick a finger (or two).
A good pincushion makes it ridiculously easy to grab a pin when you need it. Especially when you're in the middle of a project and you need a pin quickly but your hands are full. If you're also in the same predicament, this simple diy pin cushion will be a functional but pretty tool!
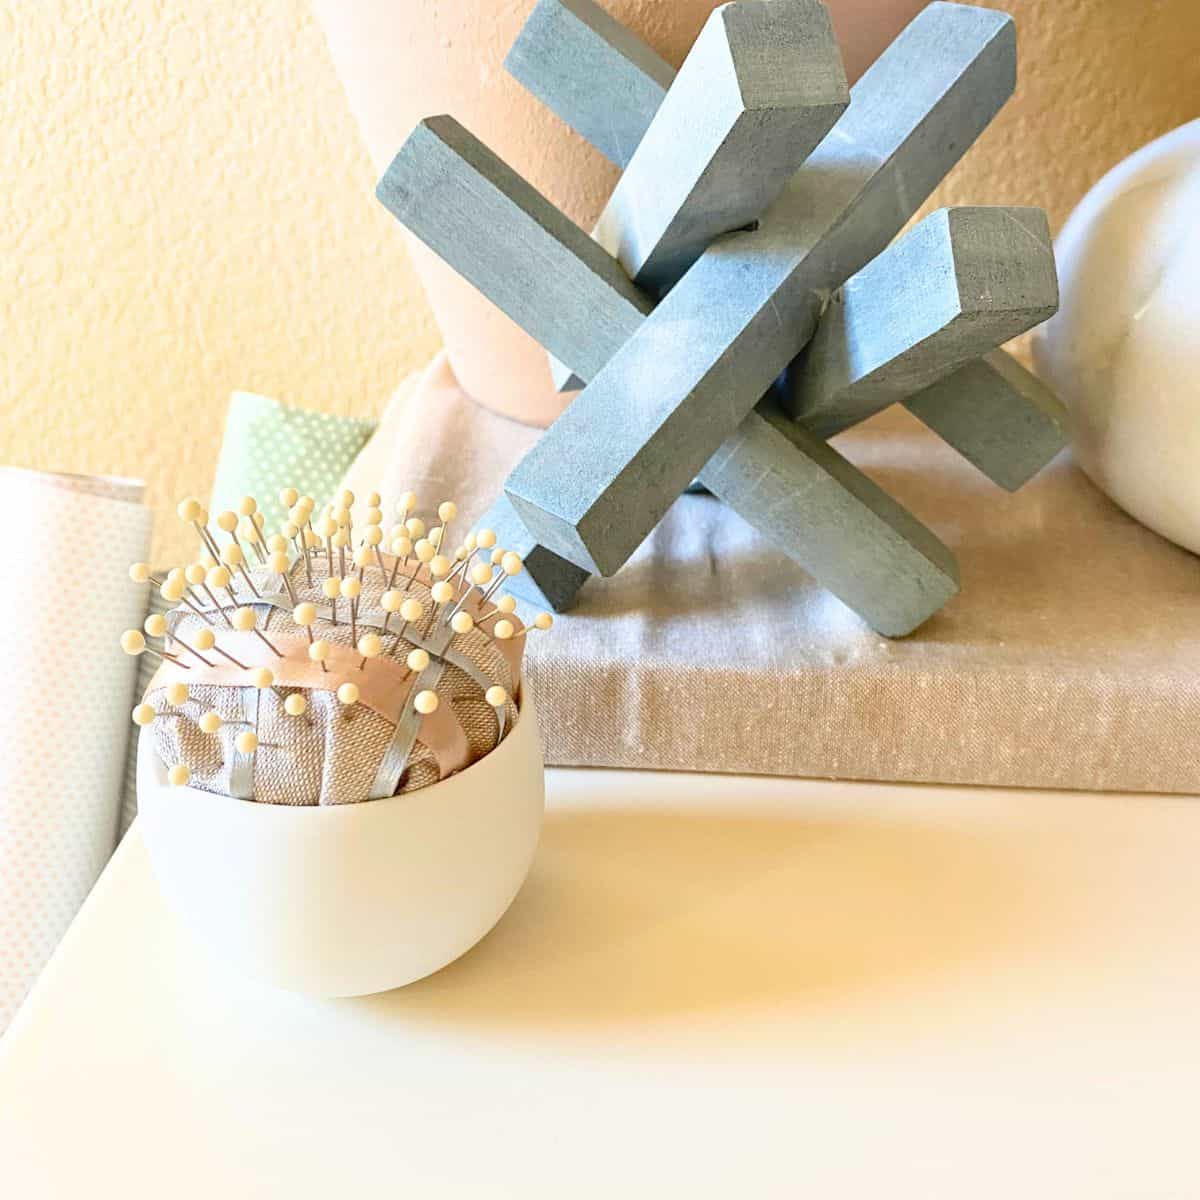
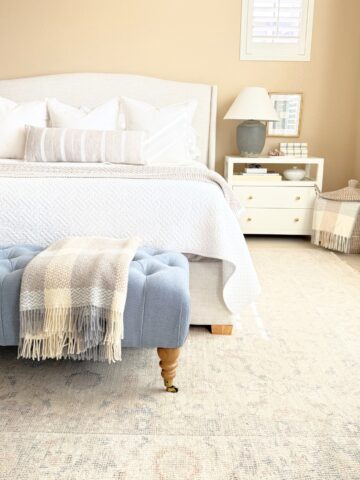
While I don't sew frequently, I do have a stash of pretty Bohin glass head sewing pins. When I went looking for an equally pretty pincushion, I couldn't find one that I liked. I wanted something that matched my design aesthetic while also being completely functional.
In the end, I decided to make my own pincushion.
Materials and Supplies You'll Need
Making your own pincushion takes around 10-15 minutes. I recommend using materials you already have, such as fabric scraps-even an old t-shirt-and cotton filling/batting from an old pillow.
Tip:
Use what you have. Fabric scraps, a rubber band or hair binder, cotton filling from an old pillow, or an unused cup or dish are great ways to upcycle things in your home. It also helps reduce the cost of this project, though this is a fairly inexpensive diy as it is.
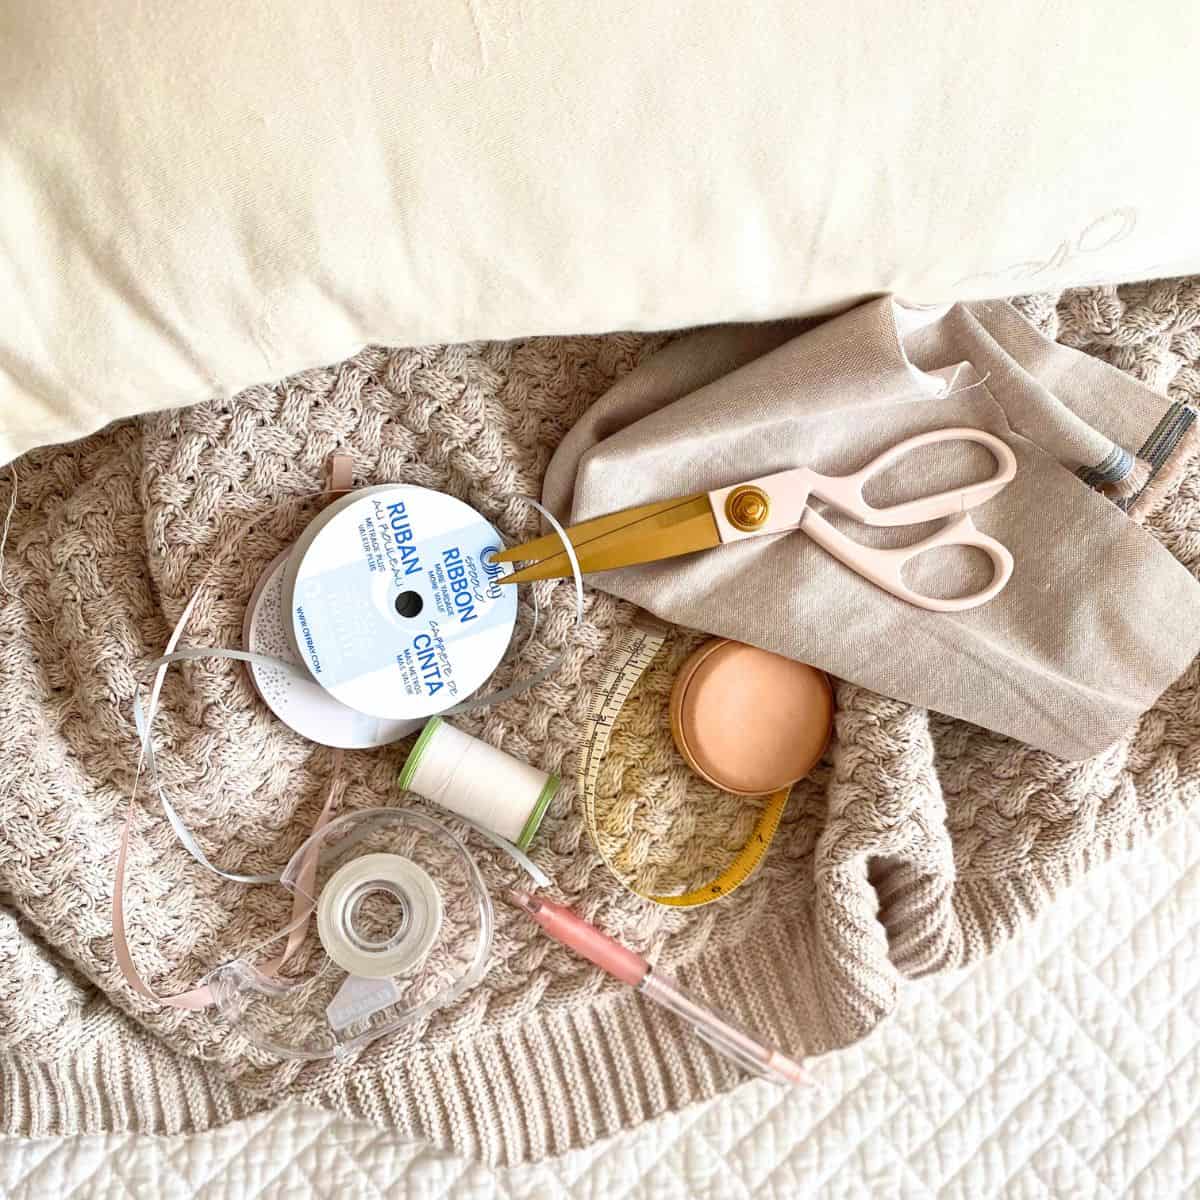
- Filling/Batting - You will need some kind of material to use as the filling. Batting or something similar will work. You could also use cotton filling from an old pillow as I did.
- Fabric - Picking a pretty fabric is my favorite part! Choose a pattern that complements other decor in your home. Keep in mind that a patterned fabric will better camouflage any tiny holes that may develop over time. That said, I already had a linen fabric on-hand from my DIY Pinboard and No-Sew DIY Book Cover projects. If you need fabric, both JOANN and Michael's have the best selection of fabrics around. I prefer to look at the fabric in-store, but you can order online for pickup or ship directly to your house.
- Cup or Dish - You only need this if you are creating a pincushion in a cup. Otherwise, skip to the next supply in the list.
- String or Thread - For the no sew method, you can use string, thread, hair binder, rubber band or some other fastener to close the end. If you are using the sewing method, you will not need this supply.
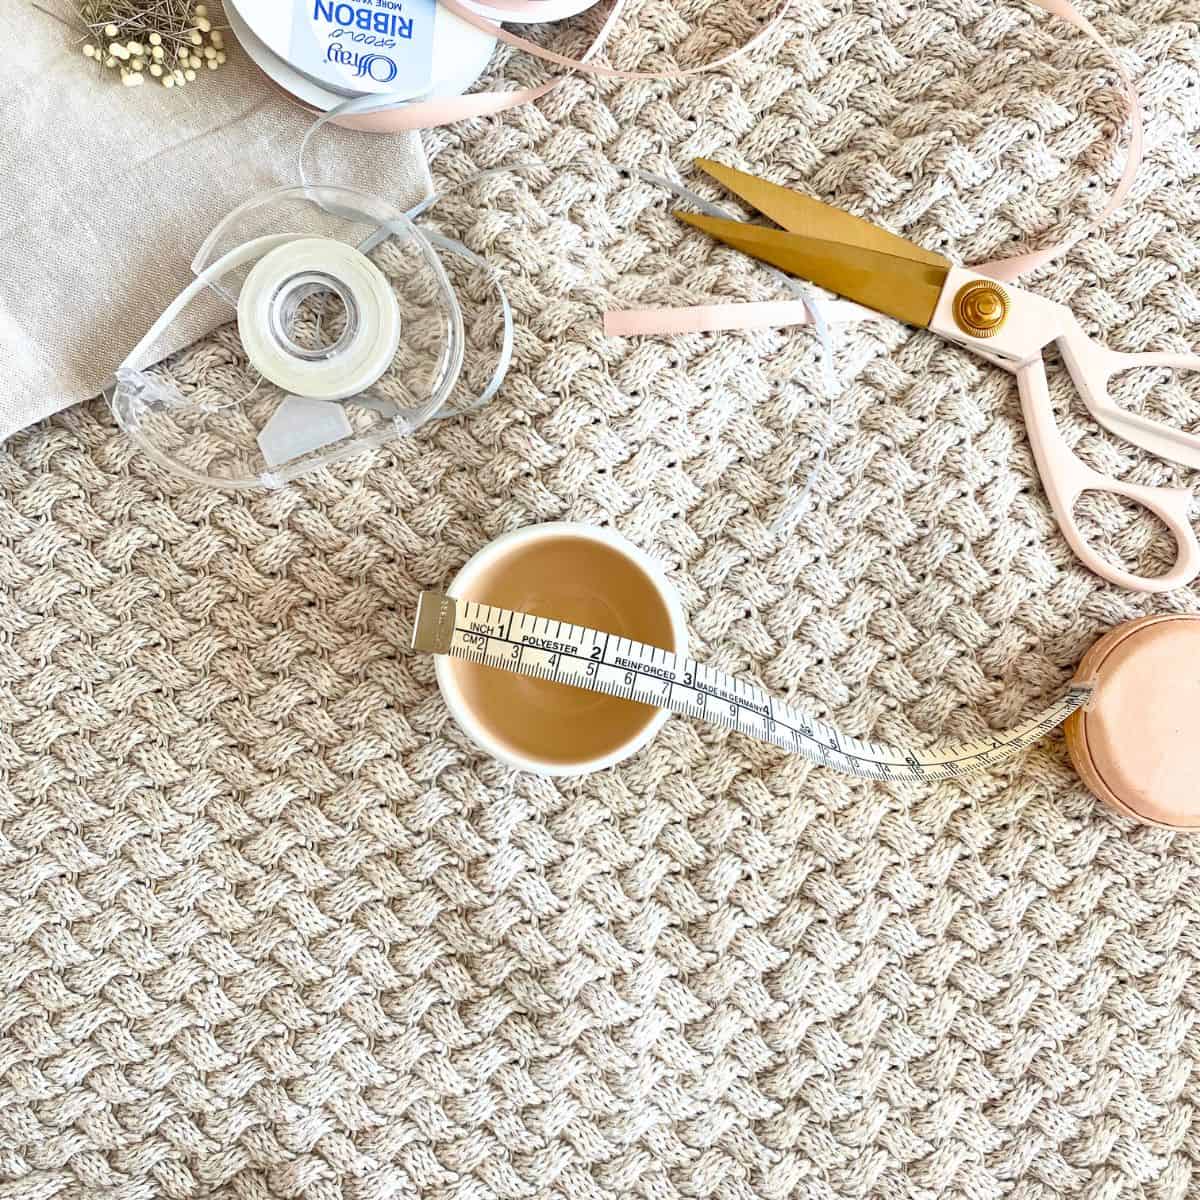
- Scissors - A sharp pair of scissors to cut fabric, ribbon (optional) and string and/or thread will be required. Since I wholeheartedly believe functional things should also be pretty. Sadly the scissors I have are no longer available, but I love the look of these scissors (similar). These acrylic scissors also looks nice and they come in a set of four for all sorts of projects!
- Glue or Double-Sided Tape - A hot glue gun arguably works the best, but you could use fabric glue or double-sided tape. Double sided tape works well if you don't want your pincushion in a cup to be permanent.
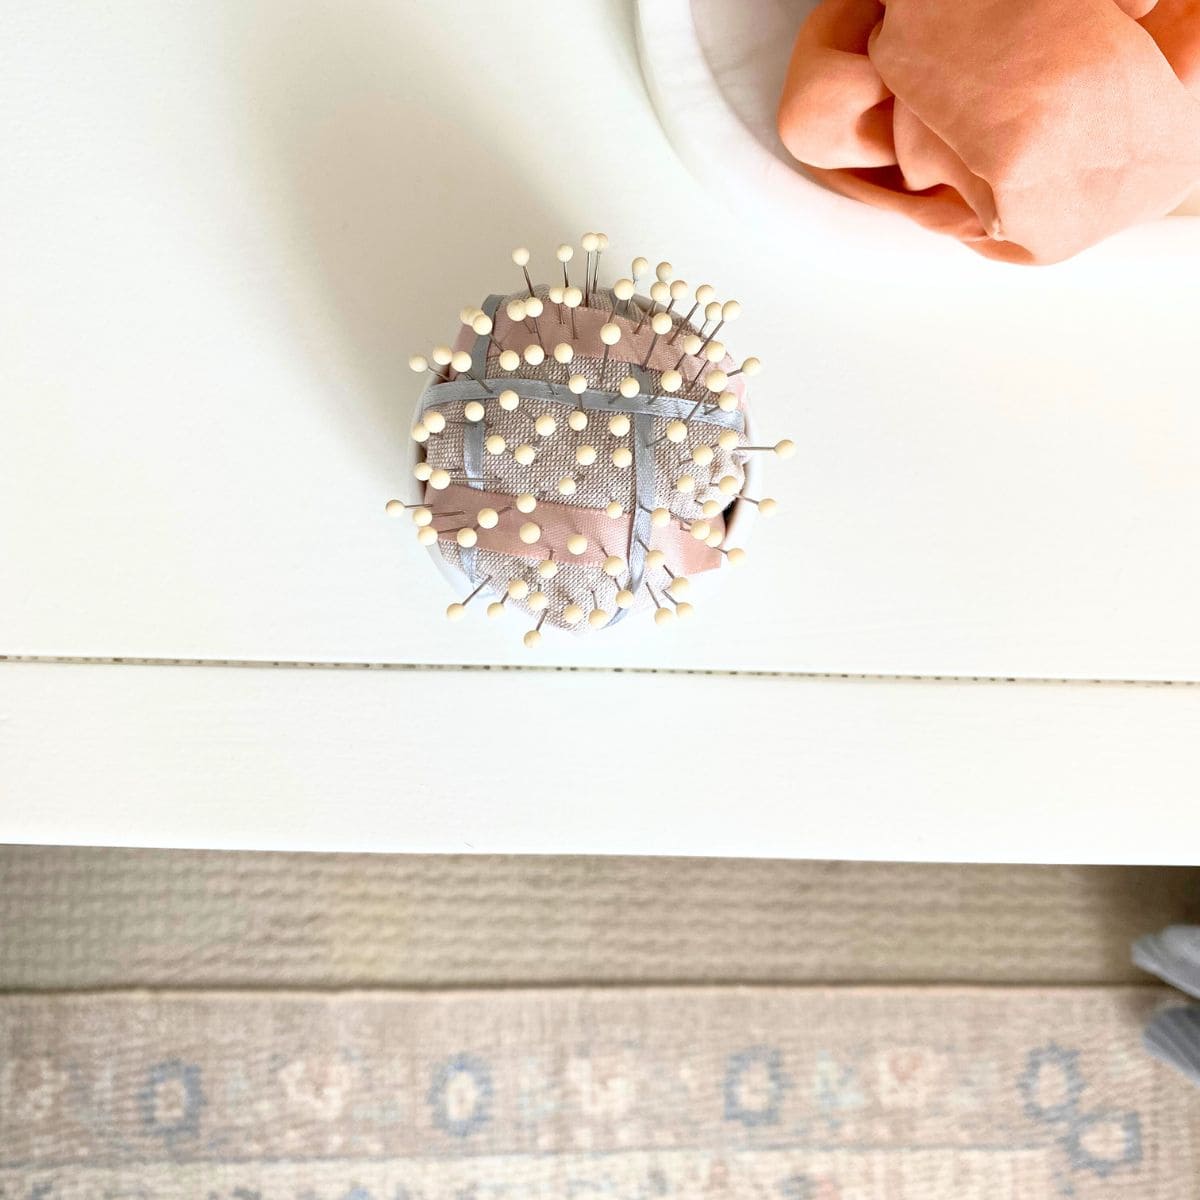
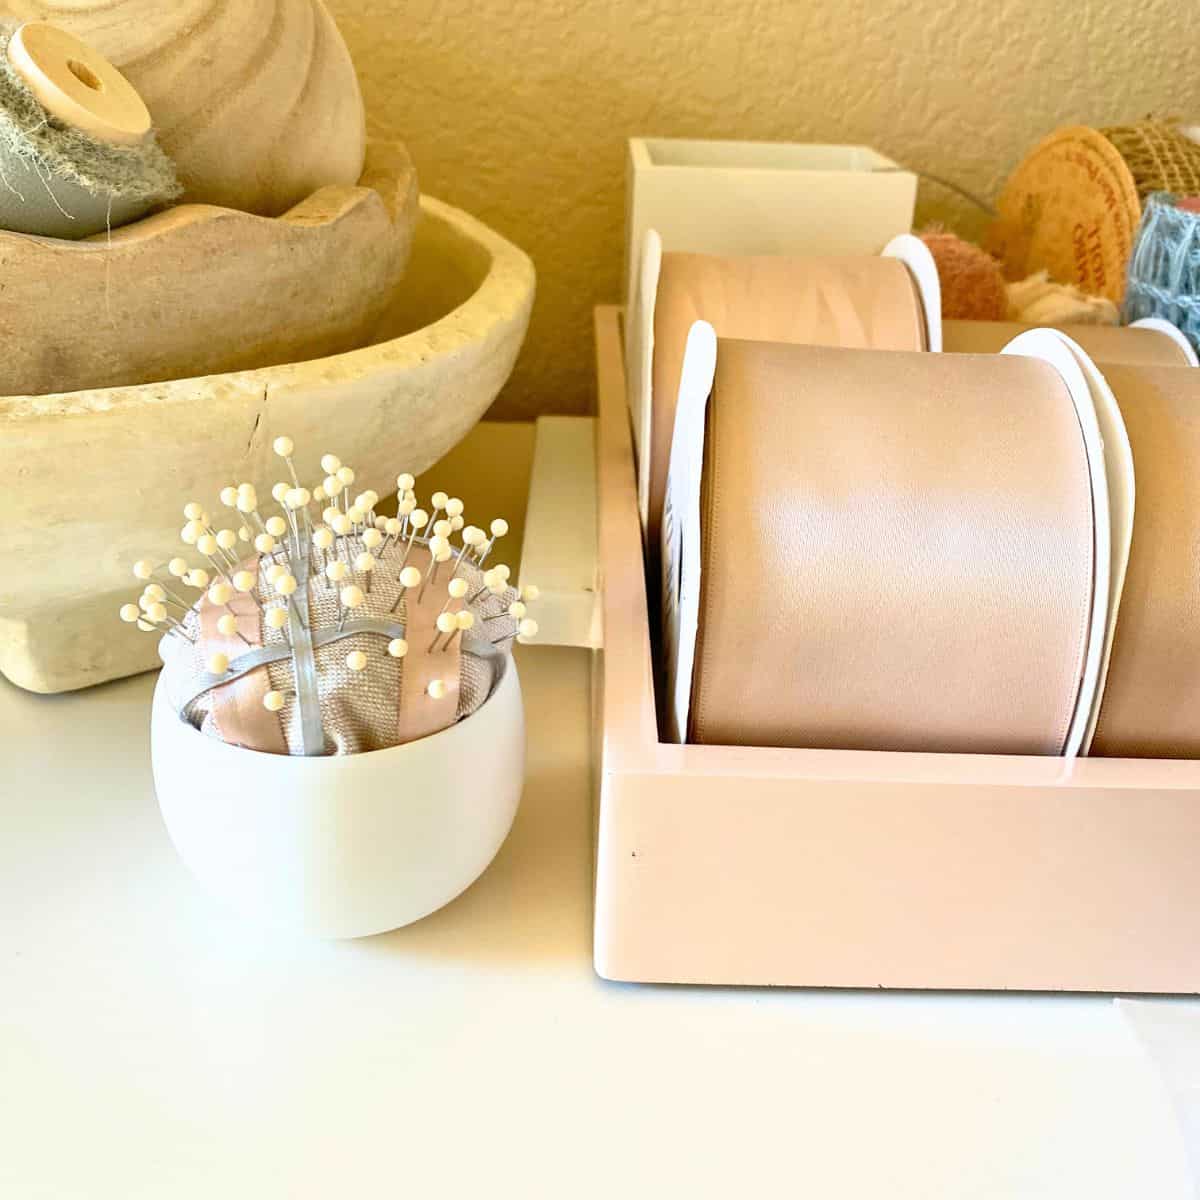
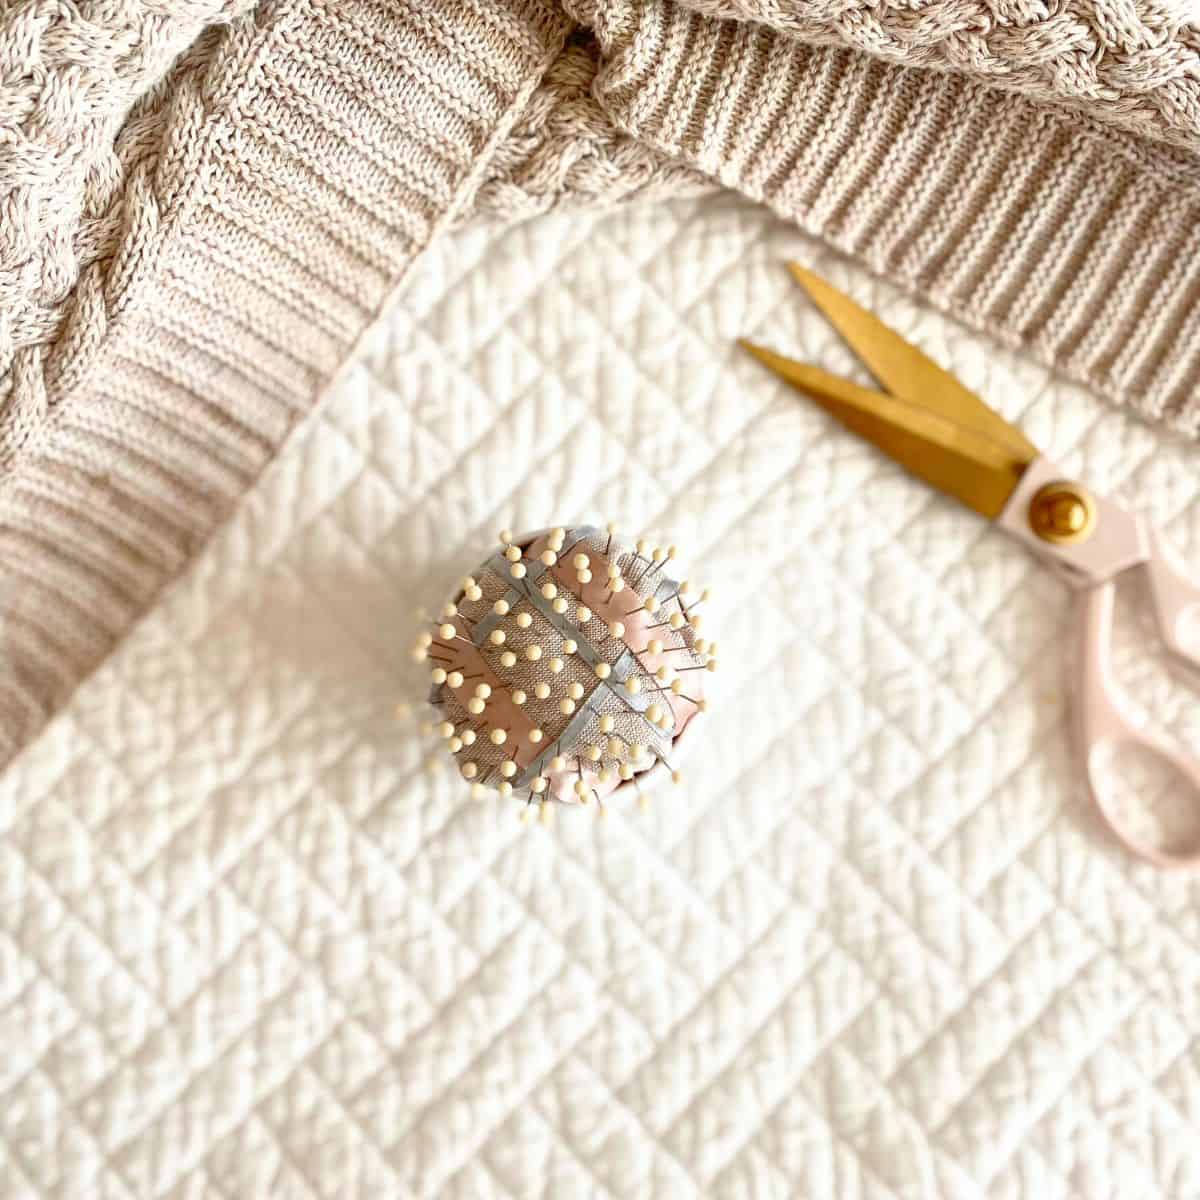
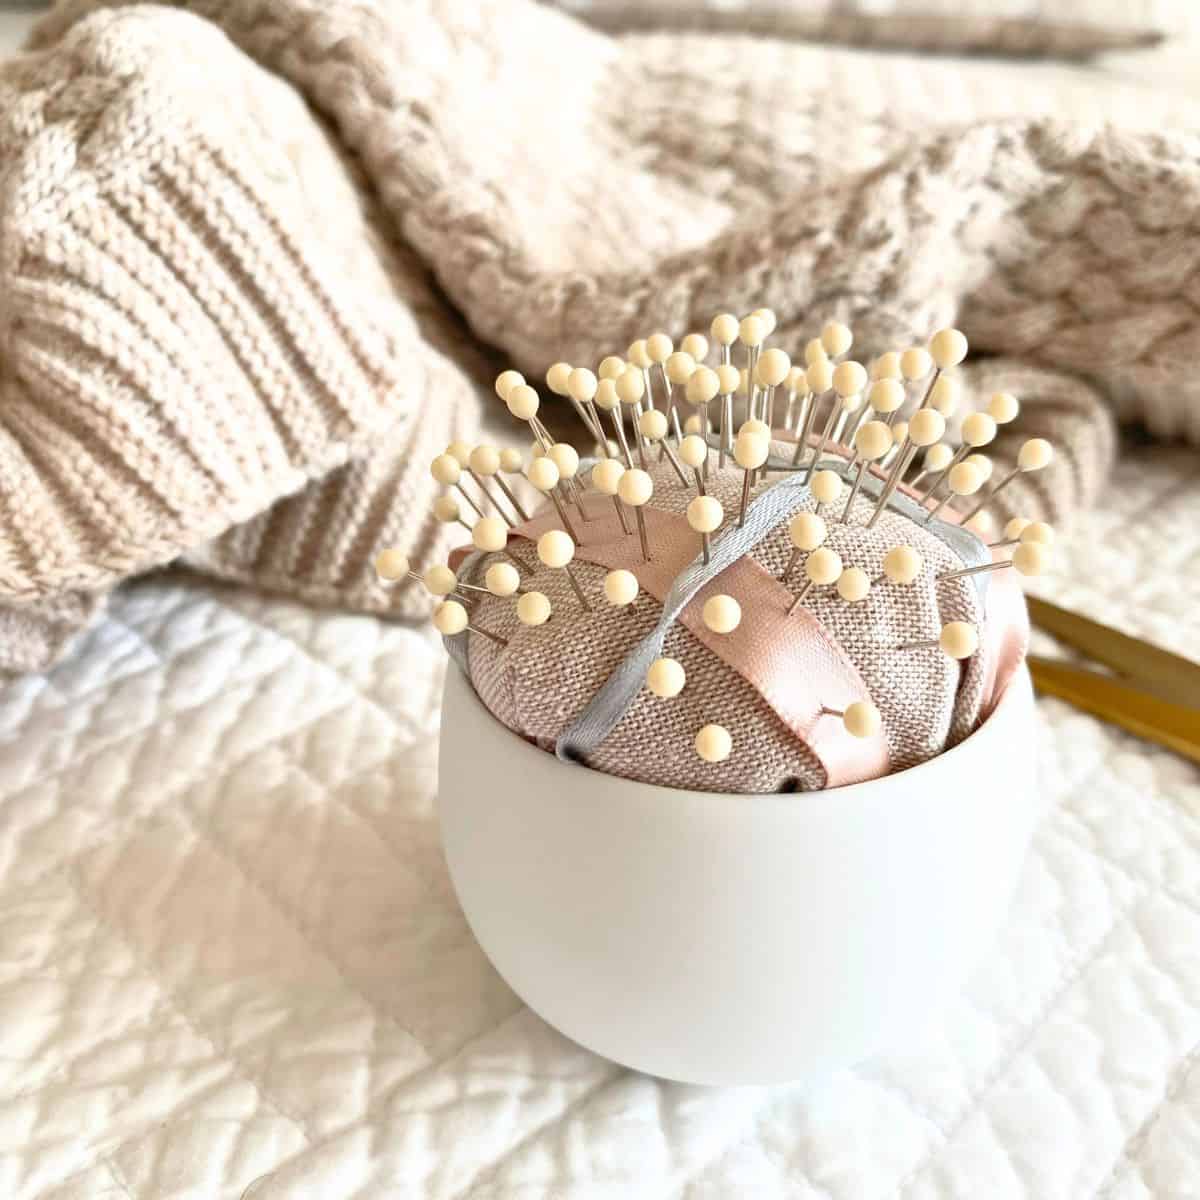
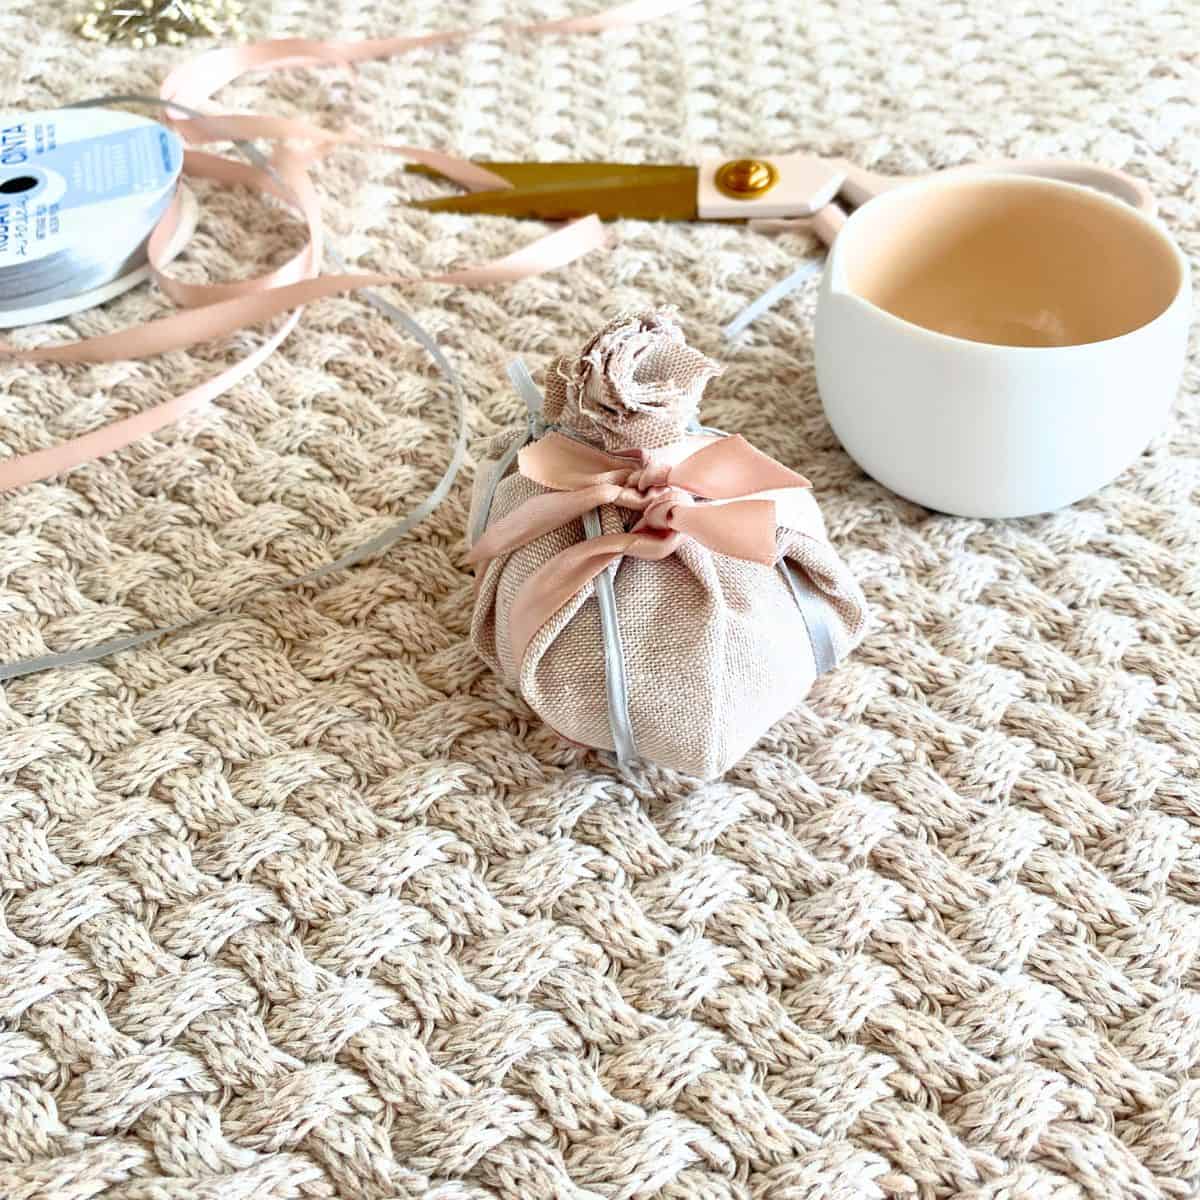
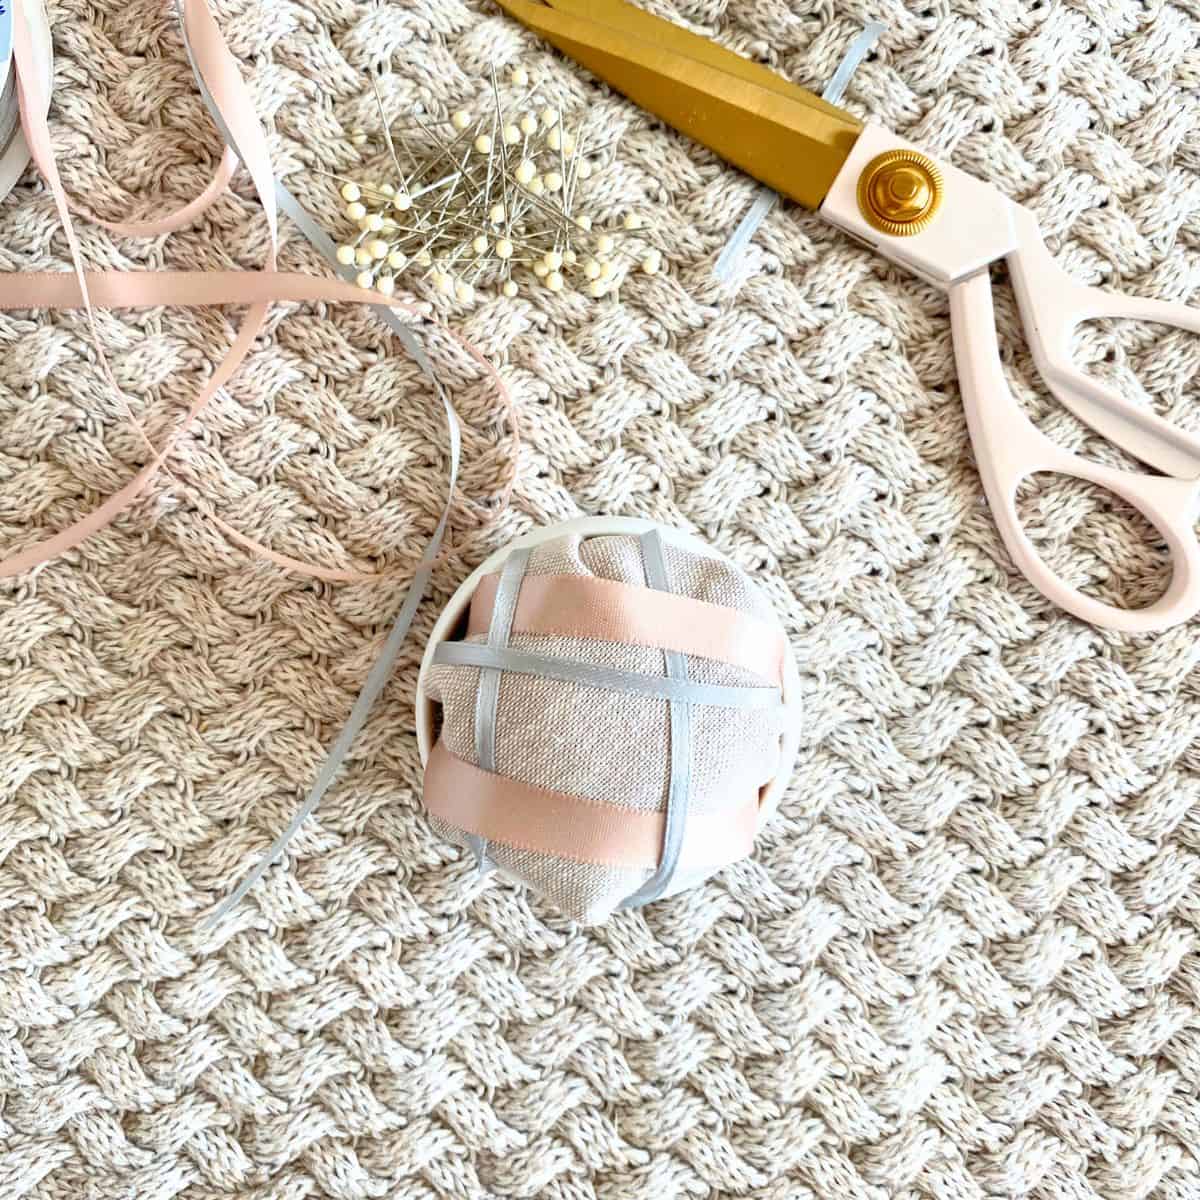
- Embellishments - I came across a number of pincushions embellished with buttons or felt decorations. Some pincushions were meant to look like animals or people, with little noses and ears. You can be as creative as you want with this, there are no rules. For my pincushion, I used a ⅜ inch pinky champagne dusty rose satin ribbon (similar), or this other similar lighter champagne satin ribbon, and a ⅛ inch dusty blue satin ribbon (similar) to create a plaid pattern.
- Sewing pins - Get your sewing pins ready to use your pincushion when it's done! I adore these gorgeous glass head sewing pins (similar).
How to Make a No-Sew Pincushion - A Step-by-Step Guide
You can make your own pincushion in many different ways. This no-sew method uses a cup/dish to contain the pincushion, coming together in 10-15 minutes. Here is the step-by-step guide.
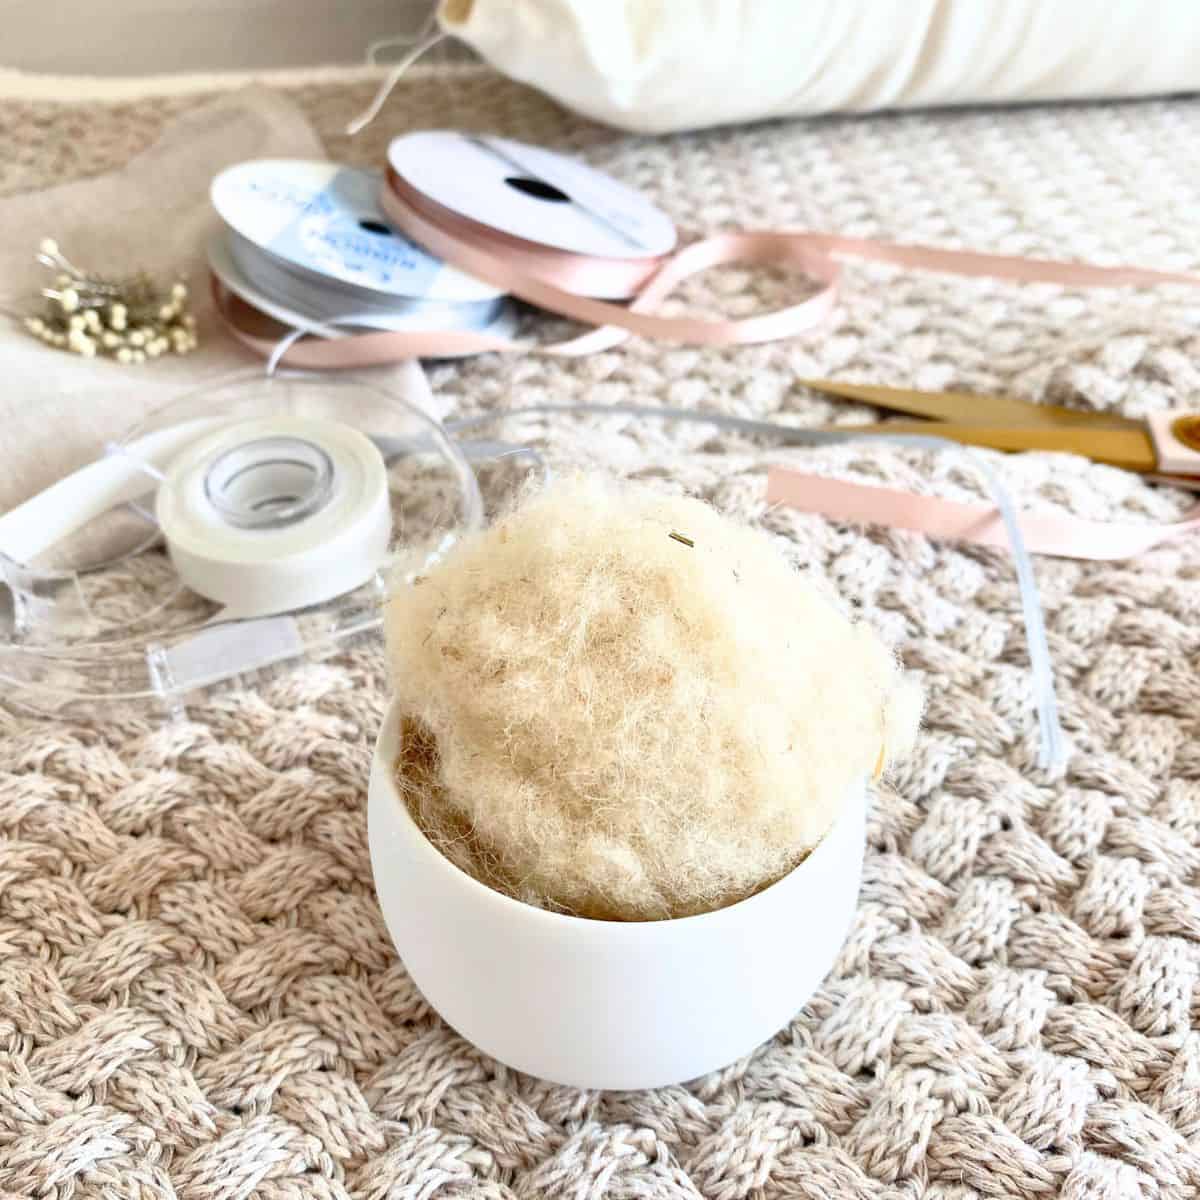
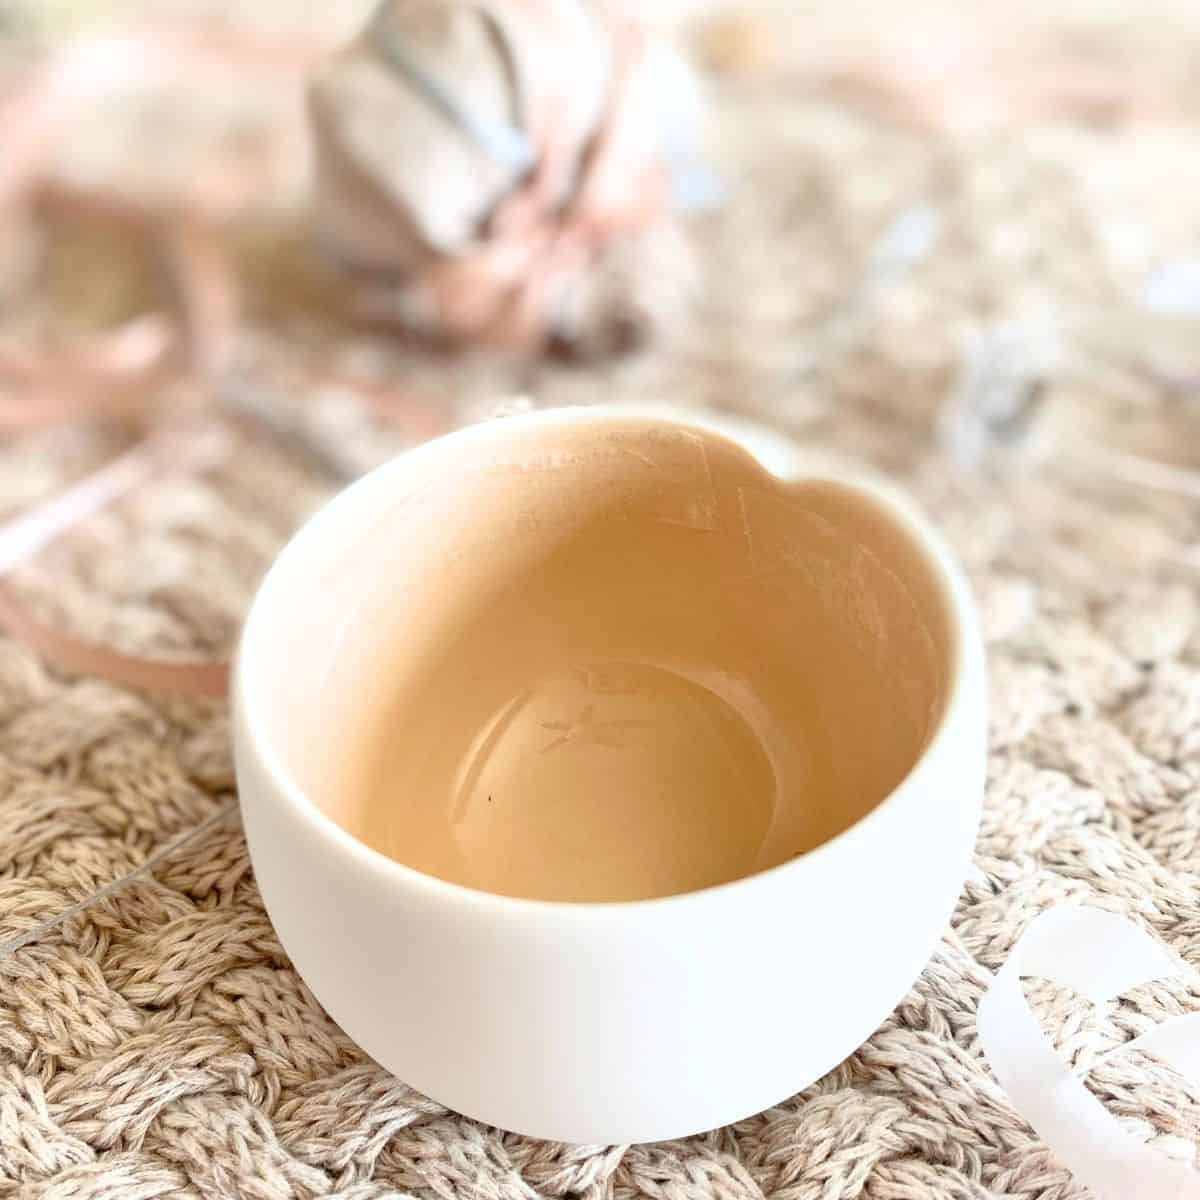
- Measure the dish-width/diameter, depth and height-that will hold the pincushion. The dish I used is actually a ceramic espresso cup that is approximately 2 ½" diameter x 1 ½" depth x 2" height. Keep your measurements in mind when determining whether or not you want the cushion to be below, at the top or just above the top of the cup/dish. I prefer the look of just above the top, as I think it's easier to push pins in/out. Mine came out to be about 2 ¼ inches in height.
- Gather batting/filling in a ball and place it in the dish to see how much you need. I used filling from an old cotton pillow, enough to go just above the edge of the dish.
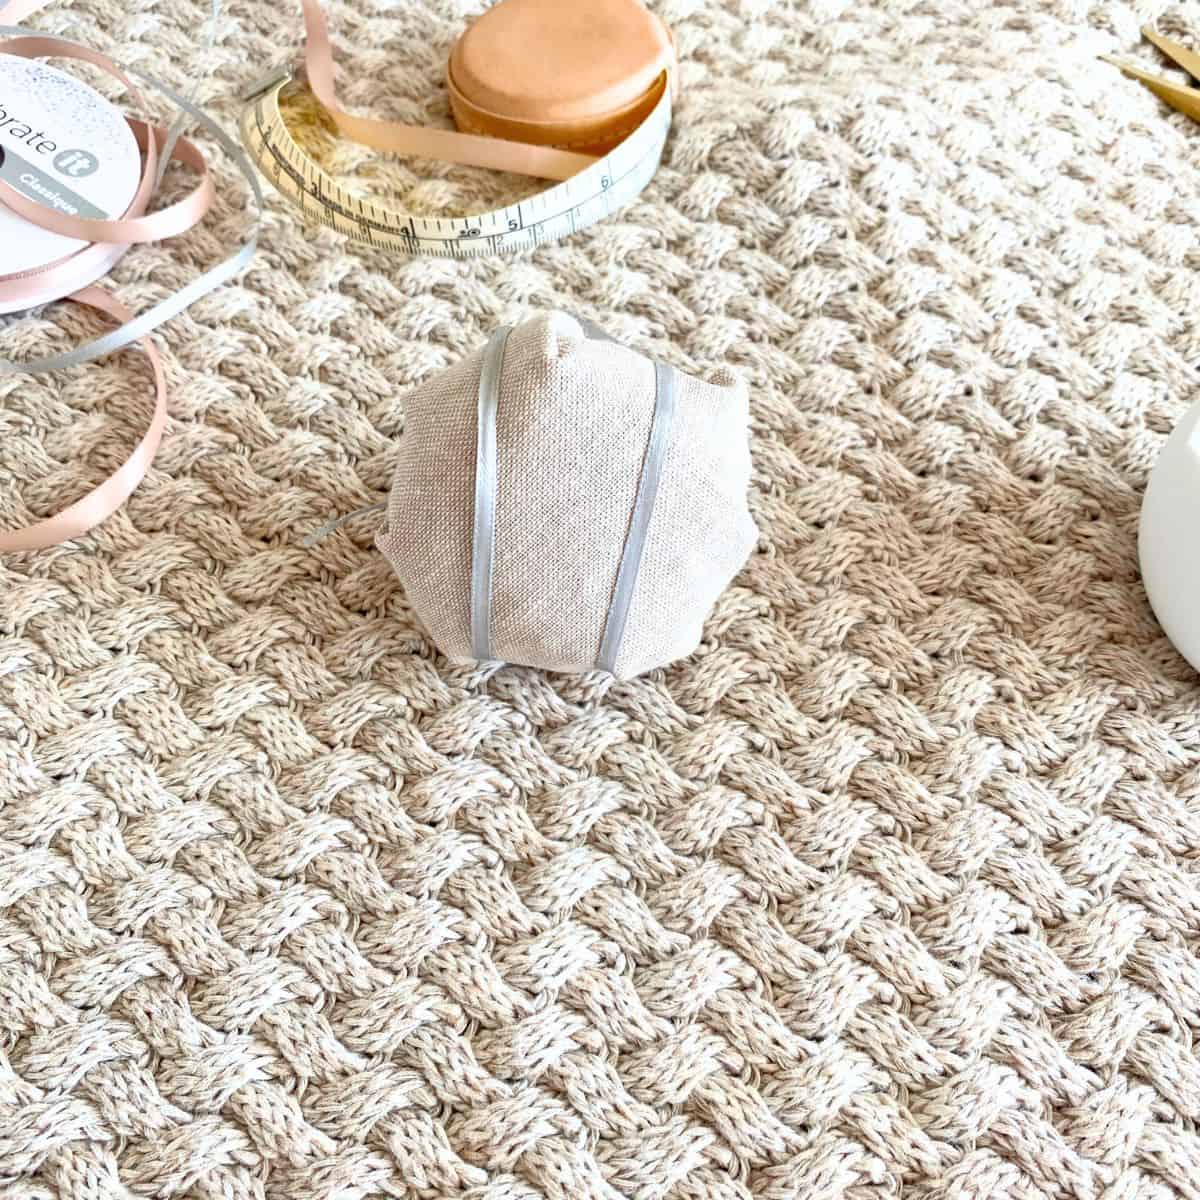
- Place the filling/batting on the fabric and wrap it up to fully cover the filling. You need enough fabric to sew or tie together. I cut the fabric into an 8x8 inch square. Since I did cut off a little excess later, I could have gotten away with 6x6 inch. The edges will be hidden underneath, so it does not need to be a perfect cut.
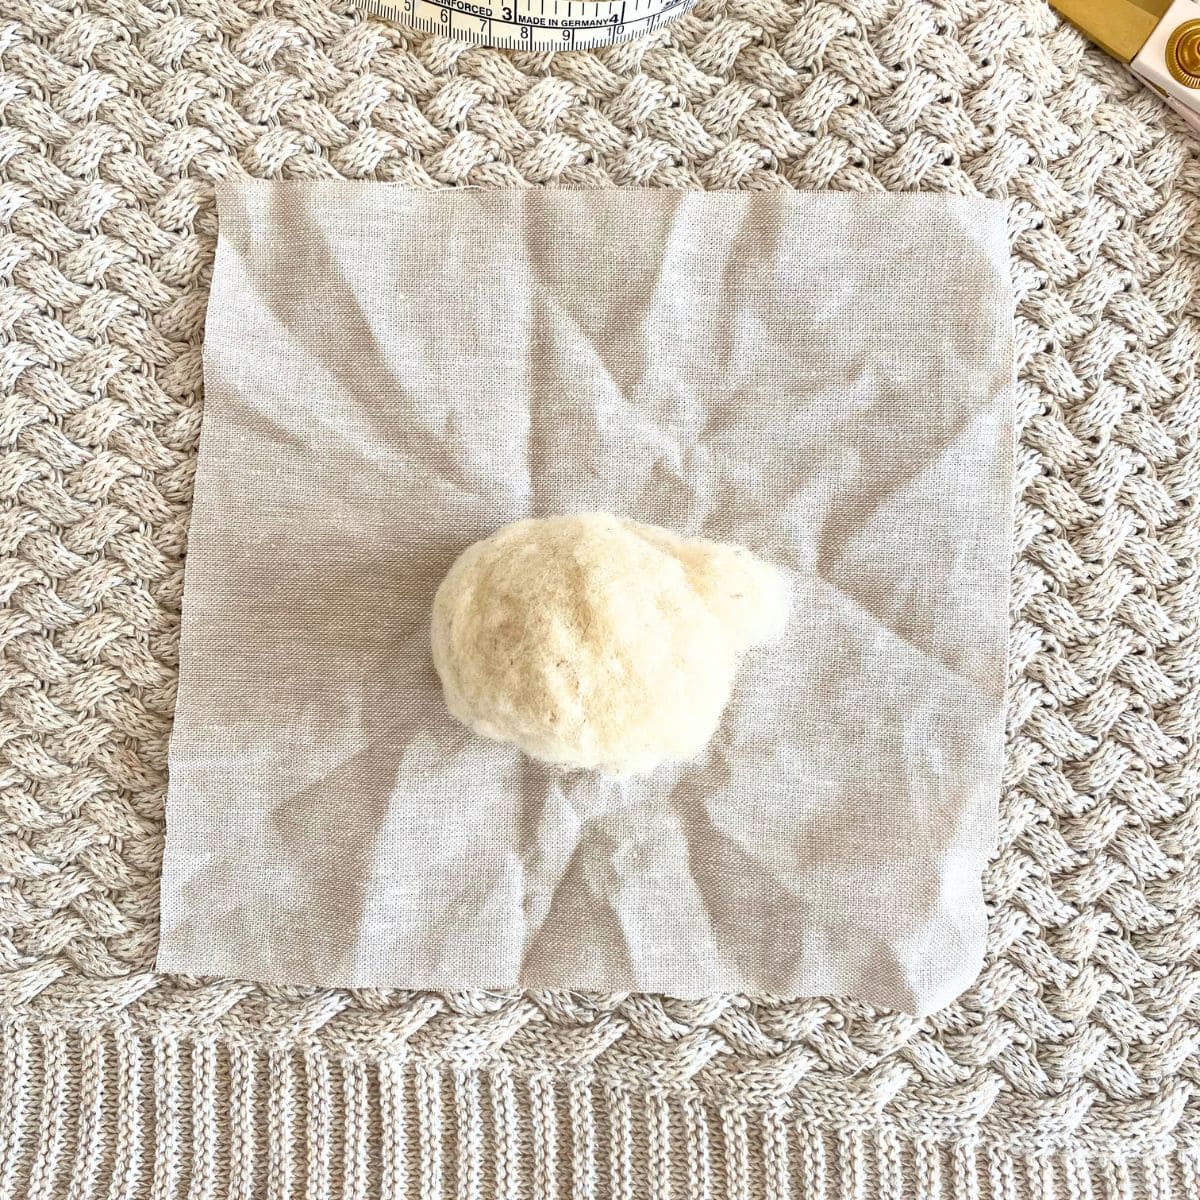
- Place the filling/batting in the middle of the fabric and gather it up to the middle, twisting as you go around. The twisting motion helps to form a tidy circle to fit into the dish. Dry fit the pincushion by placing it in the dish to see if it fits to your liking. You may need to play with the fabric to make it smoother.
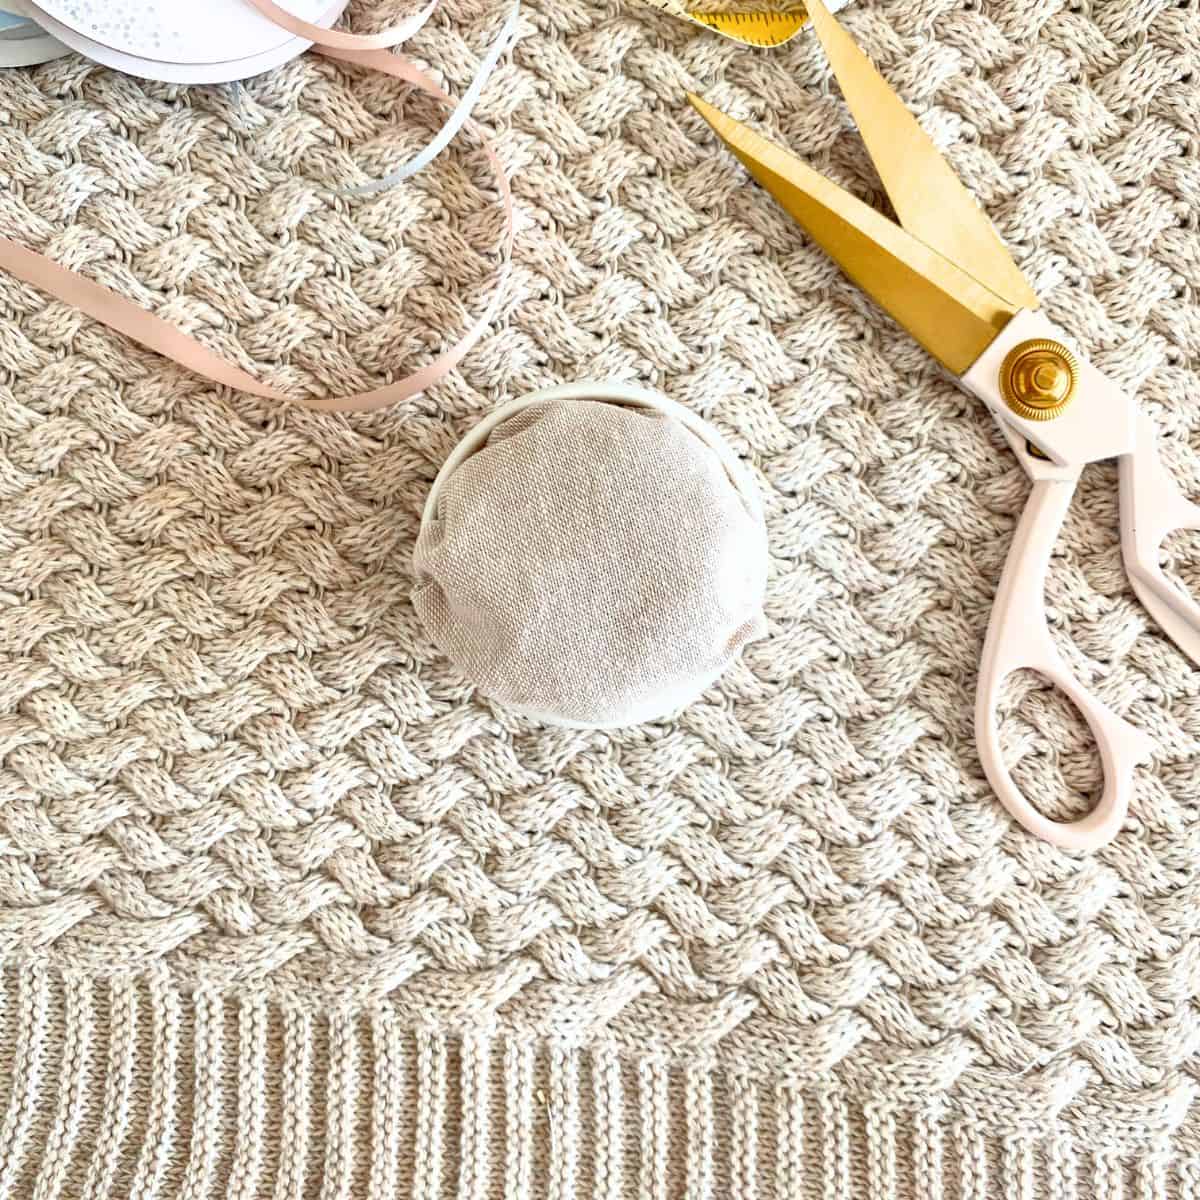
- When you have it how you like it, tie the fabric together with a sturdy string or you can sew it. I used thread and made knotted loops to ensure it would not come apart. A hair binder, string or other fastener would also work.
Caution:
It is imperative to ensure it is tied VERY tightly. You do not want the pincushion to come apart in the future as you risk getting poked with a pin or have pins flying everywhere. If in doubt, sew it together very well.
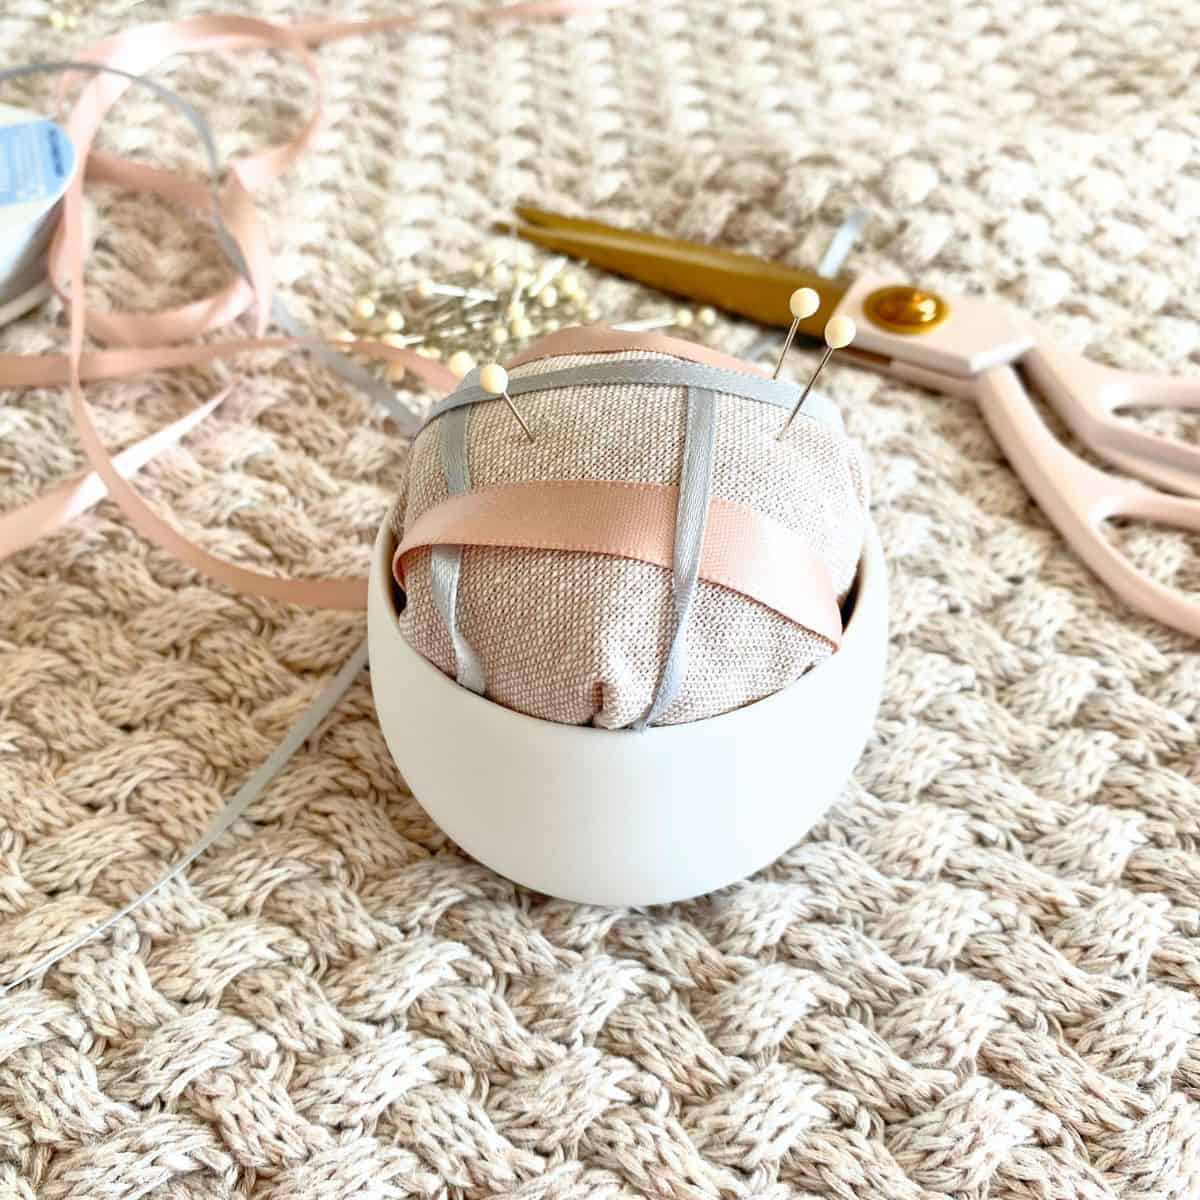
- Decorate your pincushion with ribbon, string, paint, stamps, or other embellishments. I added ribbon in a plaid pattern to mine by wrapping each piece around, tying it in a knot underneath and trimming the excess. All in all, I used 4 pieces of ribbon. I realize the ribbon may lose its plaid pattern as I use the pincushion, but I love the look of it. Important: Be sure to use a very strong glue to adhere the embellishments to the cushion.
Caution:
As with step 5, make sure your ribbon or other embellishments are secure to the cushion. When you pull a pin out, I recommend holding the ribbon or other embellishments down as you pull so whatever it is does not come away from the cushion with the pin. You don't want the pincushion to come apart, stabbing you with pins. If in doubt, don't decorate it.
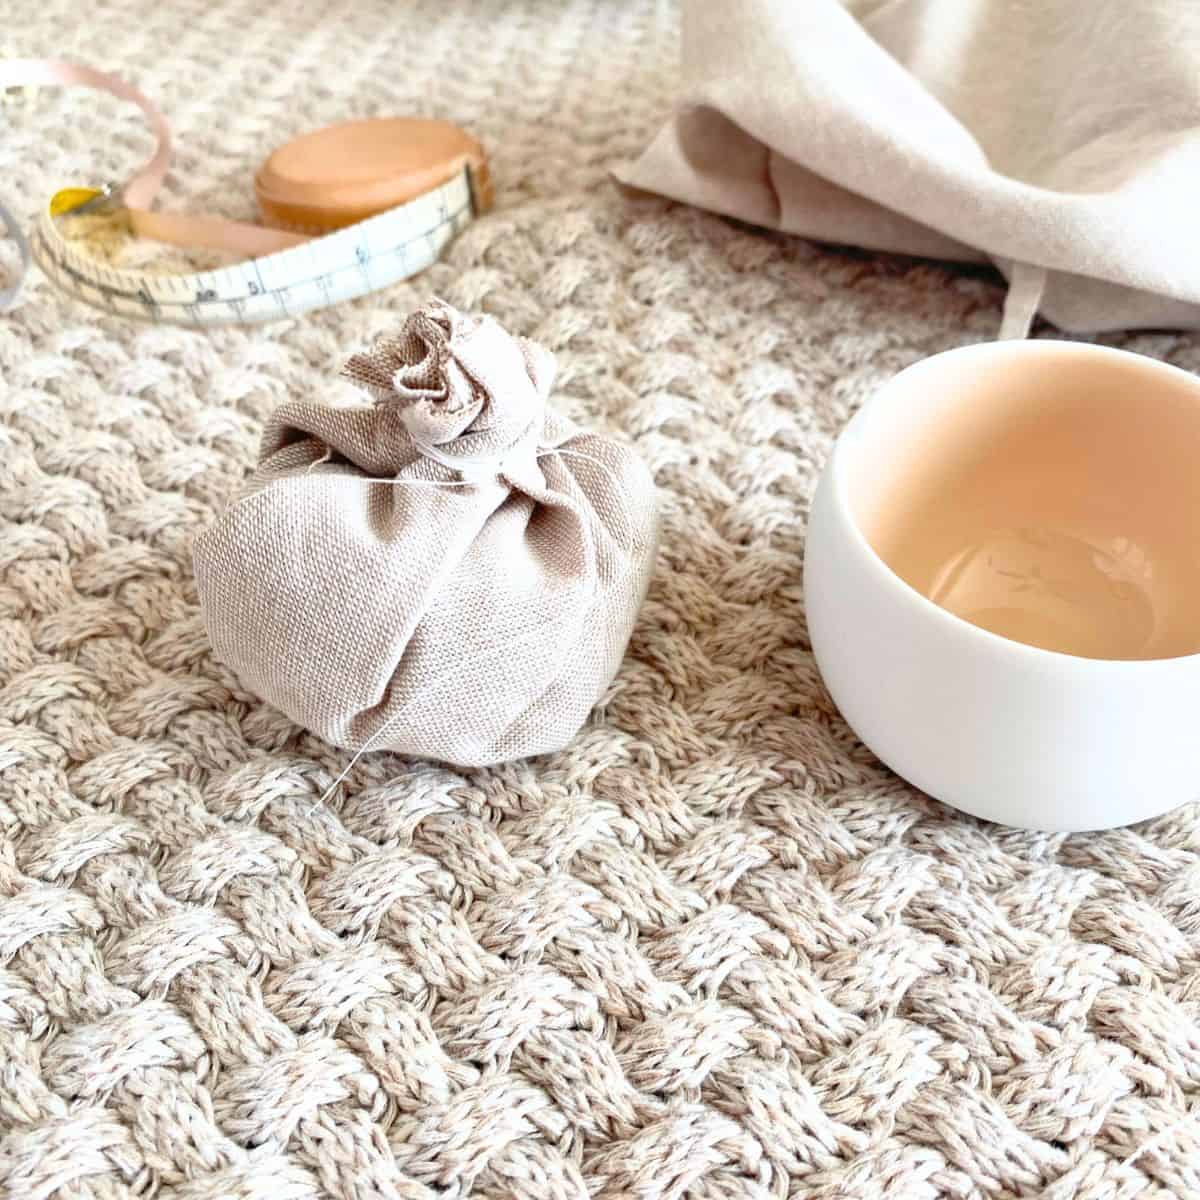
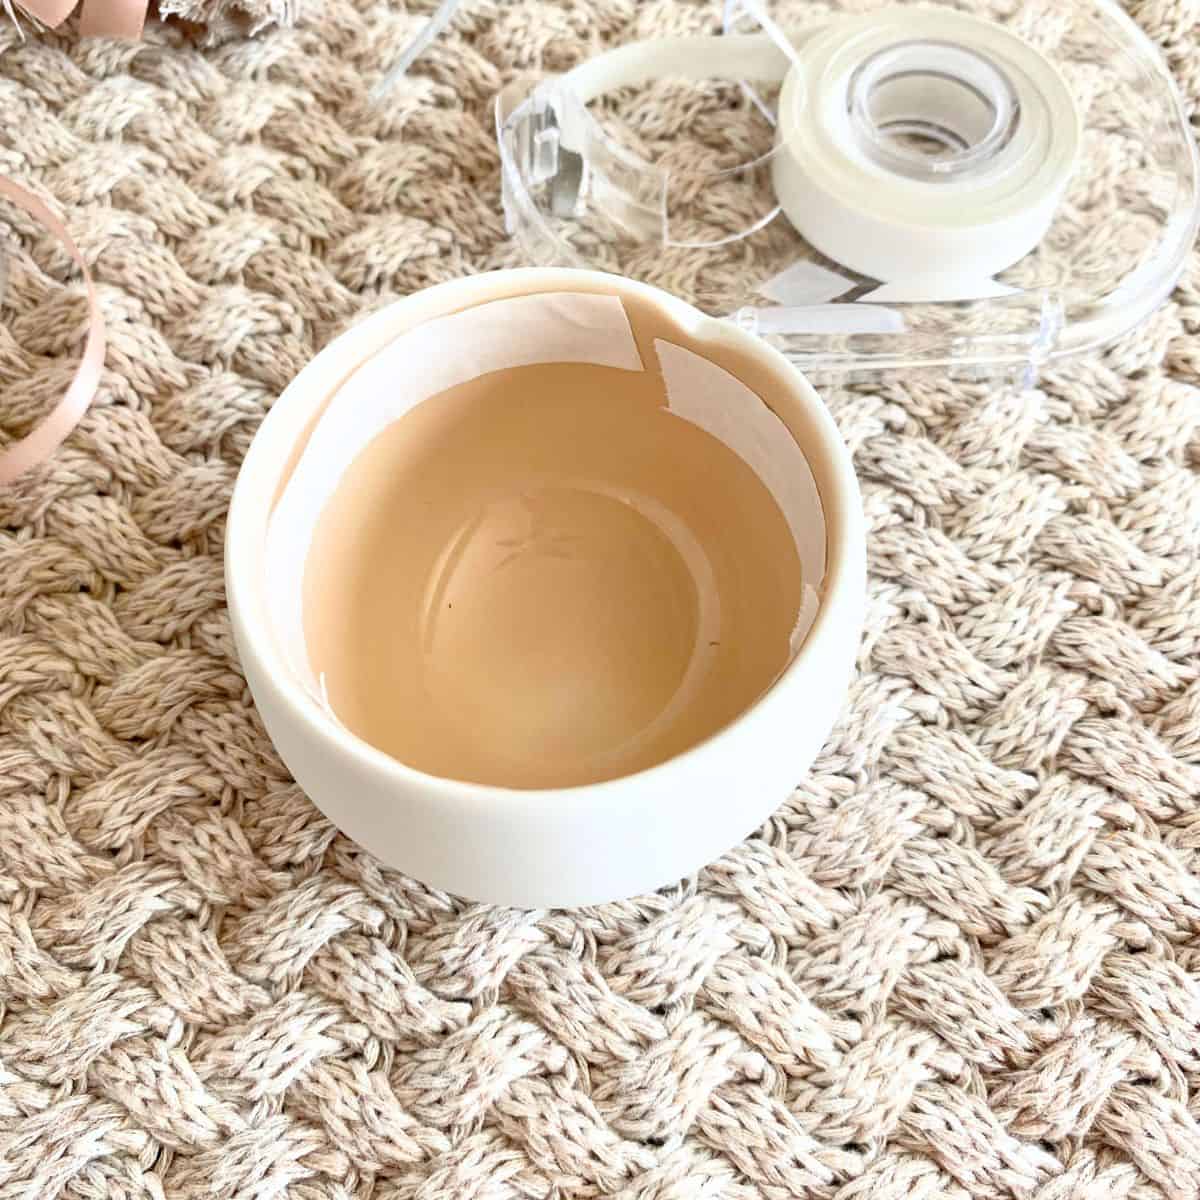
- Adhere the cushion to the cup/dish. Use glue to adhere the pincushion to the cup. Hot glue probably works best for this project. Since I did not want to permanently damage the cup I used, instead of glue I used double-sided tape by lining the inside top rim.
Caution:
Be absolutely sure the pincushion is firmly, completely adhered to the cup. You do not want the pincushion to come away in the future as you risk getting poked with a pin or have pins flying everywhere. If in doubt, glue it together very well.
- Firmly press down to place the pincushion in the cup. Wait for a few minutes to dry.
Add your pins and you're done! Now, you have a functional but beautiful pincushion that will elevate your sewing projects!
How did you decorate your pincushion? Leave a comment.
Leave a Reply