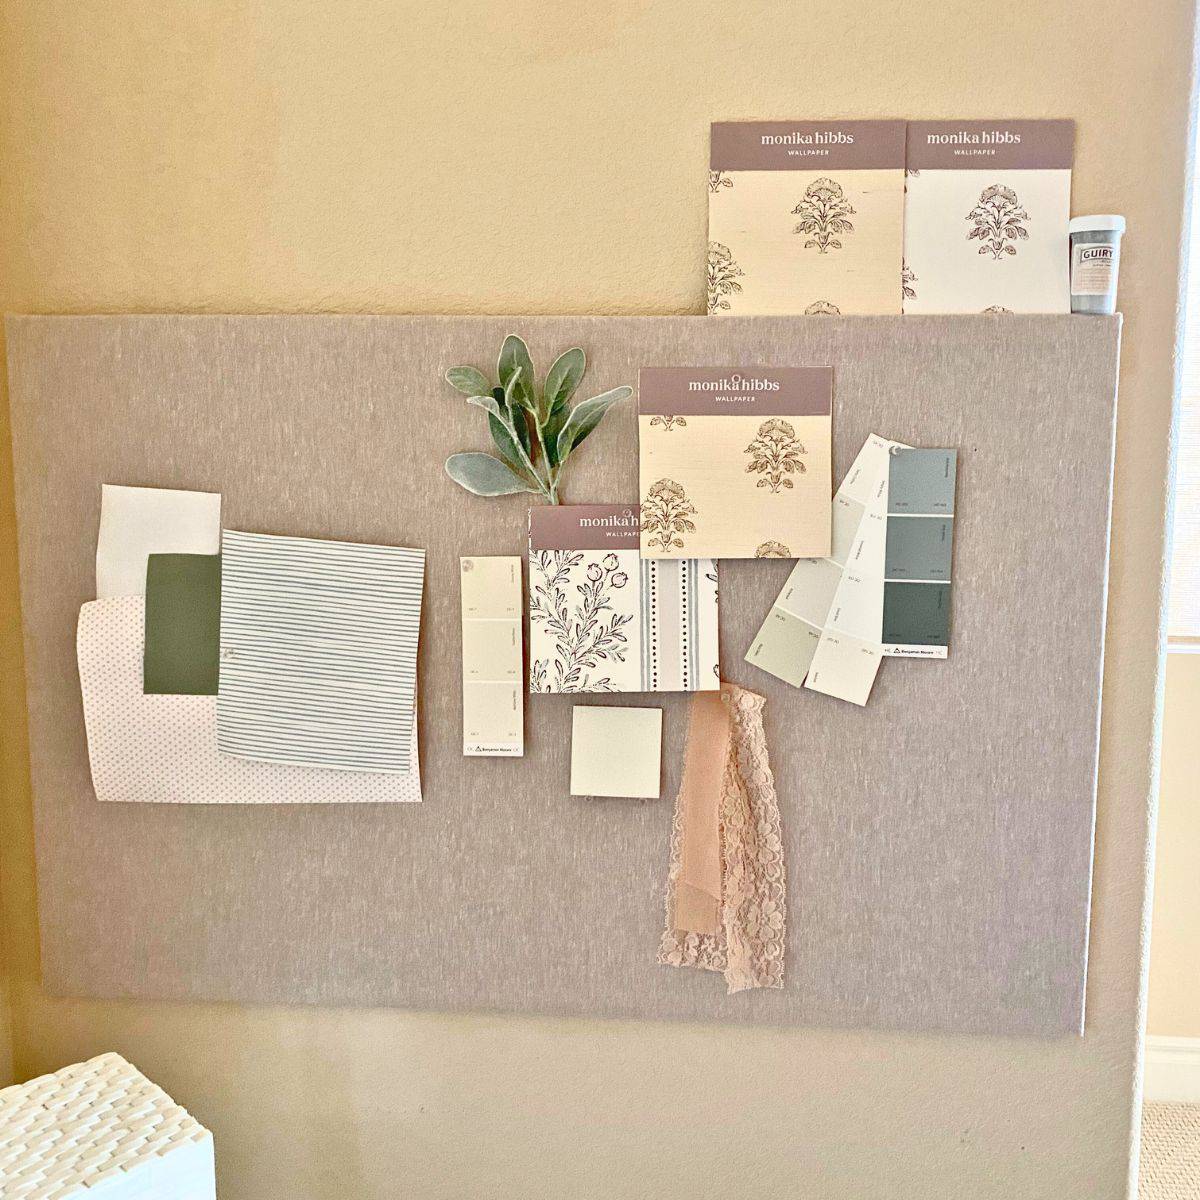
Whether you want to visualize a design project, display artwork or post family announcements, this easy DIY Pinboard will have you organized in style in no time.
This diy linen fabric pinboard comes together in about 15 minutes, with just a few simple supplies.
So, grab some fabric and your favorite corkboard and let's make a pretty pinboard!
This post may contain affiliate links which we may receive a small commission when some items are purchased at no additional cost to you. Read the full disclosure.
That photo album on your mobile phone, a to-do list in your notes app, or your design board on Pinterest is great for creating digital collections, but sometimes it's difficult to see (and feel) the finer details of things. Physical pinboards, on the other hand, bring a picture, list, or design to life in a tangible way that can make decision-making easier.
What to use a Pinboard For
Also known as a bulletin board or notice board, there are many different ways to use a pinboard.
Some families post announcements or display kids' drawings on pinboards. Others use bulletin boards for displaying artwork, photos, or greeting cards. Interior designers and decorators use pinboards to create design concepts and mood boards. There is really no wrong way to use a pinboard.
You will often find a pinboard in the kitchen where everyone can easily see and use it.
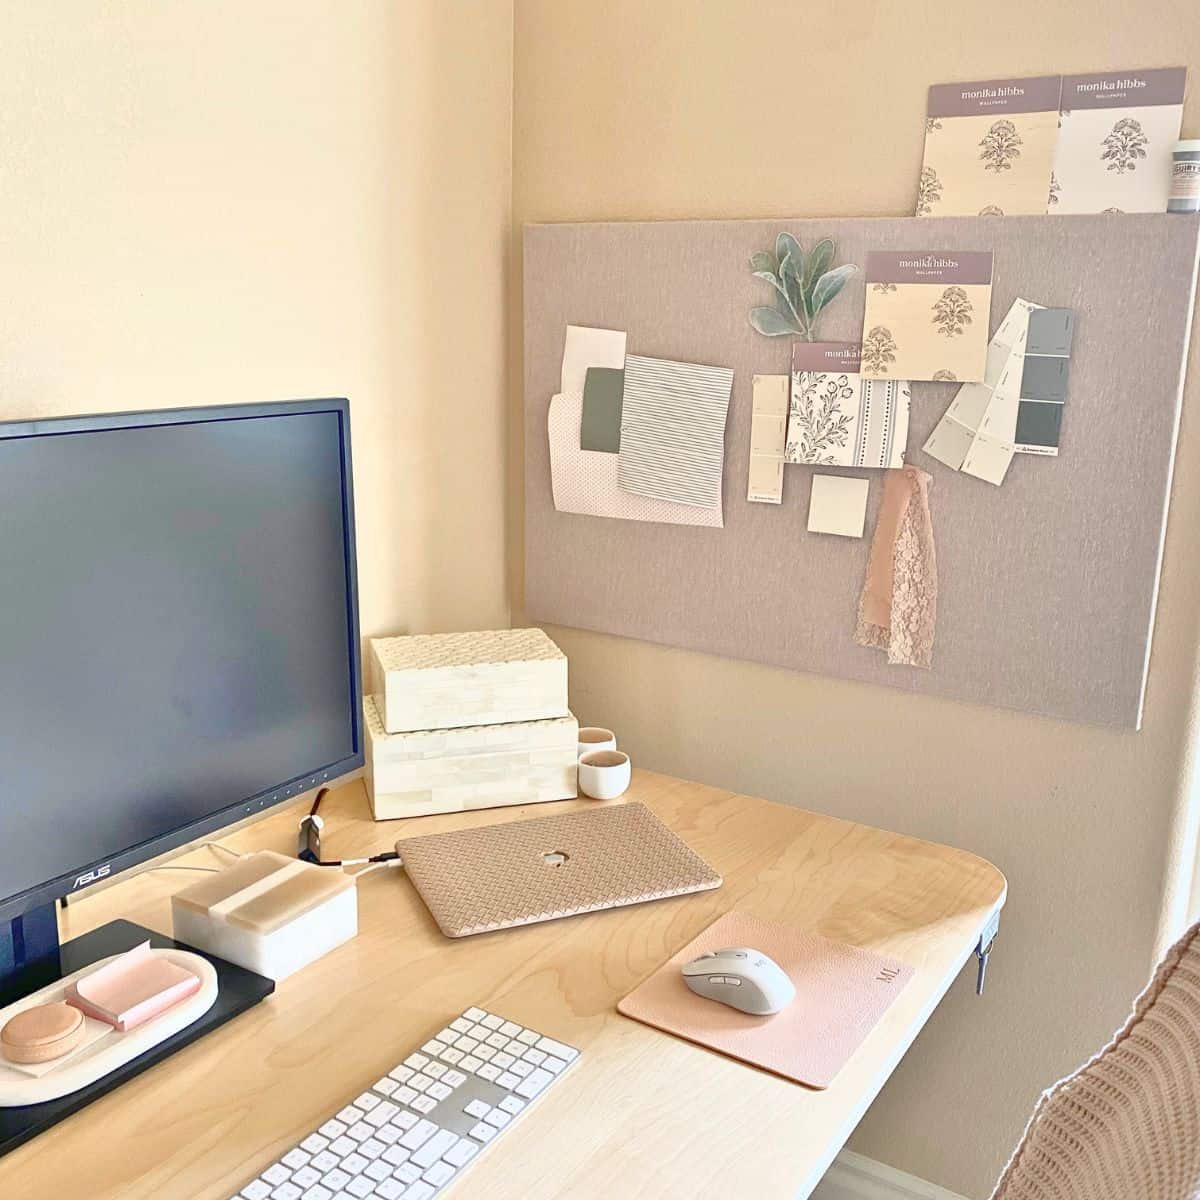
Specific to my use case, I love coming up with design concepts, but I was tired of only being able to see a digital version. I wanted to feel the fabric or see first-hand the true texture of a finish before making selections.
With a fabric pinboard, I get a much better sense of how colors, textures, and patterns work together. That doesn't work for digital designs.
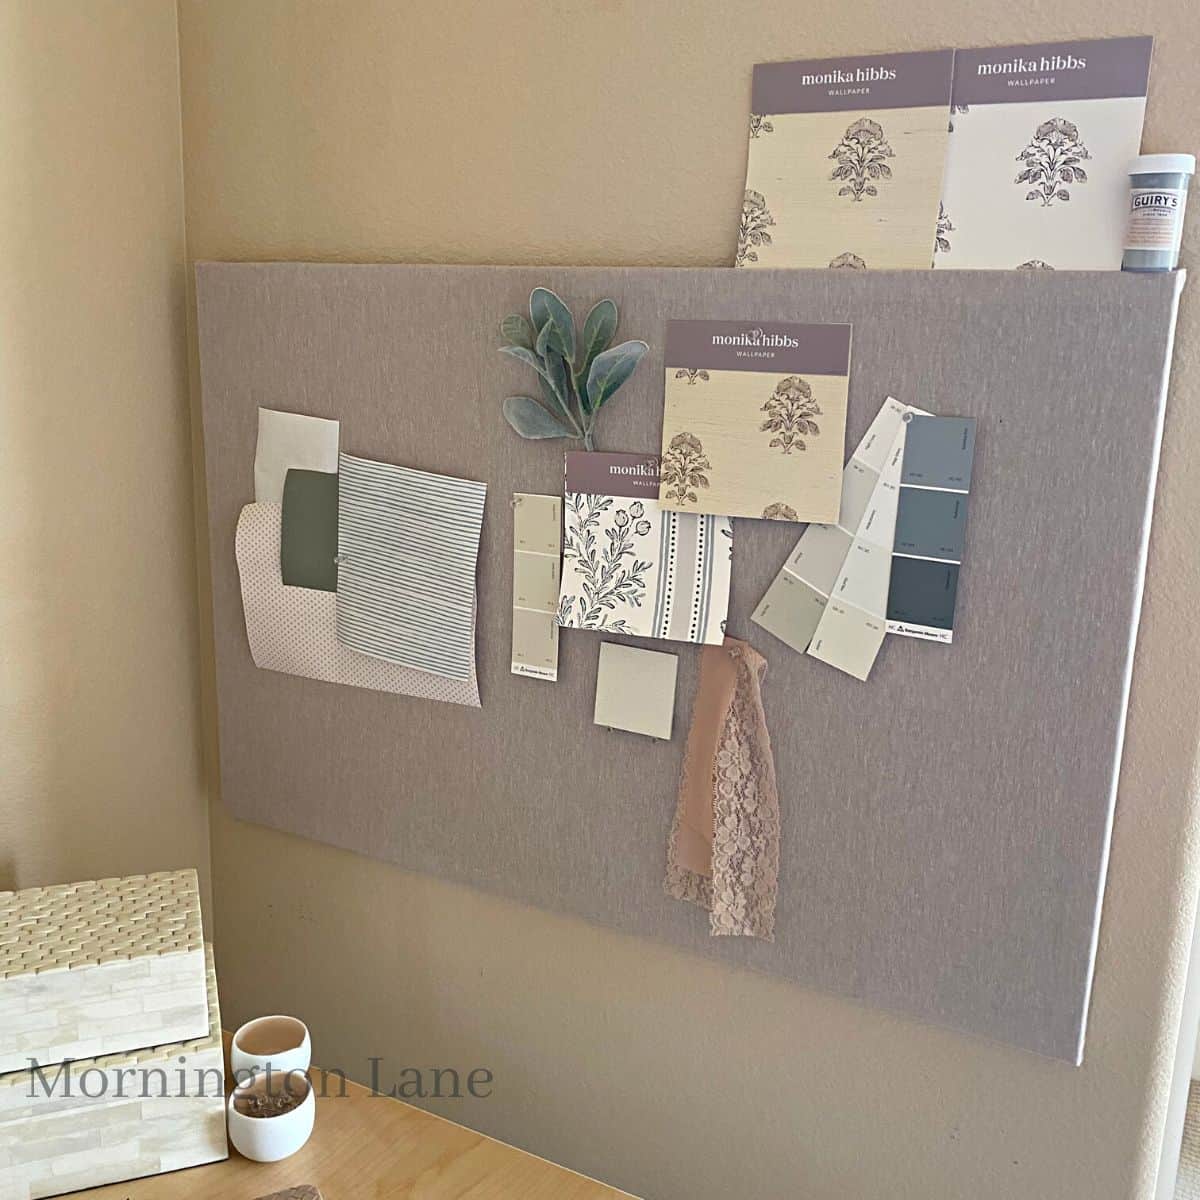
I can pin up fabric or carpet swatches next to paint sample cards and wallpaper patterns to view a whole design concept at once. Another benefit is seeing things in both natural and unnatural light at different times of day. In the end, I am much more confident to make design decisions.
Looking for more easy DIY projects? Check out how to make DIY Yarn Garland - 4 Ways or a DIY No-Sew Book Cover.
How to Make a DIY Linen Fabric Pinboard
Making a fabric covered pinboard is probably one of the easiest diy projects you can complete. It takes about 10-15 minutes and does not require power tools. That said, you will need a medium to heavy duty stapler and a second set of hands helps at times.
Supplies:
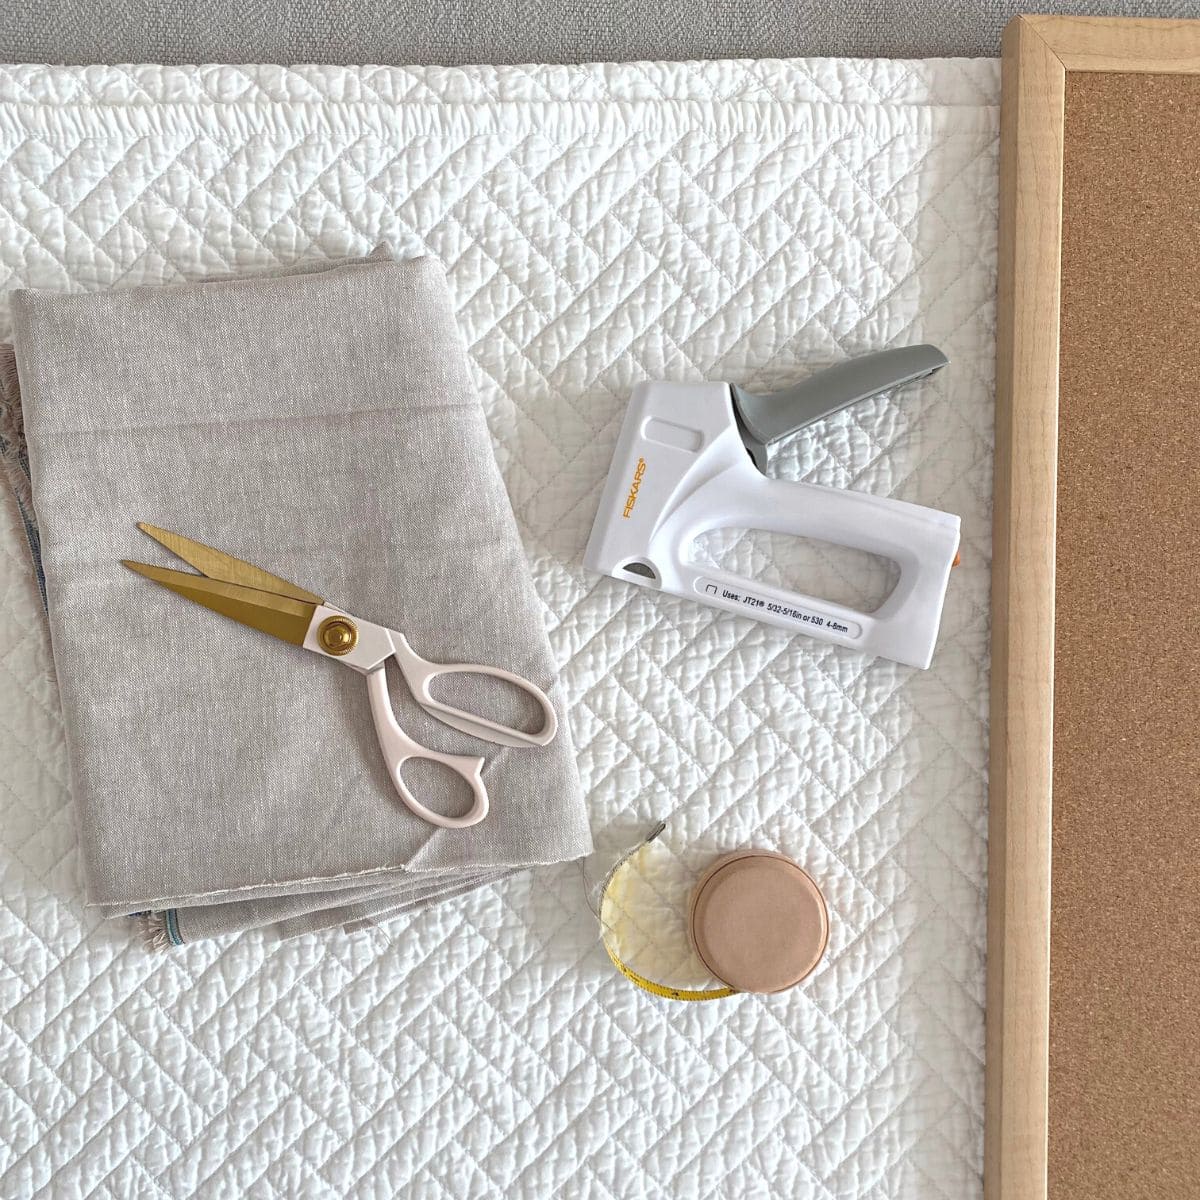
- Cork Board - You can find inexpensive cork boards at most craft and home improvement stores. I wanted one that had a frame to better ensure the staples wouldn't go through to the front side of the pinboard. I also find that the frame adds stability. I used this 23 x 34 inch cork bulletin board for this project. If you can't find it locally, the same brand carries this nearly identical cork board (24 x 36 inch) as well as a slightly smaller cork board (18 x 24 inch) that may work for you.

- Linen fabric - Linen is a lovely durable fabric to use to make your own pinboard. I read Belgian flax linen specifically is one of the best fabrics to use for this type of project, but I couldn't find any locally and didn't want to order it.
I purchased a linen-like fabric from a local craft store in a light greige-taupe color that doesn't lean to gray or too beige. This linen fabric should work as well. Depending on the size of your cork board, you may only need 1-2 yards of fabric. - Staple gun and staples - A pneumatic stapler is overkill for this project. You should be able to use a medium to heavy duty hand-held staple gun for this diy project that is both pretty and functional. Do not use an office paper stapler, as it is not strong enough.
- Scissors - You will most likely need to cut the fabric and that means you need a good pair of scissors. I love my blush pink scissors, though they are no longer available. I did find these STUNNING gorgeous rose gold heavy duty shears (they are available in a few colors) by a brand I have purchased things from before. I also found these steel bladed gold scissors from the same brand that sells the cork boards and they are just as beautiful and useful!
- Push pins - You can find utilitarian or pretty push pins at Target, Walmart, boutique shops, Amazon, and many office supply stores. I already had clear push pins, but I plan to buy some of these super cute push pins in white - although I LOVE the baby pink and baby blue colors too - and maybe these metal push pins that will allow me to also hang things on the pin itself.
At the time I made this, this project will most likely cost around $20-$40, depending on the quality of fabric you use. Because I didn't have a staple gun and staples, which accounted for about half the cost, I spent about $40 total on this project. However, I needed a staple gun for future DIY projects anyway, so for me it wasn't a waste.

Steps to Make a Fabric Covered Pinboard
- Iron out any wrinkles or creases to make sure the fabric is as smooth as possible. If you do not iron the fabric, it could add slack, causing it to droop over time. Additionally, you will most likely see wrinkles even after slightly stretching the fabric and stapling it, which means the wrinkles are permanent and will not look pretty.
- Determine how much fabric you will need to cover the cork board. Add about 1 ½ inches to each side to ensure the sides are fully covered and you have enough to staple the fabric to the back. For example, the cork board I used was 23 x 35 inches, so I cut the fabric to about 25 x 37 inches.
- Place the cork board front side down on top of the fabric. Gently pull the fabric taut up over the sides, neatly folding the corners. (You don't have to be too neat on the corners at this stage, as you will perfect each corner before you staple it down.) Staple at the middle of each side of the cork board to help better hold the fabric in place.
Tip:
To ensure your fabric will not sag, always gently pull the fabric taut before you staple, but also not too tight that you pull it away from the other sides. This is where a second set of hands (or eyes) helps.
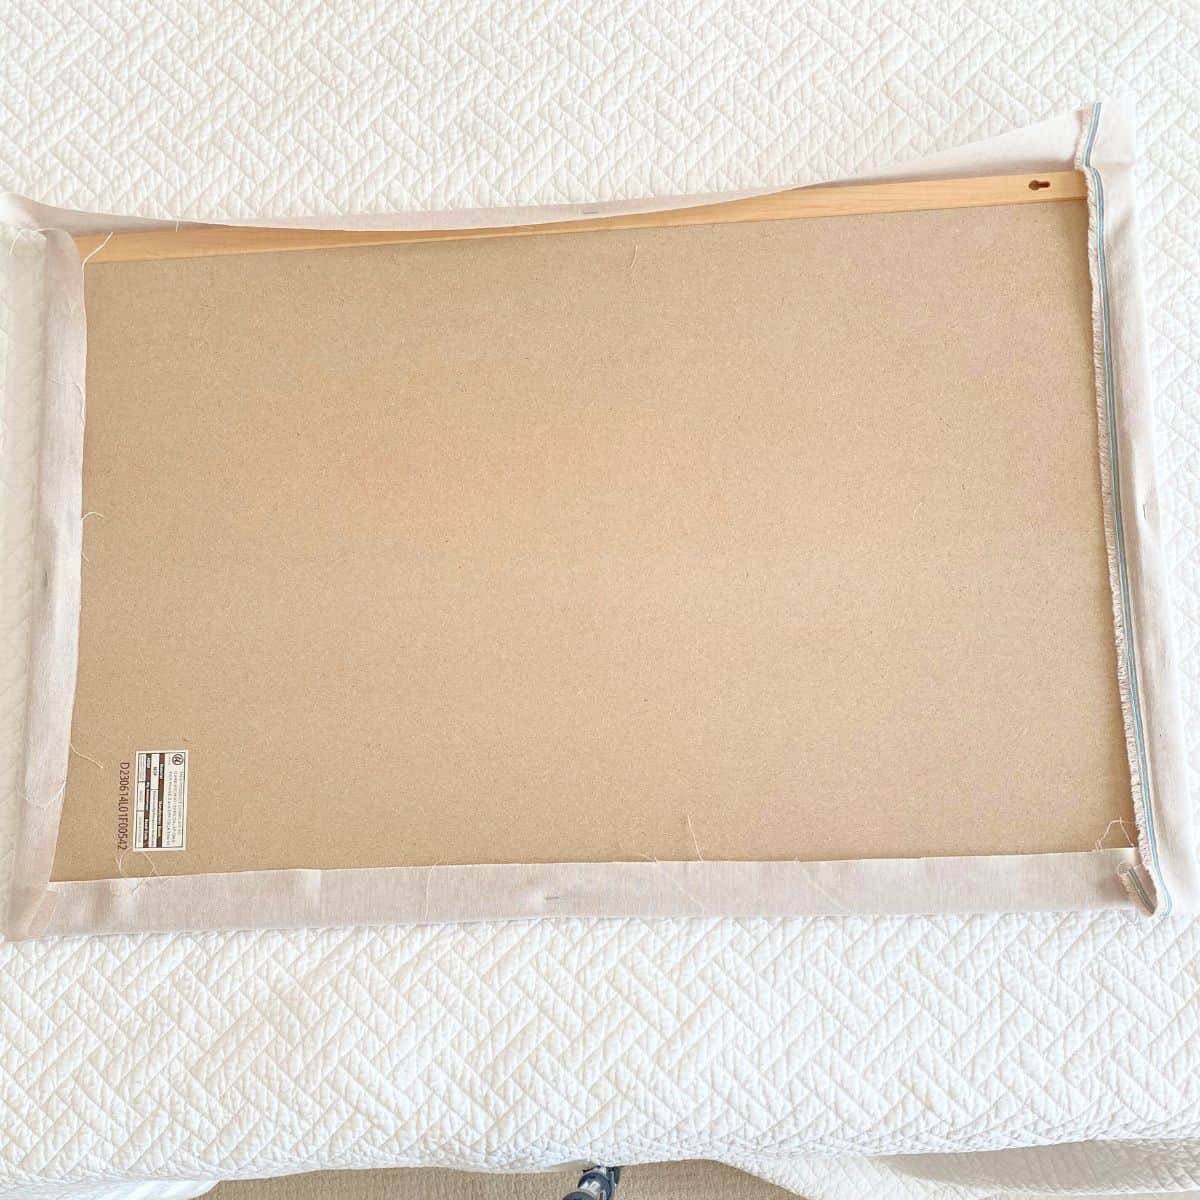
- Add a staple about halfway between each side of the middle staples you just stapled into place. Do this on all four sides of the cork board. Note: You'll add more staples later in the process. At this point, you're trying to secure it enough to enable you to complete the corners which will help hold the fabric in place before stapling all the way around.
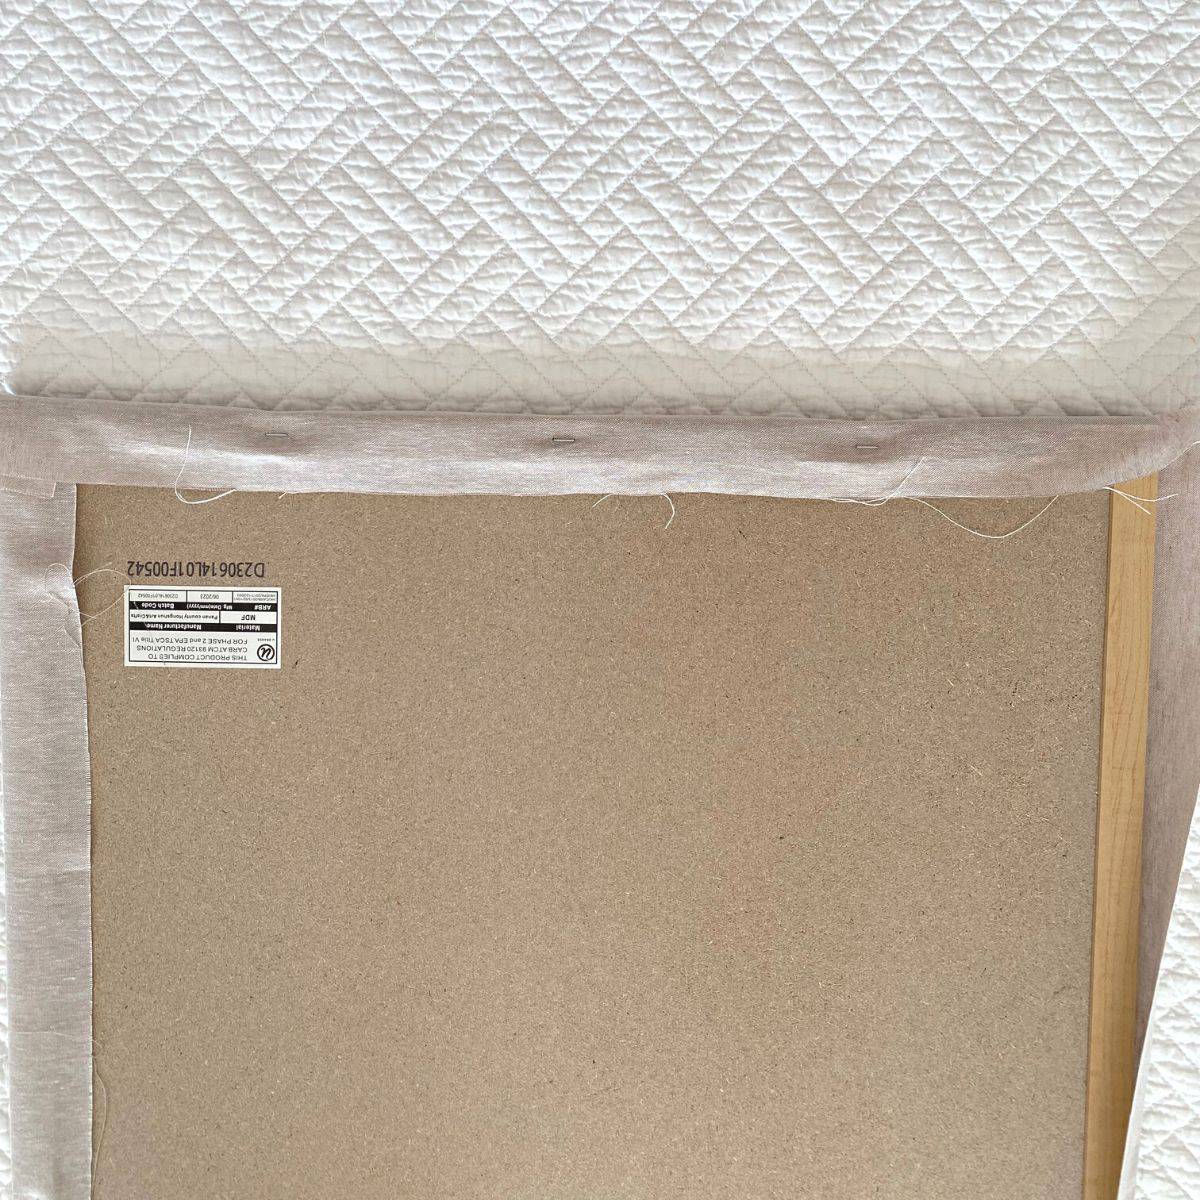
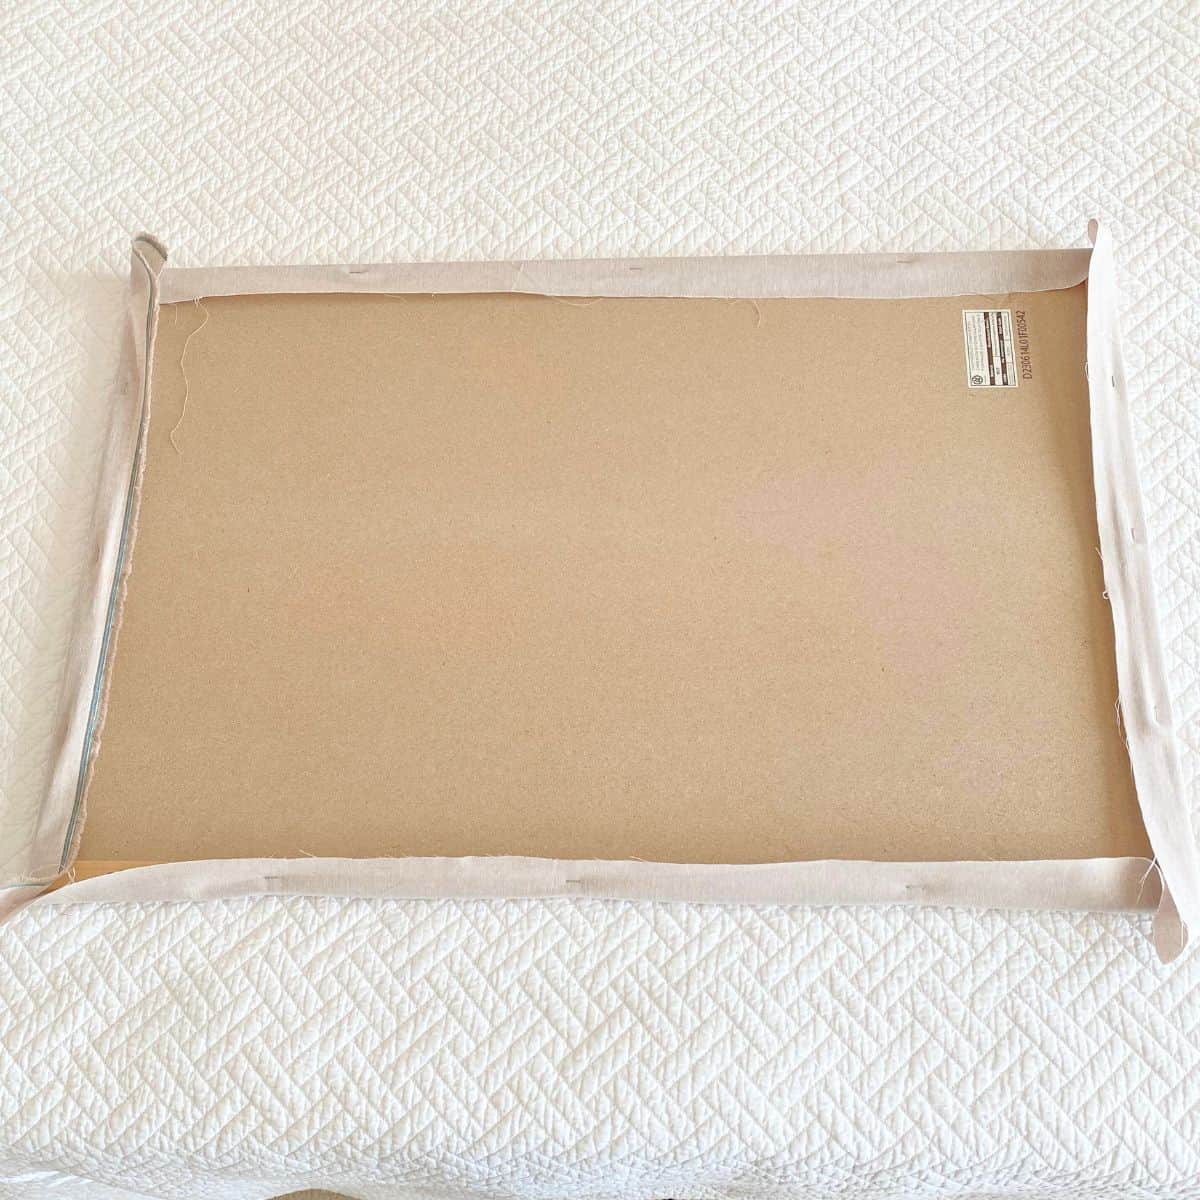
- At one corner, neatly fold in the fabric, again, keeping the fabric taut. When it's to your liking, staple each side of the corner as well as to the middle to the board itself. You may find that you need to add two staples in the middle. Do this for all four corners. Take your time.
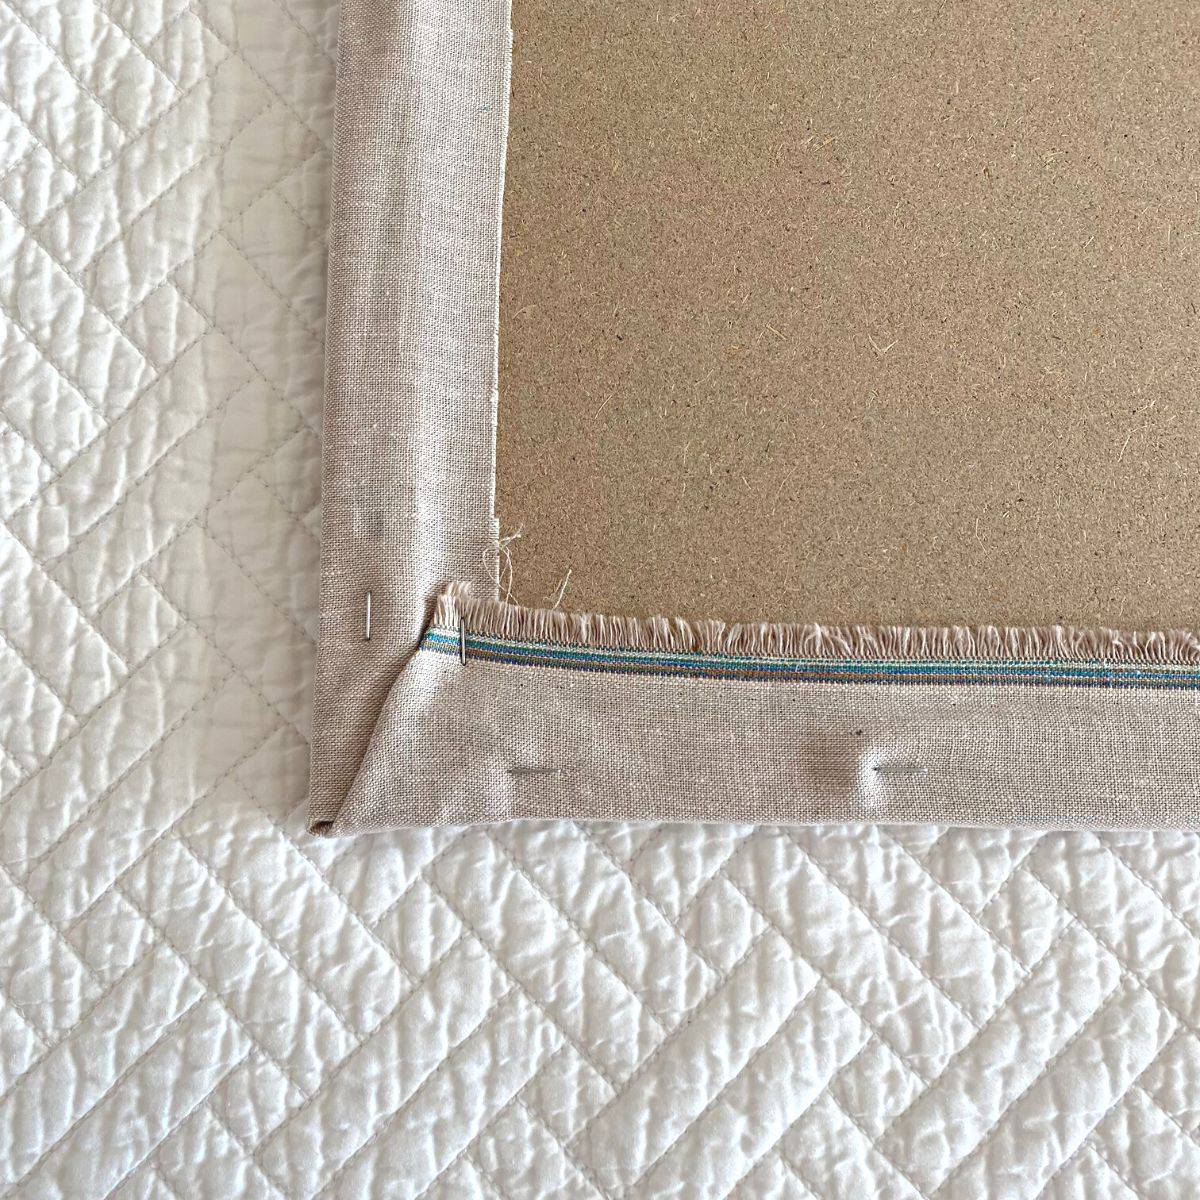
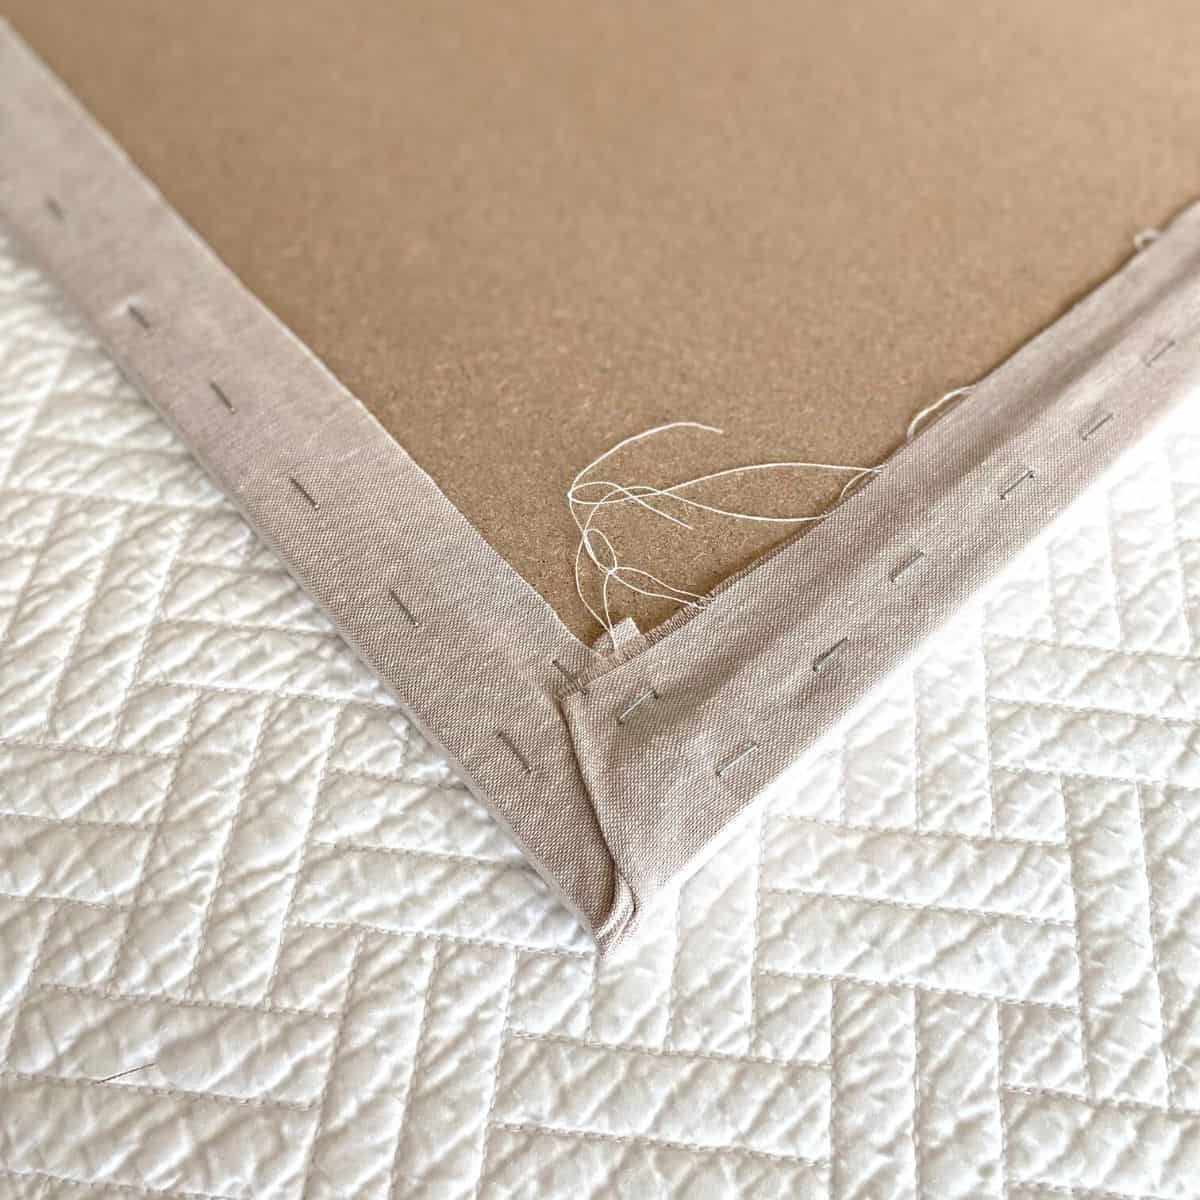
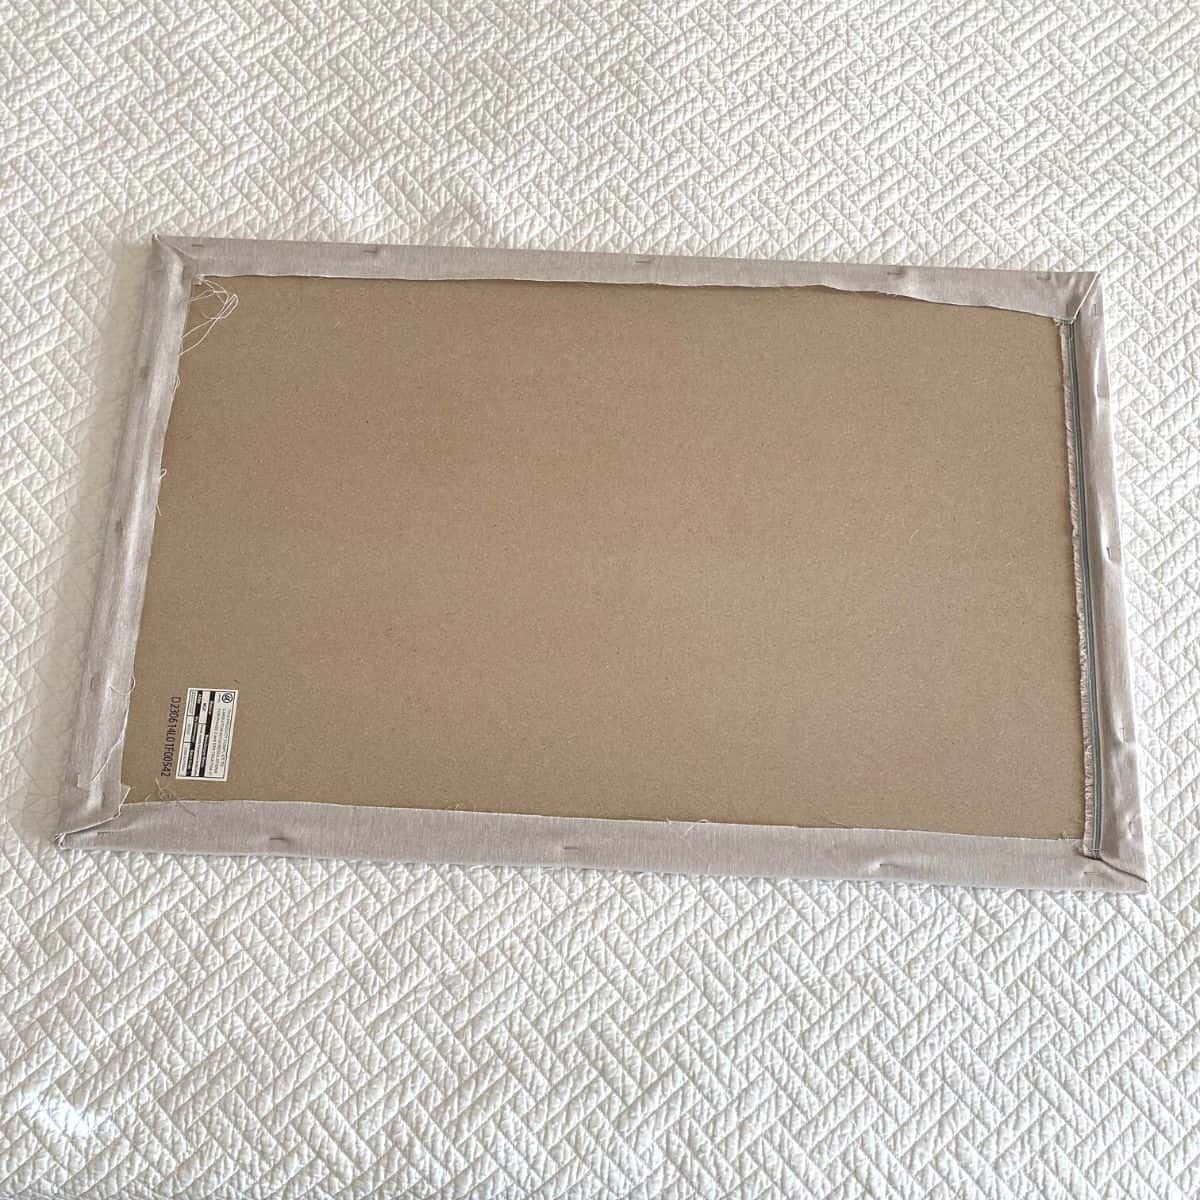
- Add staples all around the cork board, filling in anywhere that looks like it could use a staple. Don't overcrowd the staples, but add enough that the fabric will stay in place. If you plan to add hardware to hang the pinboard, do not put staples in those areas.
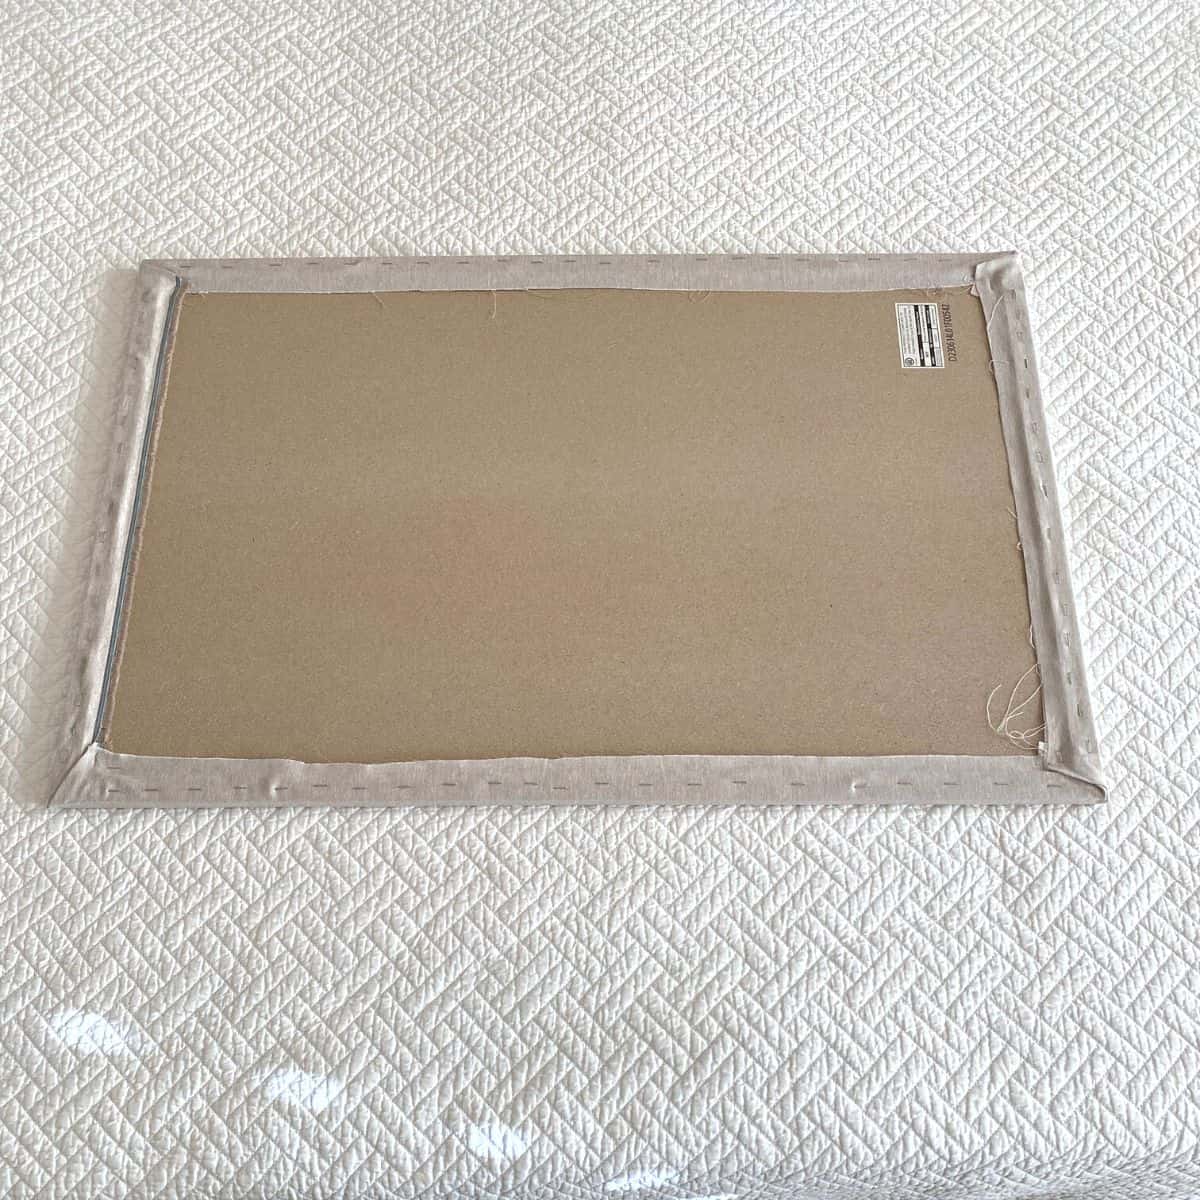
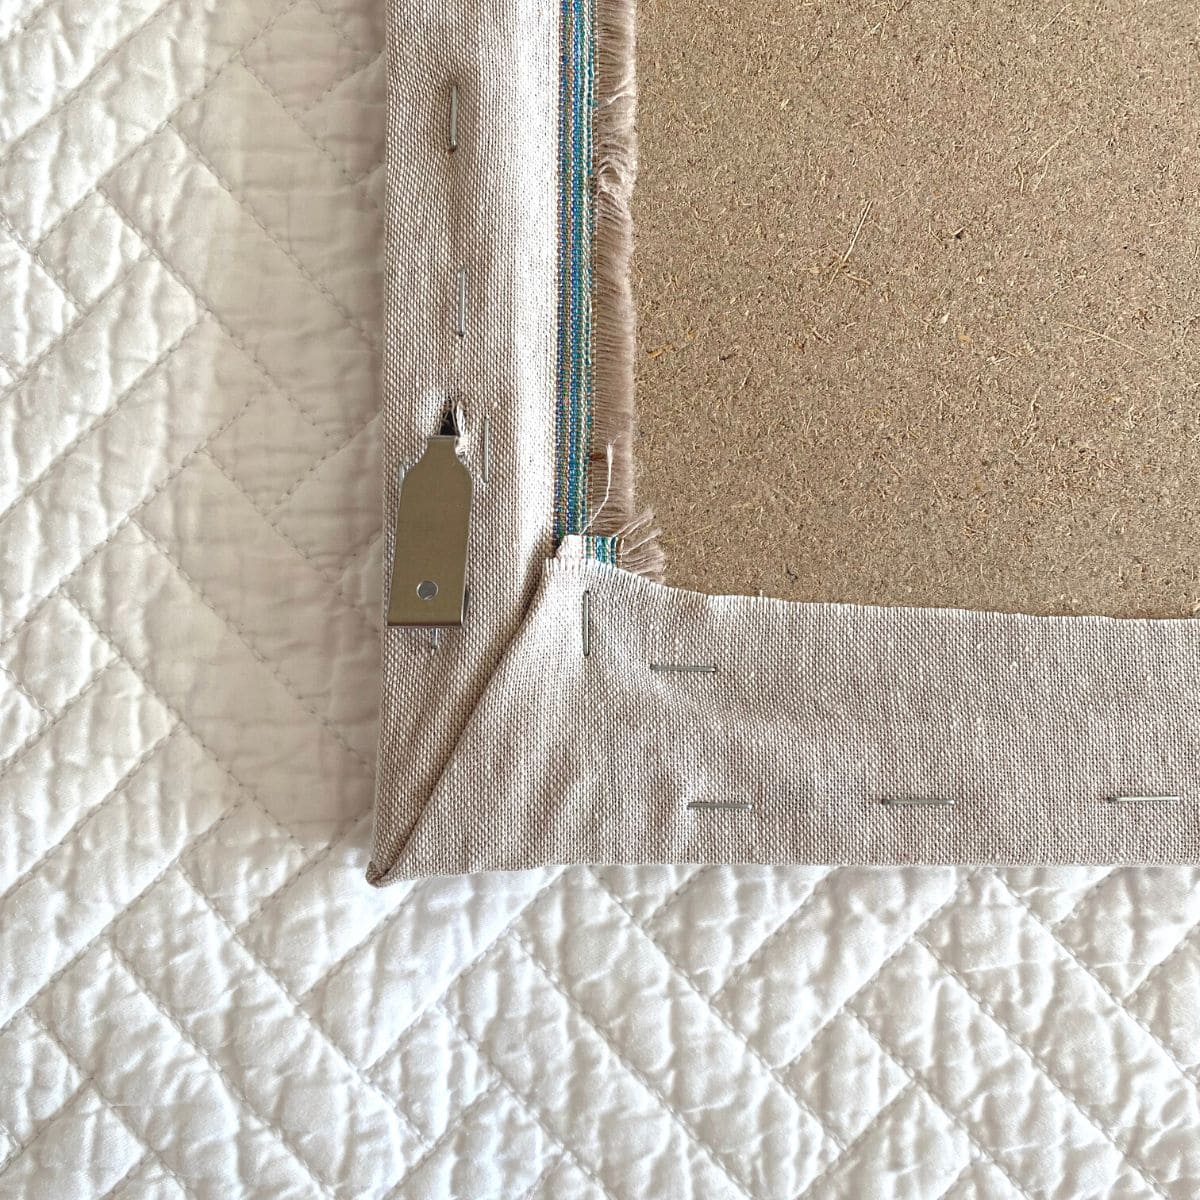
- The cork board I used came with hardware to hang it by. The measuring tool it came with made it easy to gently cut a hole in the fabric on each side to insert the hardware into.

Now all you have to do is hang it up and you're done! Use pretty push pins to display artwork, visualize a design concept, post notices, or whatever you want!

All in all, this diy pinboard bulletin board was a quick project that, at least for me, resulted in a pretty place to plan designs. It's such a small thing, but it makes me so happy when I glance over at it as I work away at my desk.

Frequently Asked Questions
I prefer the look, feel and durability of linen fabric for a pinboard, but others have used burlap. You want to avoid using fabrics that snag easily or that are more likely to sag over time and with continued use.
Yes, a cork board is typically used as the foundation of most diy pinboards.
The best cork board to use for a diy pinboard is one that is self-healing and that has a wood frame. A wood frame helps prevent staples from going through to the front side of the pinboard, while providing additional stability at the same time. U Brands birch wood frame cork board is one of the best products to use for this type of project.



Leave a Reply