
I have always loved the quiet classic sophistication of framed plaster intaglios. If you have ever tried to find antique intaglios you probably quickly learned that not only are they difficult to find, they are quite expensive. Modern reproductions, on the other hand, are simply expensive without the history, provenance, and patina that comes with antiques.
In the end, I decided to make my own framed intaglios, allowing me to choose the exact designs and styles that I wanted.
If you love the look of intaglios, this is an easy guide that details how to make DIY framed intaglios for less.
This post may contain affiliate links which we may receive a small commission when some items are purchased at no additional cost to you. Read the full disclosure.
What Are Intaglios?
There are many articles describing how intaglios came about on what is known as the Grand Tour that I urge you to take five minutes to read. Two of the most notable I found is this article on The Met and this post on Regent Antiques blog.
The Grand Tour plaster intaglios that came out of the time period were basically souvenirs of time spent traveling Europe. They were collected by travelers along with paintings, sculptures, and other art.

The Allure of Intaglios
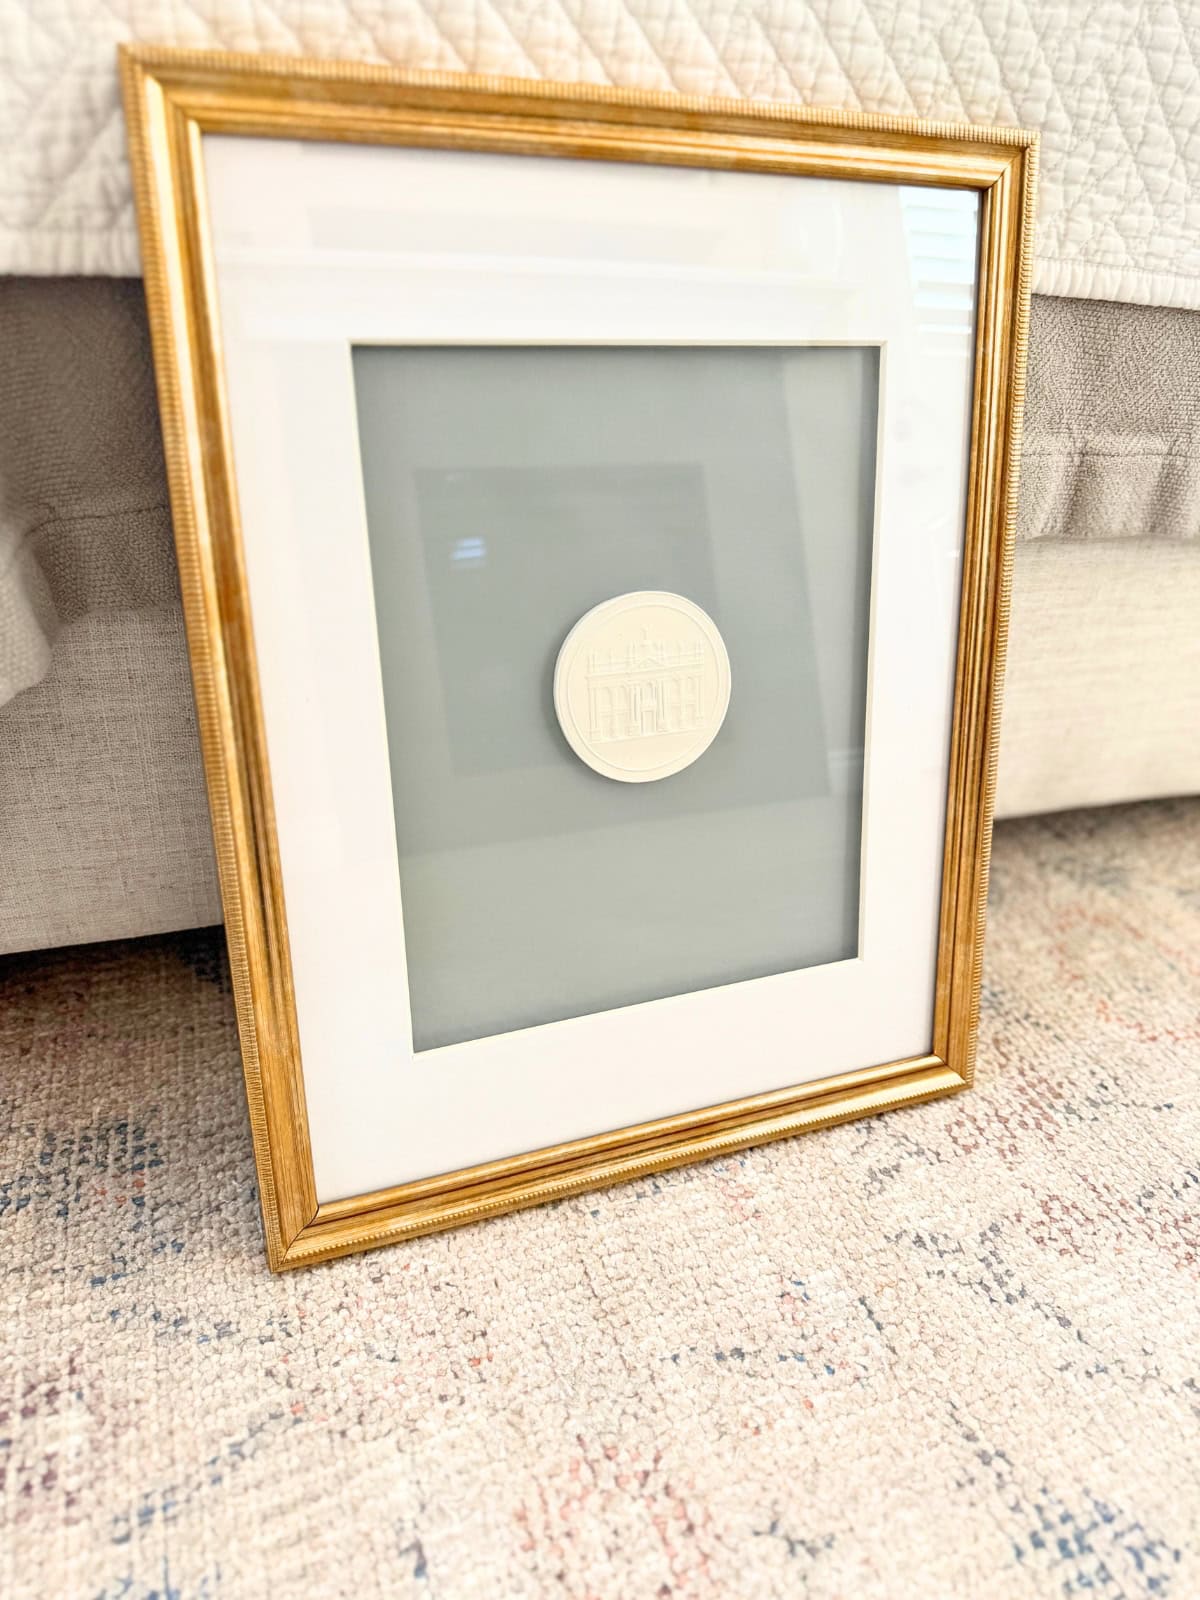
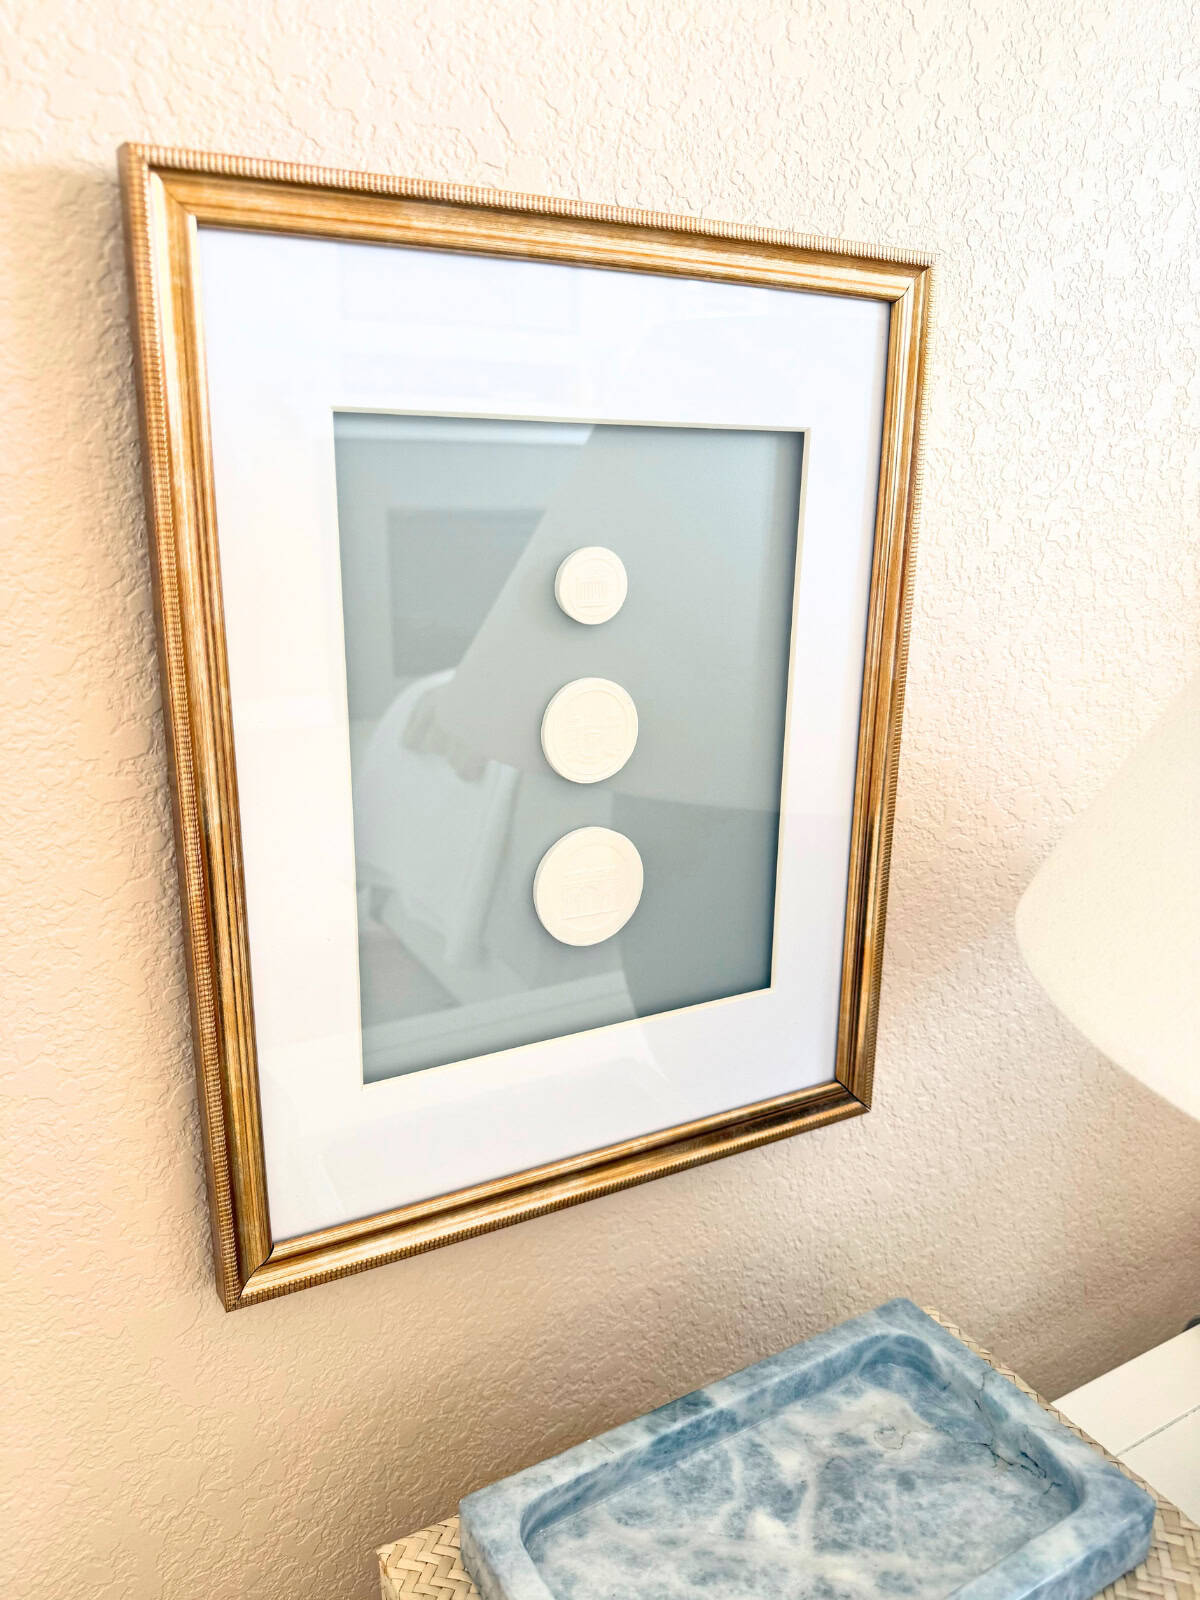
Whether an online video home tour-I'm looking at you, The Potted Boxwood, Homeworthy, and AD-interior designer's portfolio, or randomly on the socials, I have loved the look of classic, timeless framed intaglio art. I especially love seeing a warm white plaster intaglio suspended on a soft blue background.
The first time I saw antique framed plaster intaglios in person was at a well known local antique mall. It has been about a year and they are still there, taunting me every time I visit. While they are beautiful, at $750 per framed set (there are two framed sets), they would have to be exactly what I want for me to buy them. I'm not really into black-on-black matting, which is how they are framed. As you'll see, I prefer a timeless white matting with a soft blue background.
To this day, the fateful intaglio art at the antique shop is still the only time I have ever come across plaster intaglio wall art-antique or otherwise-in person, and I frequent many antique shops in our area (and beyond).
You can find some antique intaglios online, but I prefer to see and touch and smell (if you know, you know) antiques in person when I can.
Is it Better to Buy or DIY Framed Intaglio Art?
Today, you can buy framed reproduction intaglio art online. That said, at usually over $300 per framed intaglio at well-known retailers, and at least $100 per framed intaglio on sites like Etsy, I believe it is very expensive for what it is.
Antique intaglio artwork of the Grand Tour prices make sense in context: you are buying something singular and rare. You are buying something that may have survived revolutions, world wars, and the fall of nations. In context, the antique commands a higher price.
When I see something reproduced to try to be the old thing, I assess what the value is to me. If a mass produced reproduction doesn't hold value as it is, I move on and find an alternative way to get the same look. It should also be said that framing art is expensive, and everyone along the chain from wholesalers to retailers will price accordingly.
Scarcity of supply (antique intaglios) coupled with low value in modern intaglio reproductions is a time that I can easily say it is justifiable to do a DIY to get the look.
Cost Breakdown to Make DIY Intaglios
The cost to make your own intaglio wall art may be more or less given many different factors. For instance, if you already have deep frames or shadow boxes, you will not need the foam board.
Here is a general breakdown of the material costs I incurred not including taxes:
- Picture frames: $11.67 per frame or $34.99 per set of three and I bought 2 sets of three for $70.00
- Foam board: $11
- Pre-cast plaster intaglios: $95 for 9
- Sample peel & stick paint sheets: $5.95 per sheet and I bought 6 sheets for $36.00.
All told, I spent around $35.34 per framed intaglio or about $212.00 total to make 6 framed intaglios.
Supplies to Make Framed Intaglios
Making your own framed intaglios does take more planning than other DIY projects I have featured here on Mornington Lane, including Pretty DIY Pincushion, Matchbox Craft Tube DIY, DIY Linen Pinboard, and No-Sew Book Cover DIY.
Specifically, it comes down to the plaster intaglios themselves and whether you want to make them yourself or buy them pre-made.
Decide to Make or Buy Pre-Cast Plaster Intaglios
There are a couple different ways to go about this DIY.
The first option is you can make the actual intaglios by buying silicone molds, typically used for cake and candies, or those marketed as cameo molds. Then, use air-dry clay to press into the molds. A second option is you can buy custom pre-made, pre-cast plaster intaglios.
This all depends on what designs you want.
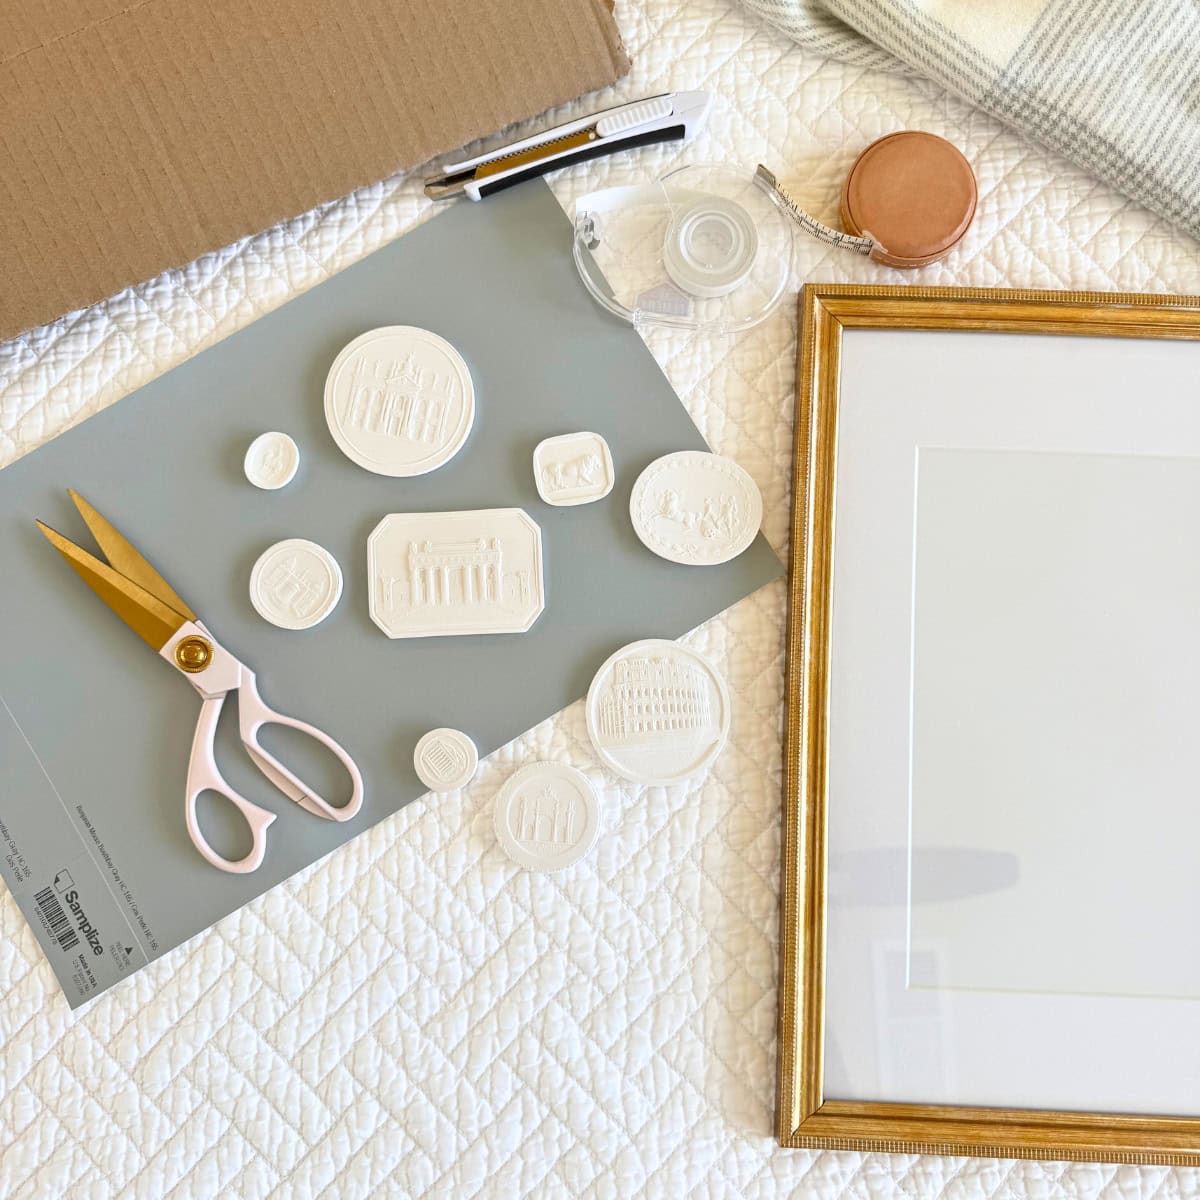
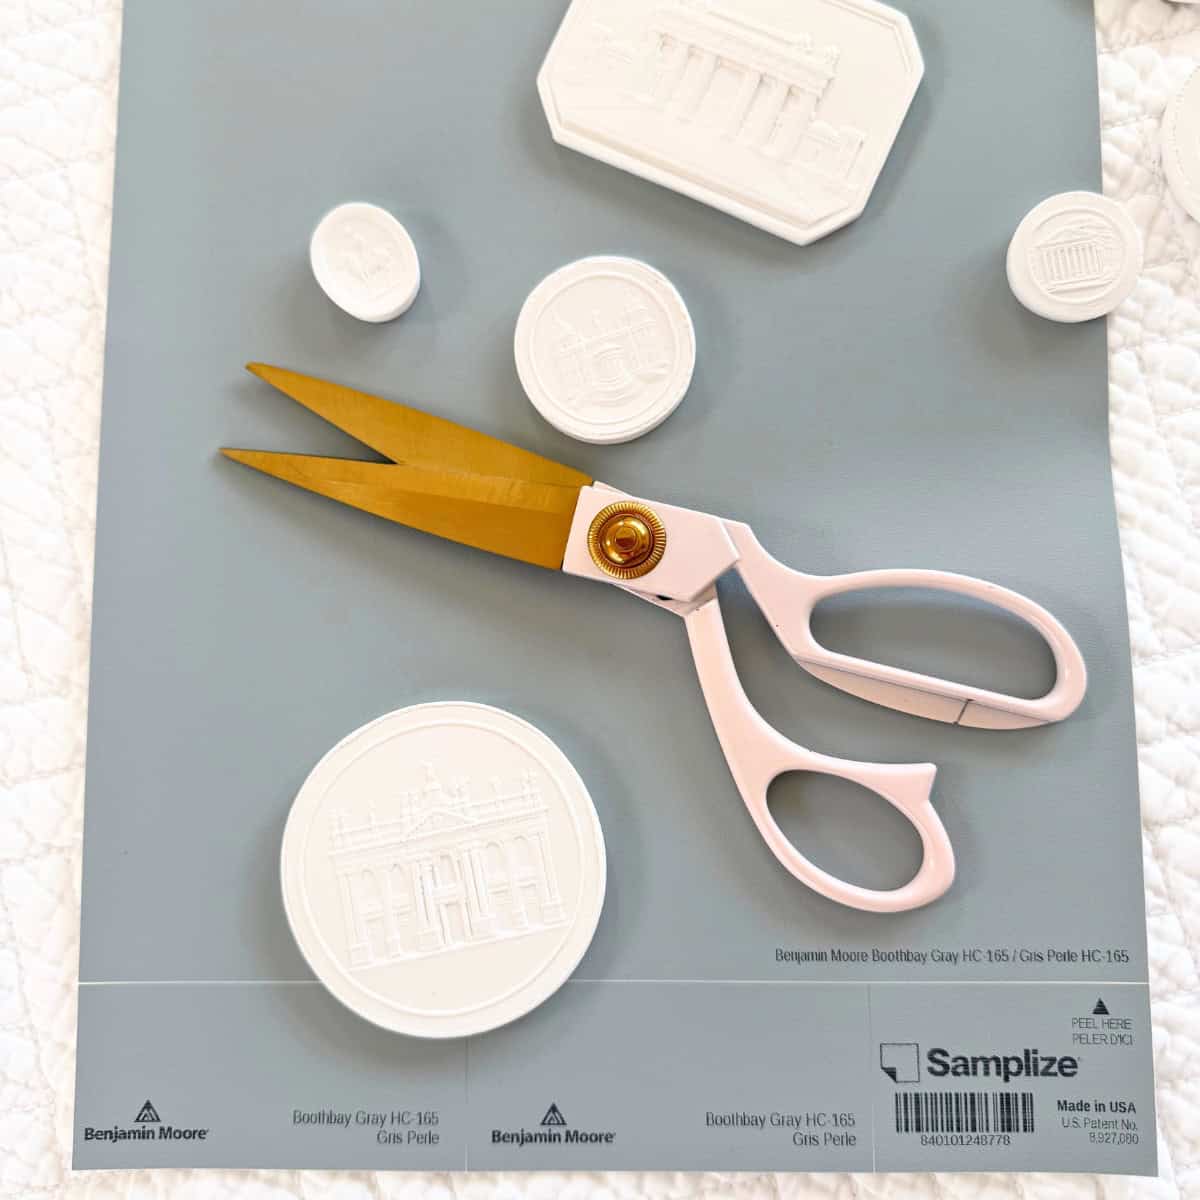
I wanted very specific designs as well as sizes of the Grand Tour era, mostly of historic sites and buildings, but I found it challenging to find such molds. In the end, I bought individual pre-cast plaster intaglios from this wonderful Etsy shop. You can choose from various designs with each size-small, medium, and large. You can also choose a gold edge finish around the intaglio or keep it as is.
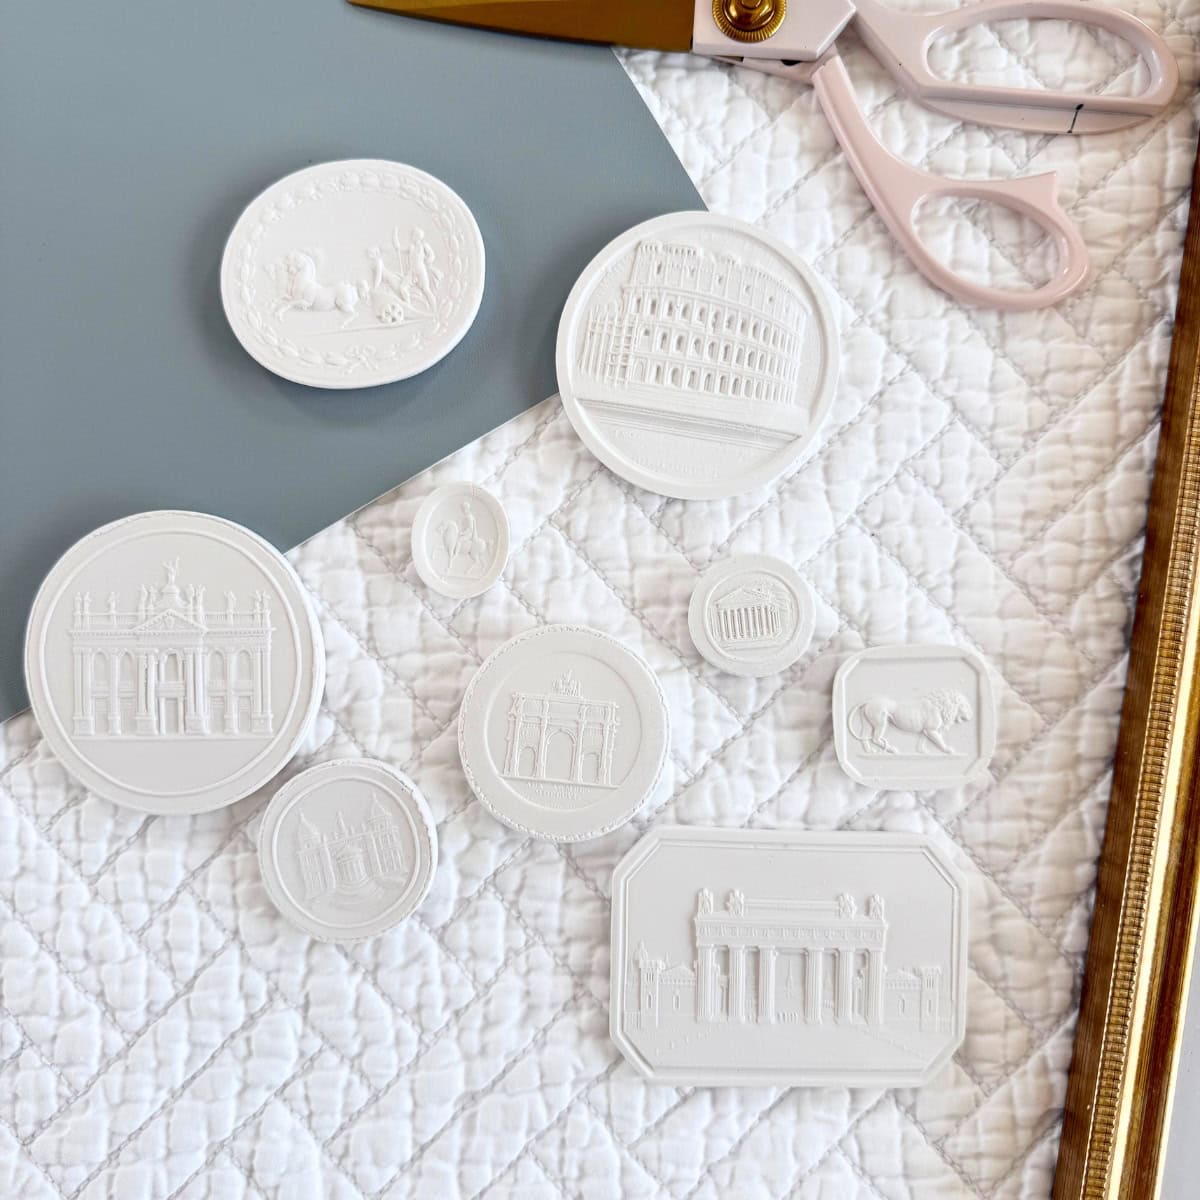
This is the list of the exact intaglios I bought from that shop (note the link will take you to the set of large, medium, or small intaglios to choose from):

Colosseum in Rome, Italy (L-08)
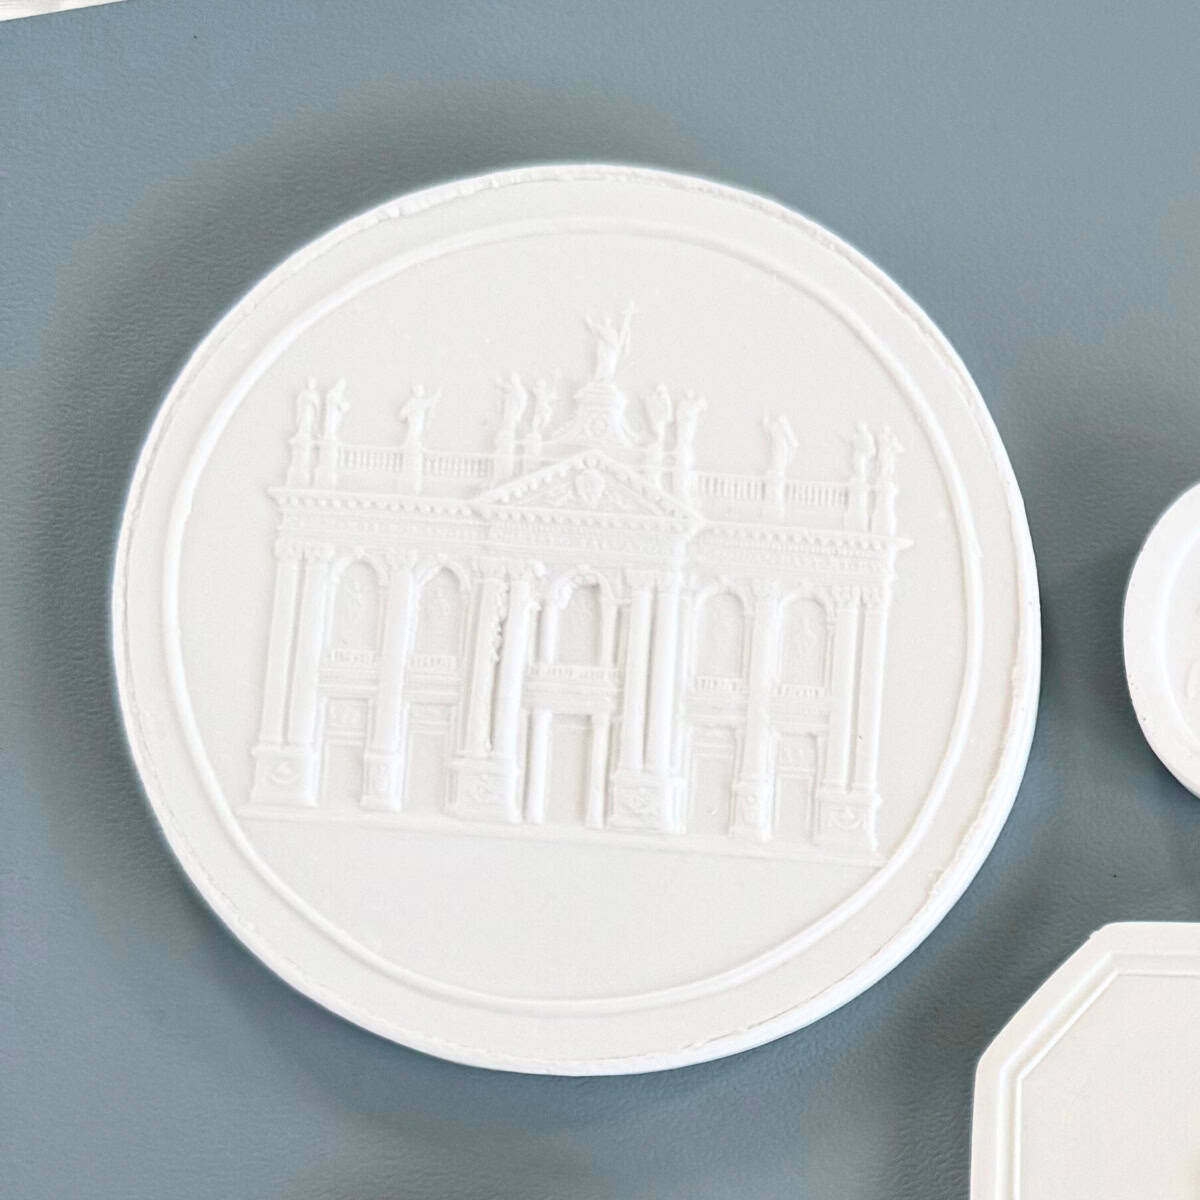
The Archbasilica of St. John Lateran (L-10)
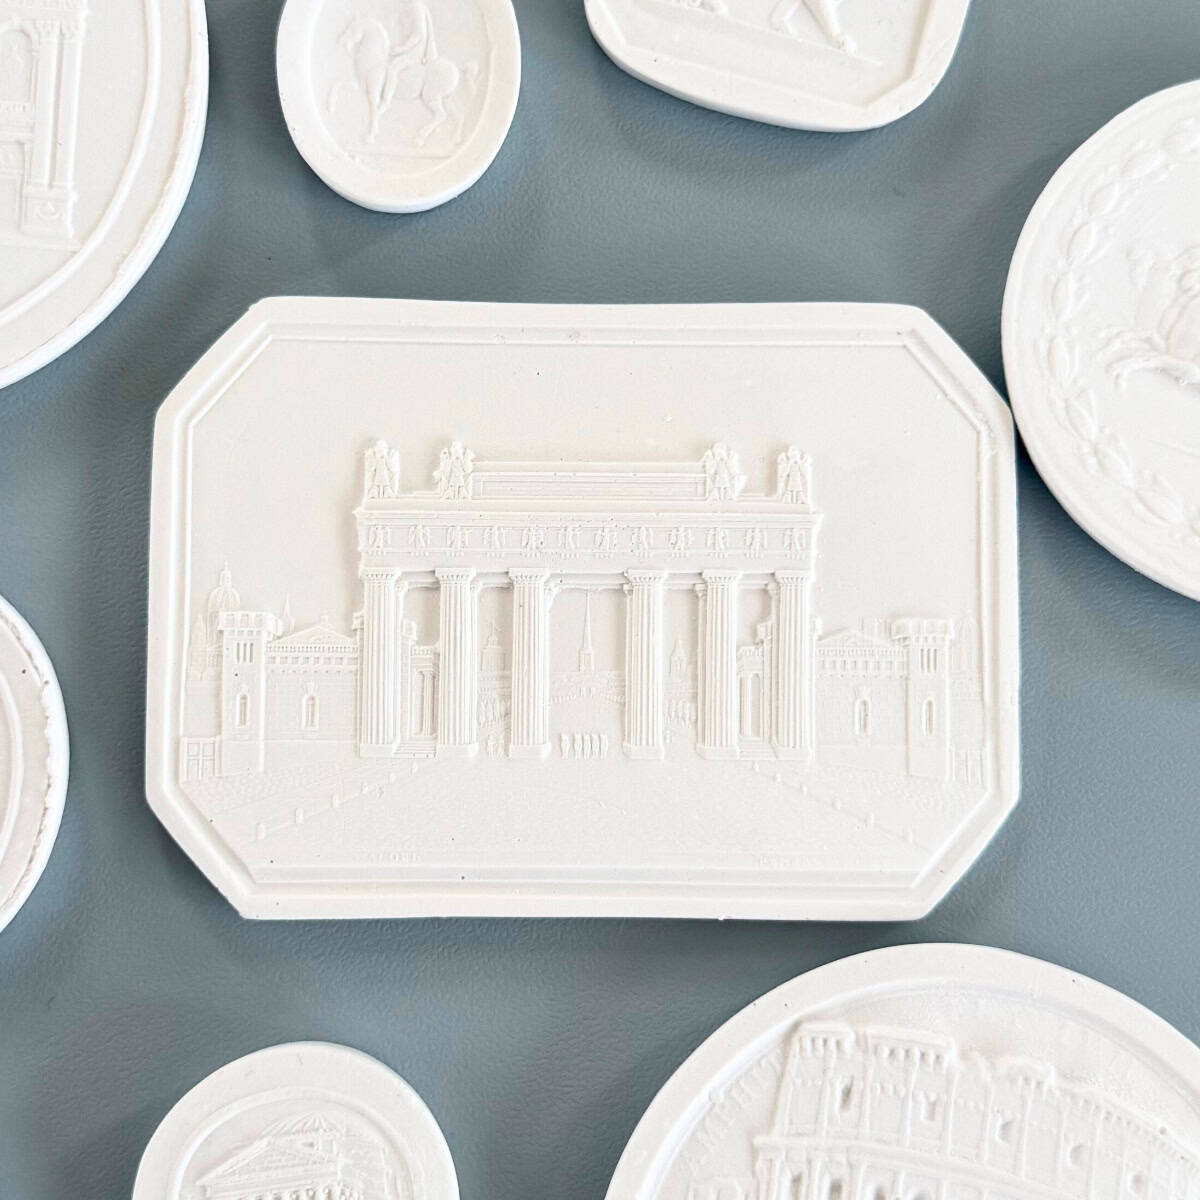
Moscow Triumphal Gate (L-11)
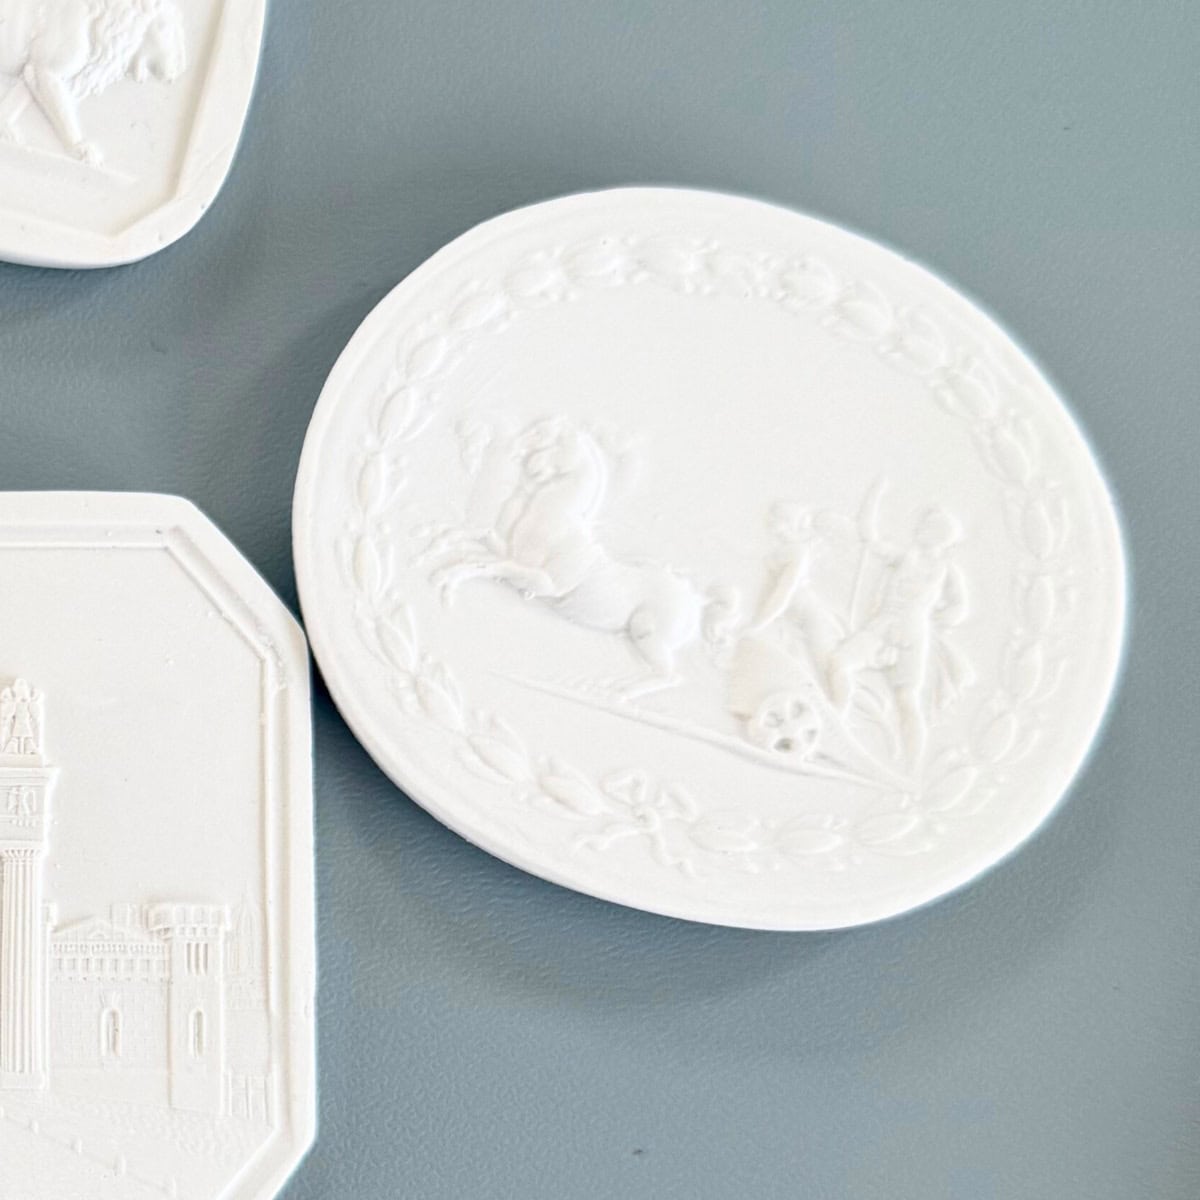
Mercury and Venus in Carriage (L-02)
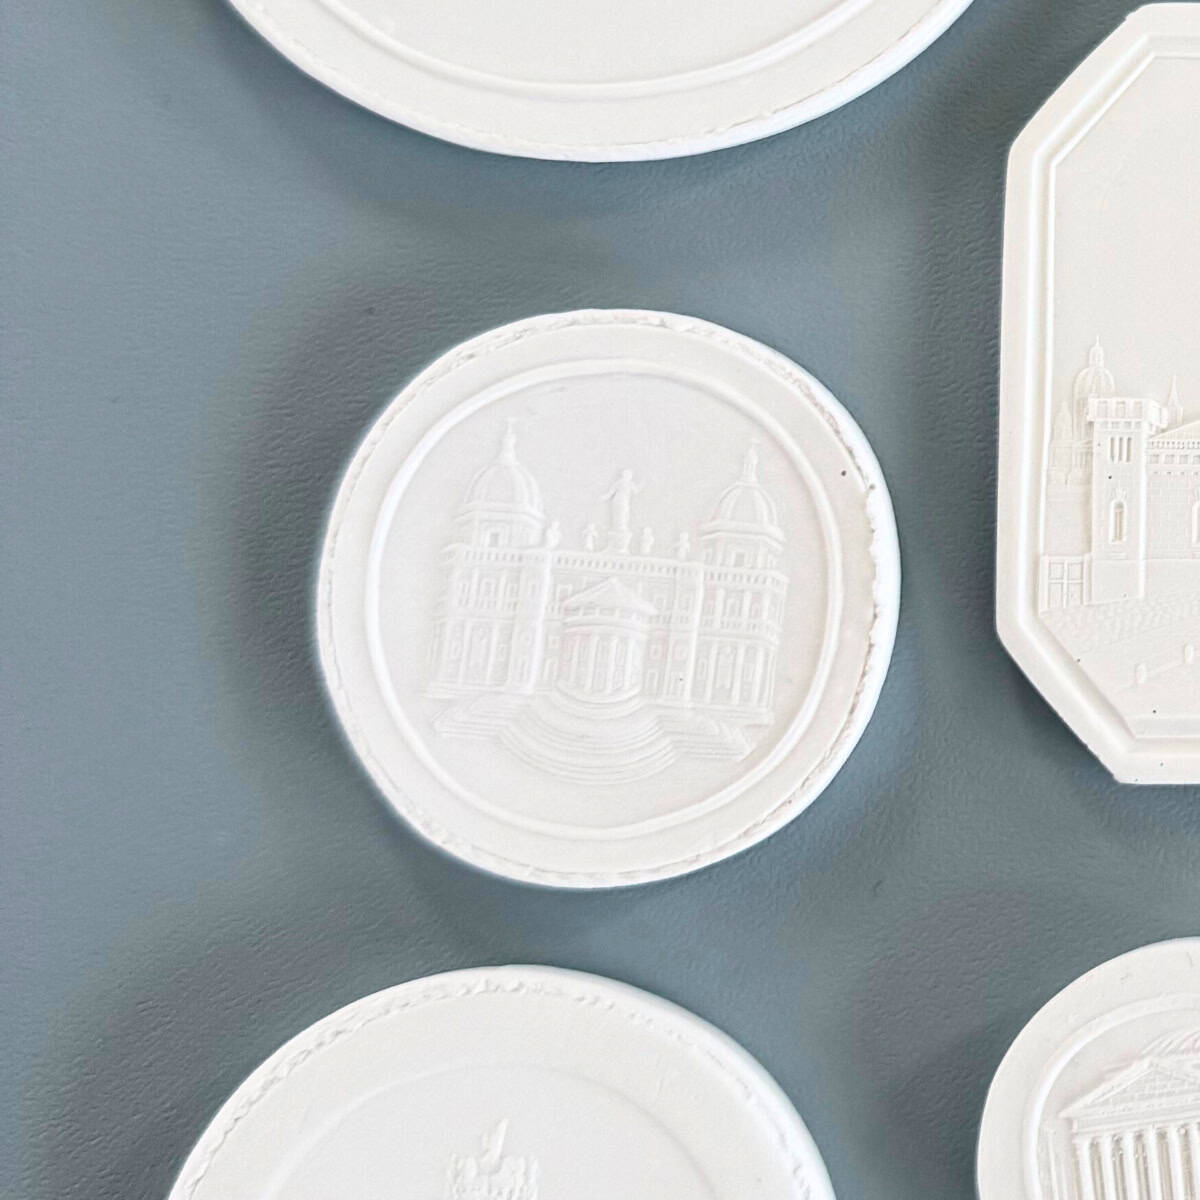
Basilica Santa Maria Maggiore (M-02)
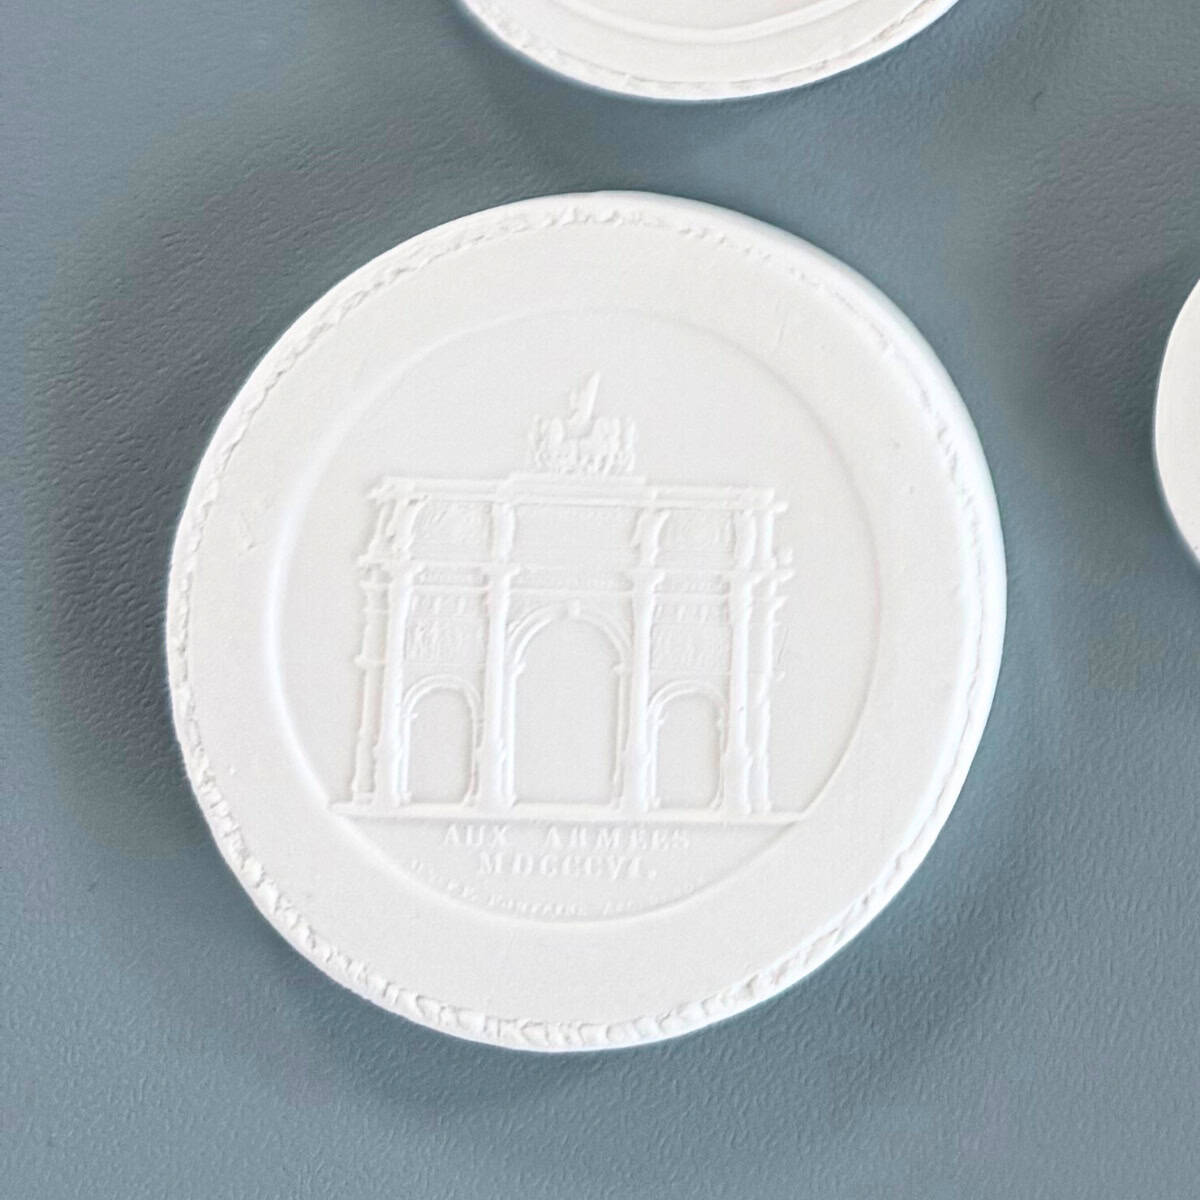
Arc de Triumph (M-26)

The Pantheon of Rome (S-01)

Roman Emperor Marcus Aurelius on Horseback (S-04) and Walking Lion (S-15)
After you decide to make or buy the intaglios themselves, you can begin gathering the rest of the materials.
Silicone Molds
As mentioned above, decide if you want to make the actual intaglios yourself with silicone molds and air-dry clay, or buy them pre-made. See the list and links above for the exact intaglios I bought.
As far as silicone molds go, I could not find any Grand Tour silicone molds, but I did find several other beautiful cameo molds, including
- Greek cameo mold - This is one of the closest molds to the Grand Tour
- Ancient findings mold - This is a close second
- Face silhouette cameo mold - This is also a close second
- Baroque gemstone mold
- Flower/flora mold
- Curio Trinkets mold
- Medallions mold
- Treasure coin mold
Picture Frames or Shadow Boxes
Keeping in mind the intaglios are three-dimensional, you either need frames with a deep back or shadow boxes. In the steps that follow this section, I detail how I made regular 11x14 matted to 8x10 picture frames (similar) work for this project. If you do not want to heavily modify the frames, buy deeper frames from the beginning.
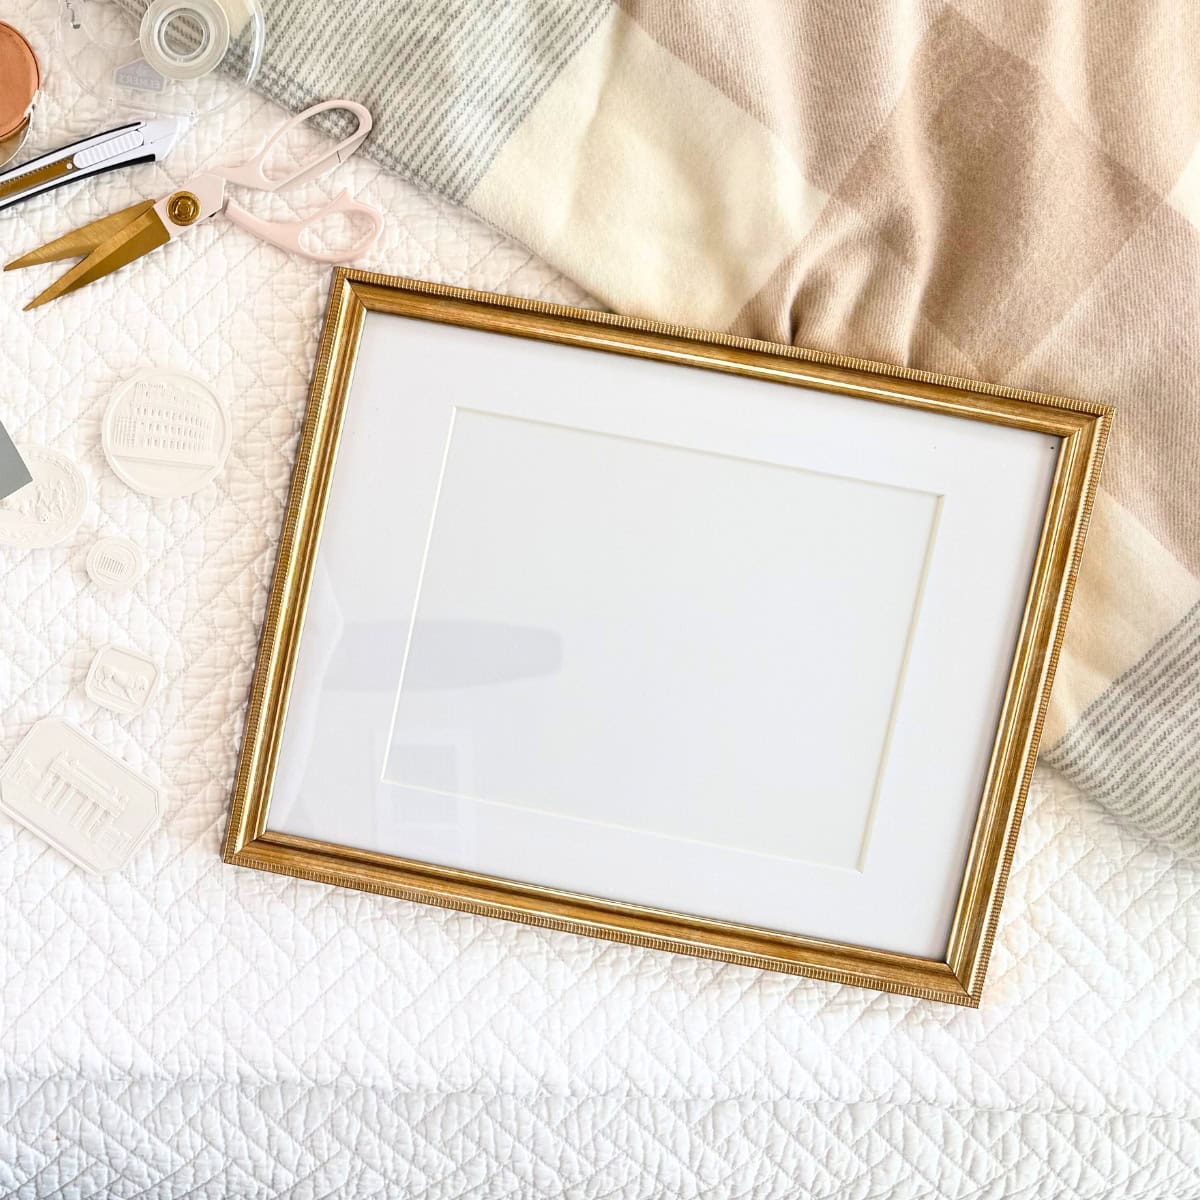
I wanted all of the frames to be exactly the same, so I bought 2 three-piece sets of antique brass looking frames with glass from HomeGoods. I may upgrade the frames to wood if I ever find a nice set. That said, I know that will take time and I want to enjoy the art now.
Tip:
You can save even more by buying frames at thrift stores, antique shops, Facebook Marketplace, Target, T.J.Maxx or HomeGoods (where I found my frames), and Amazon picture frames (similar). Bonus if you can find wood frames at a great price.
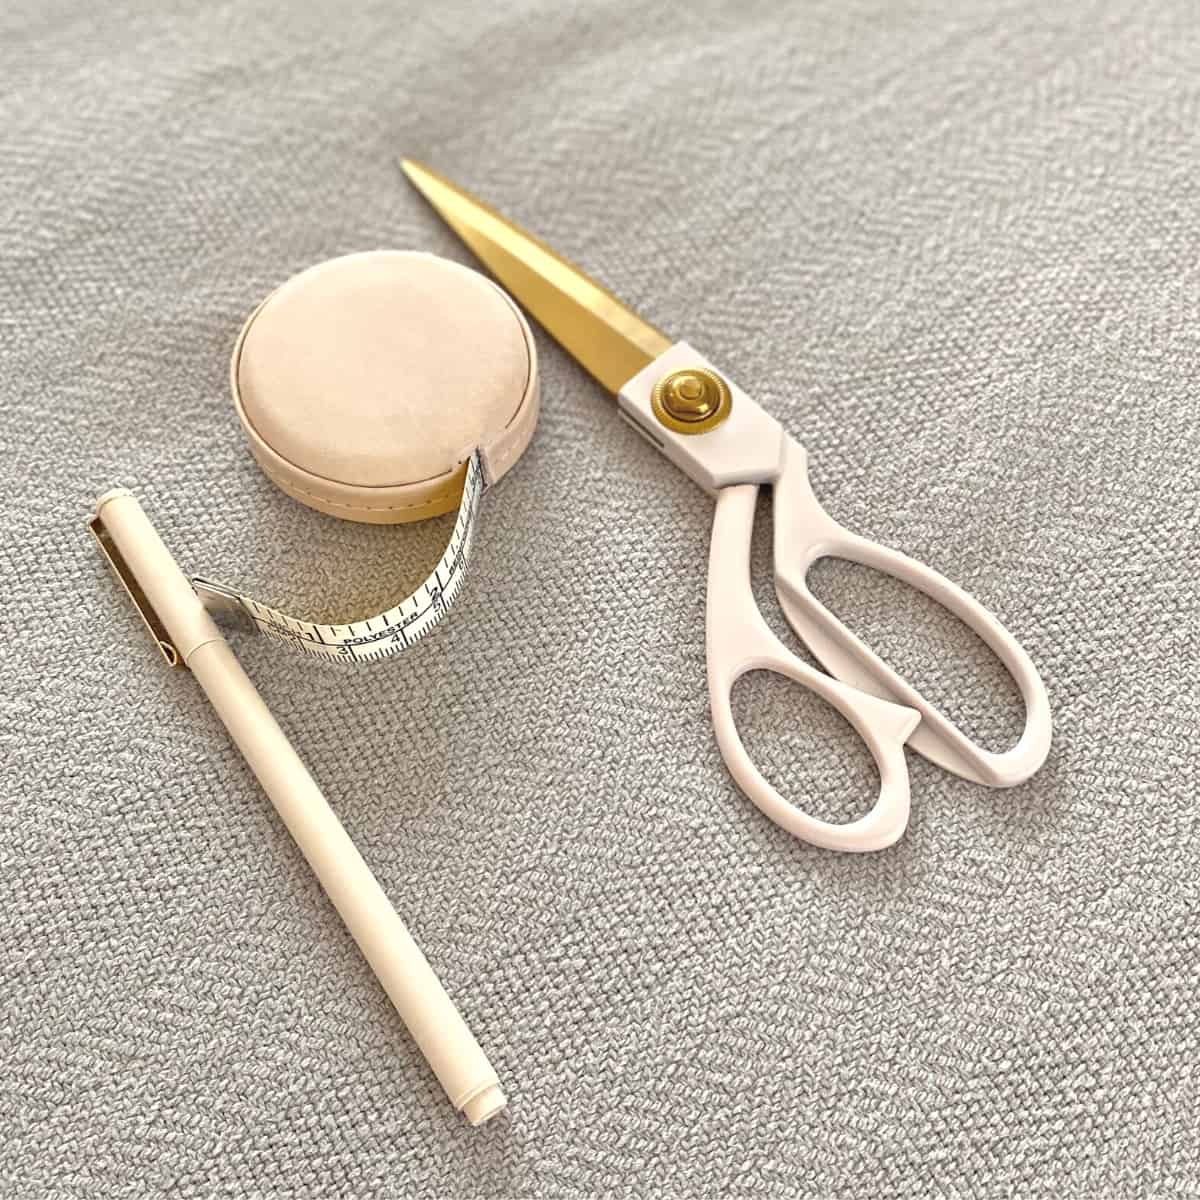
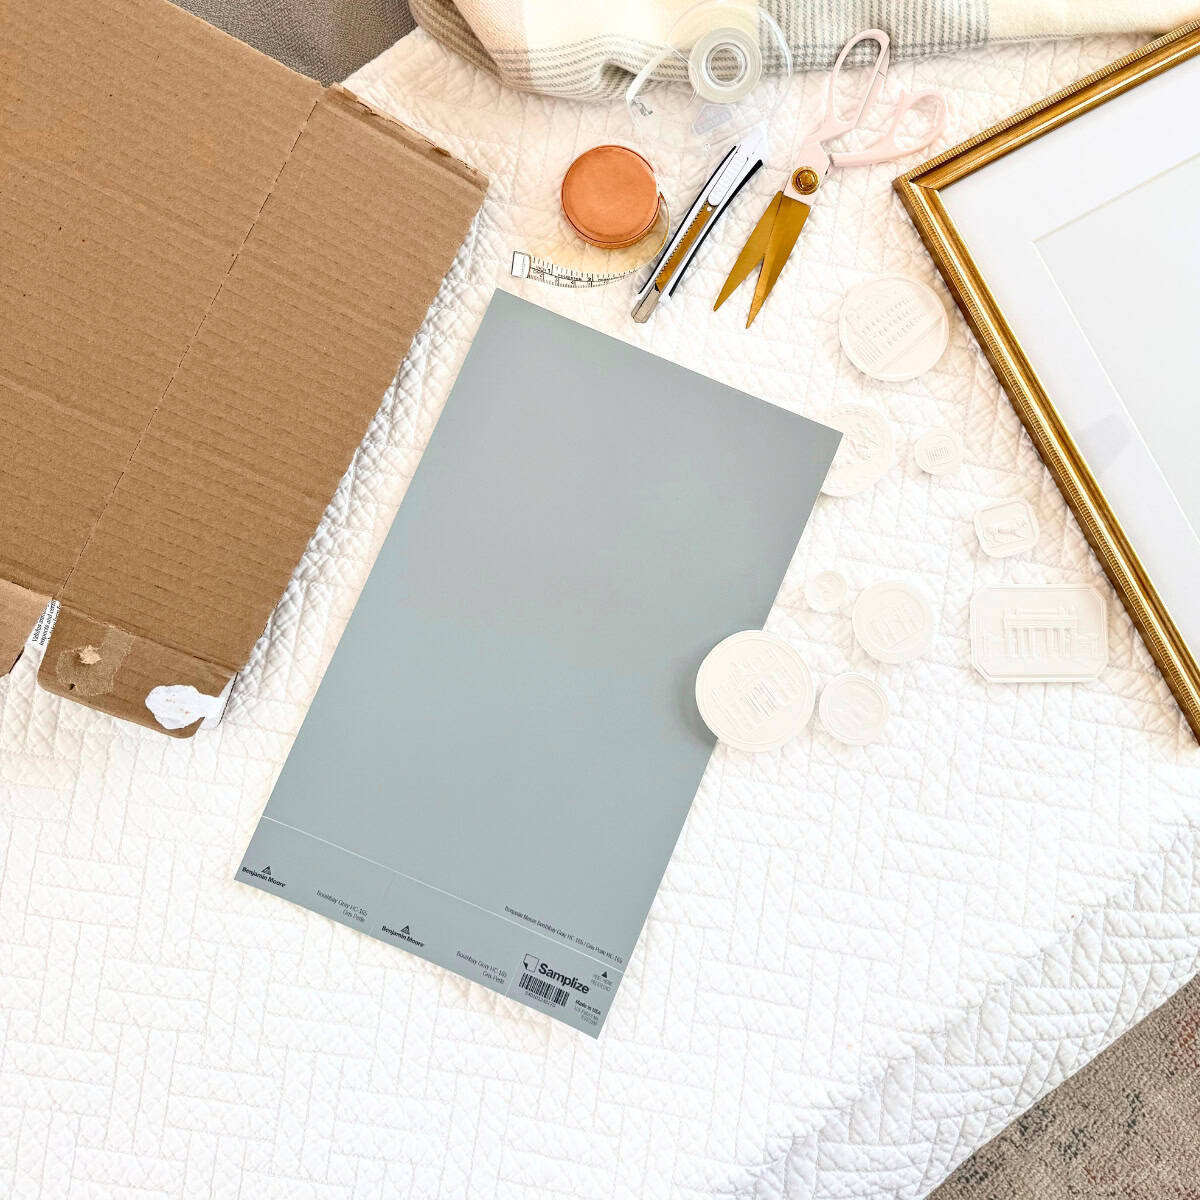
Measuring Tape
You will have to measure to determine where to place the intaglio. I prefer to use a fabric measuring tape measure for these types of projects.
Unfortunately, the one I have is difficult to find, but this similar leather tape measure comes in many different colors. This slightly small tape measure (5' instead of 10') is nice, or this portable tape measure may also work for you.
Foam Board or Cardboard
You will only need a foam board or cardboard if your frames are not deep enough for the intaglio, matting, glass, and backing.
I used a foam board to create a shallow shadow box between the frame matting and back in order for the three-dimensional intaglio to fit inside the frame. I explain in detail during the steps section that follows.
Peel & Stick Paint Samples, Fabric, Wallpaper, Craft Paper, or Wrapping Paper
If you are happy with the typically white background paper that comes with some matted frames, by all means use it.
If you want a texture, pattern, or a different color, there are many options, including
- Grasscloth wallpaper-a popular choice
- Real peel & stick paint sample sheets (my idea and what I used for this DIY)
- Linen fabric
- Colored craft paper
- Pretty wrapping paper
When I came up with the idea to use real peel & stick paint sample sheets behind the matting, which I had not seen anyone else do, I instantly fell in love before even starting the project. I just knew it was going to be gorgeous!
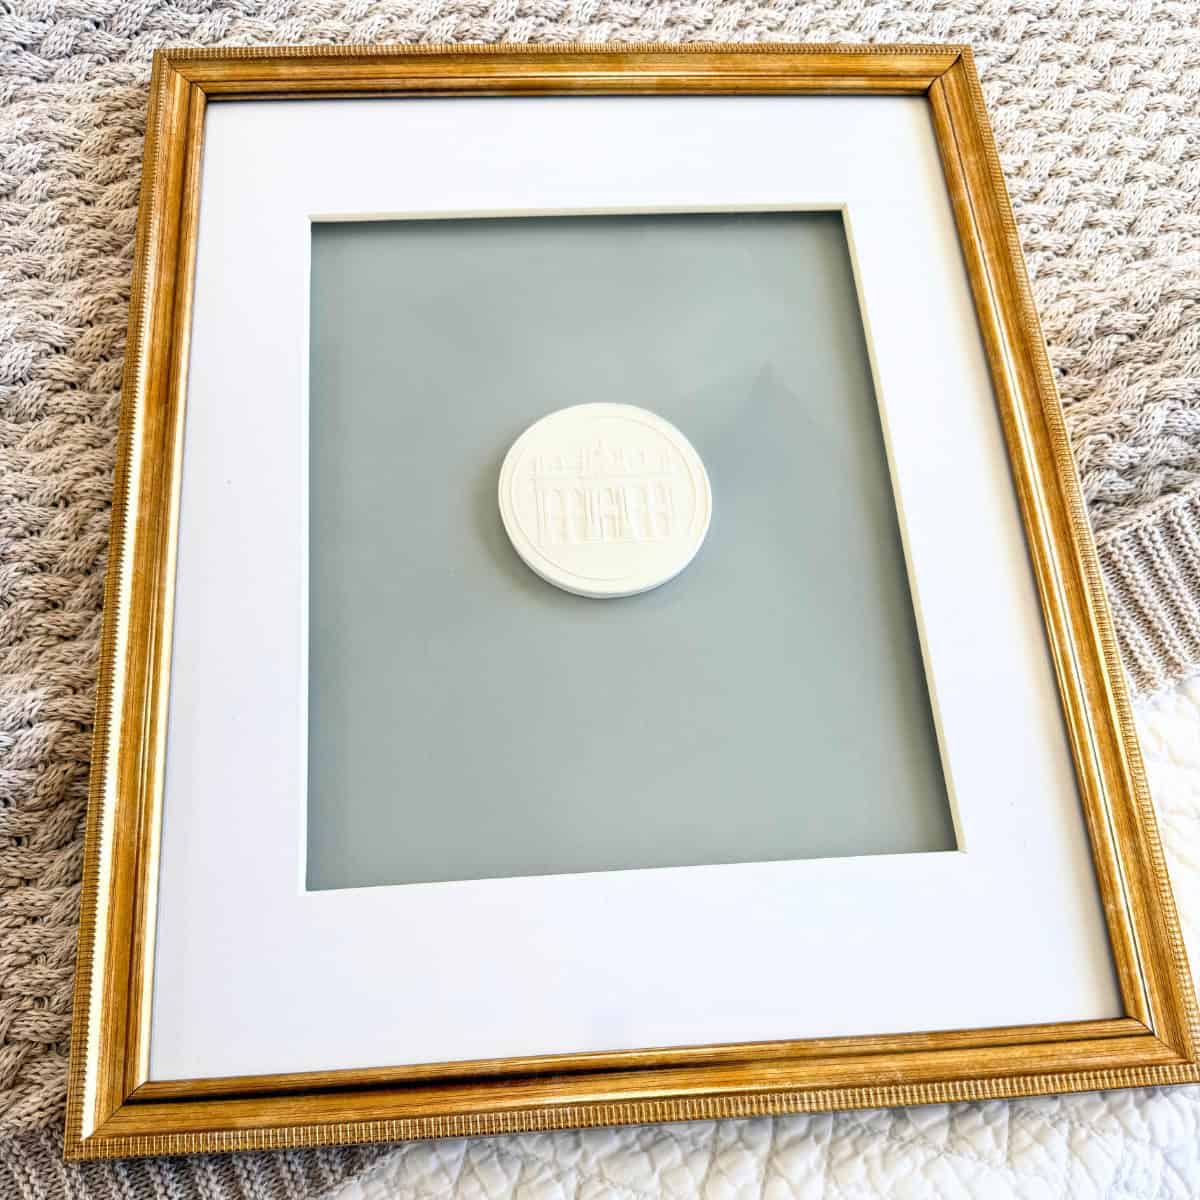
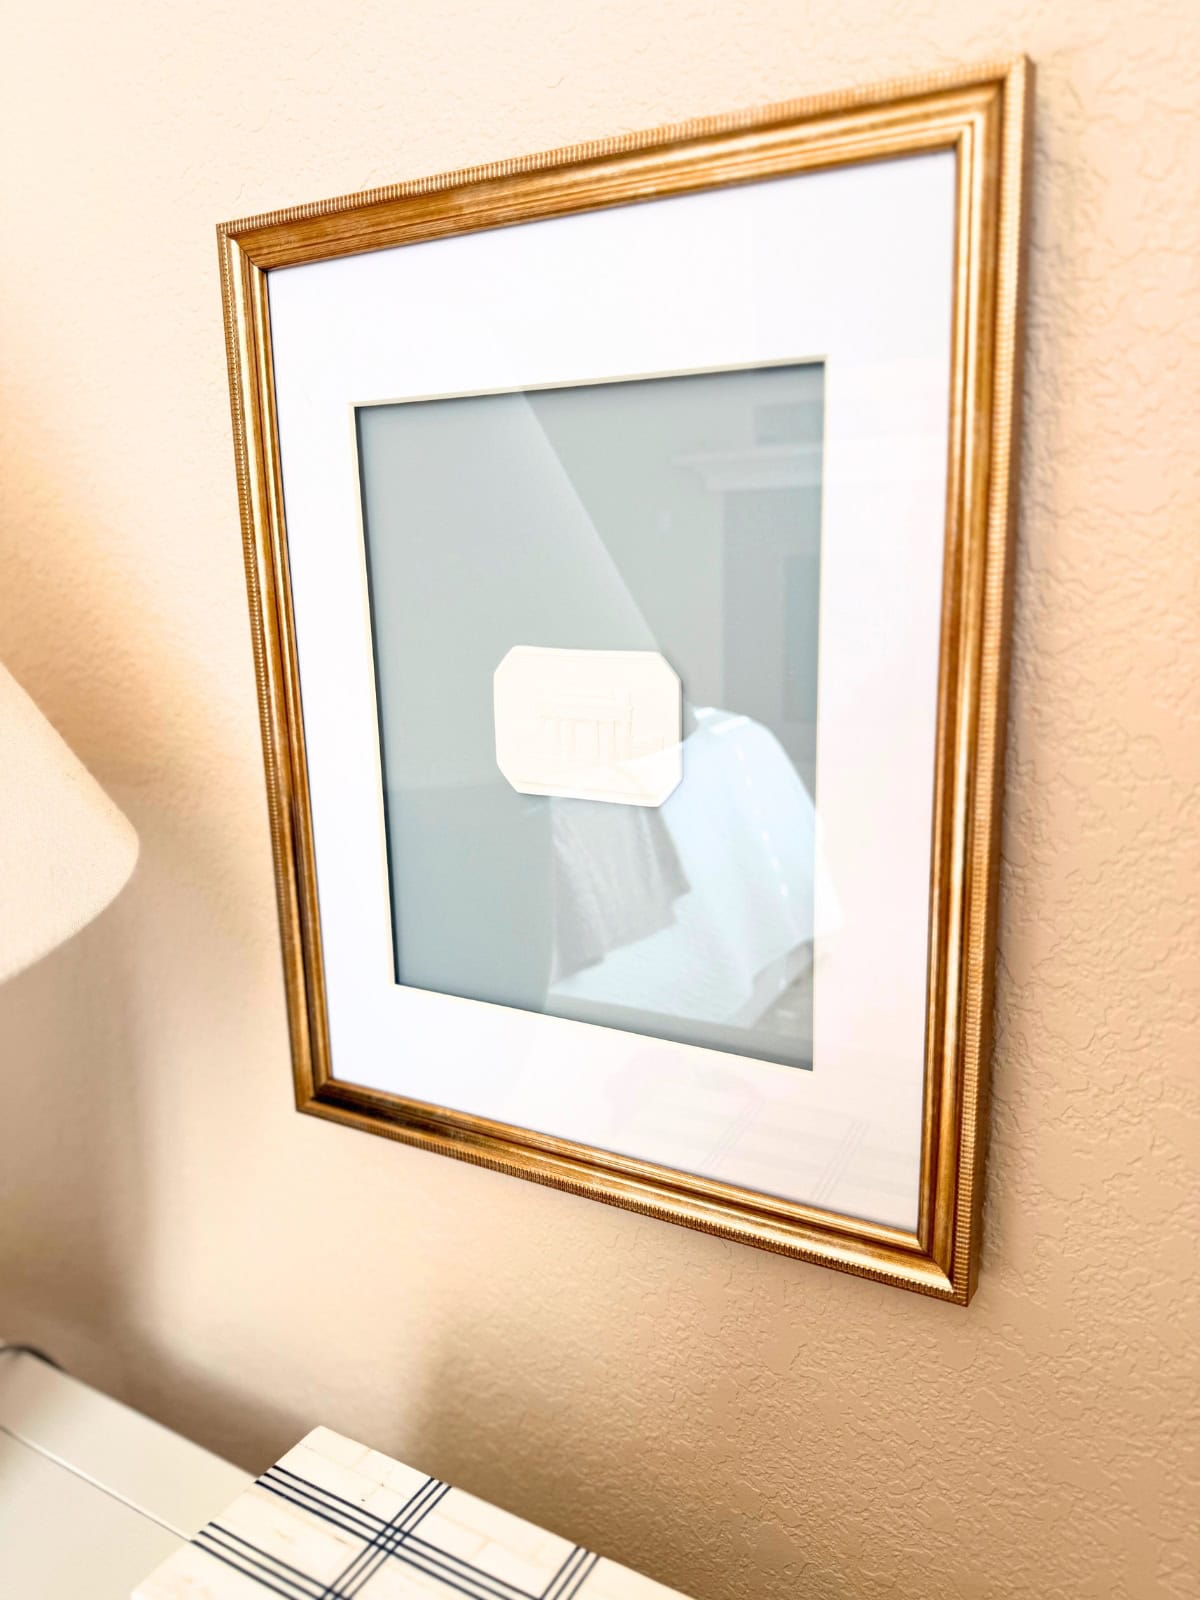
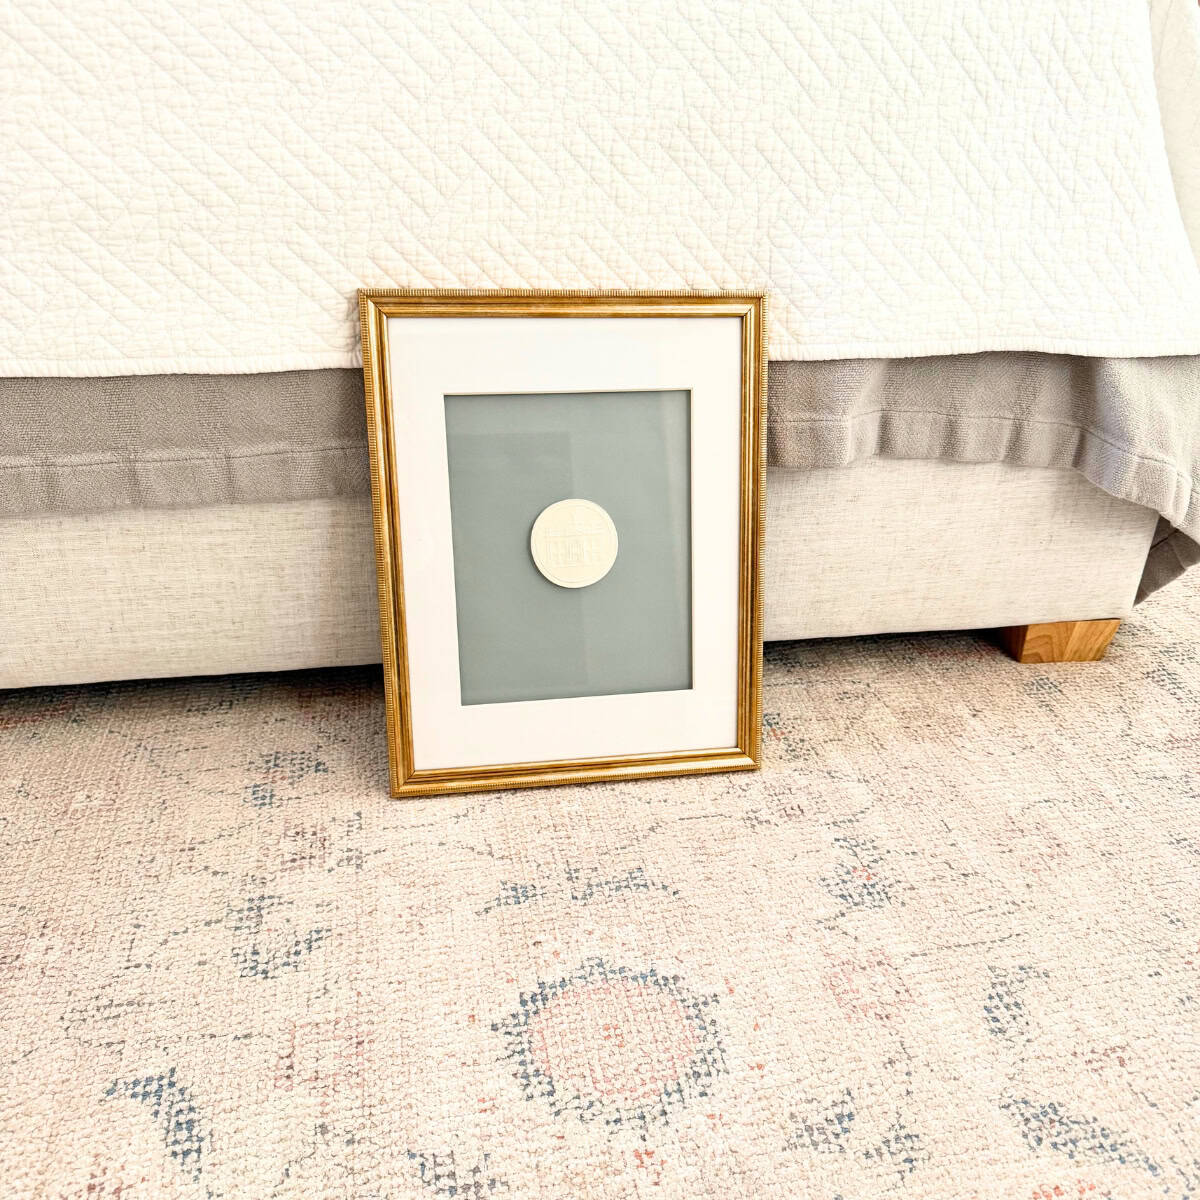
In lieu of a white background, I wanted the intaglios to be suspended on a soft blue background in one of my favorite paint colors: Benjamin Moore Boothbay Gray (HC-165). I also considered Farrow and Ball Light Blue, but it was pulling more green in comparison.
I absolutely love Boothbay Gray. In fact, I talked about my love for the popular blue-gray-green paint color in How to Make Your Home Cozy as well as the Little Step Stool Makeover posts.
For this project, I bought 6 paint sample sheets in Boothbay Gray. It's real paint which means the sheen and quality is spectacular for this DIY project, without the mess of painting. I love how the framed intaglios turned out!
Each sample sheet cost around $6 each at the time of this post, but if this is the look you are going for, it's absolutely worth it.
Tape and/or Glue
Adhering the solid plaster intaglio to the background material you choose requires a strong adhesive to hold the weight. Additionally, if you need to create a shadow box with your regular depth frames, you will need glue. I used this clear super glue that is my go-to for projects that need extra strong adhesion.
Scissors or Box Cutter
To cut paper, paint sample sheets, or matting, scissors are a must for this project. I own a gorgeous stainless steel scissors in a blush pink color that are just as sharp as they are beautiful. Sadly, they are no longer available. Instead, I found these STUNNING heavy duty shears (they are available in a few colors) by a brand I have purchased things from before. You could also try these steel bladed gold scissors that are beautiful and useful!
Lastly, I also used this utility knife to cut the foam board.
Hanging Hardware
My picture frames came with the sawtooth hanger already attached. If your frames do not come with hanging hardware, you will need to purchase picture hanging hardware. Local hardware stores are a great resource for sawtooth hangers, D-rings, and wire, or you can buy a picture hanging kit that comes with various hanging hardware options, including nails.
Steps to DIY Framed Intaglios
As I explained in the supplies section above, depending on the supplies you need, these steps may be slightly different.
For instance, I had to create a recessed frame within the frames I used in order for the depth of the three-dimensional intaglio to fit between the glass front and the frame back. You may not need to do that if you have deeper frames or shadow boxes.
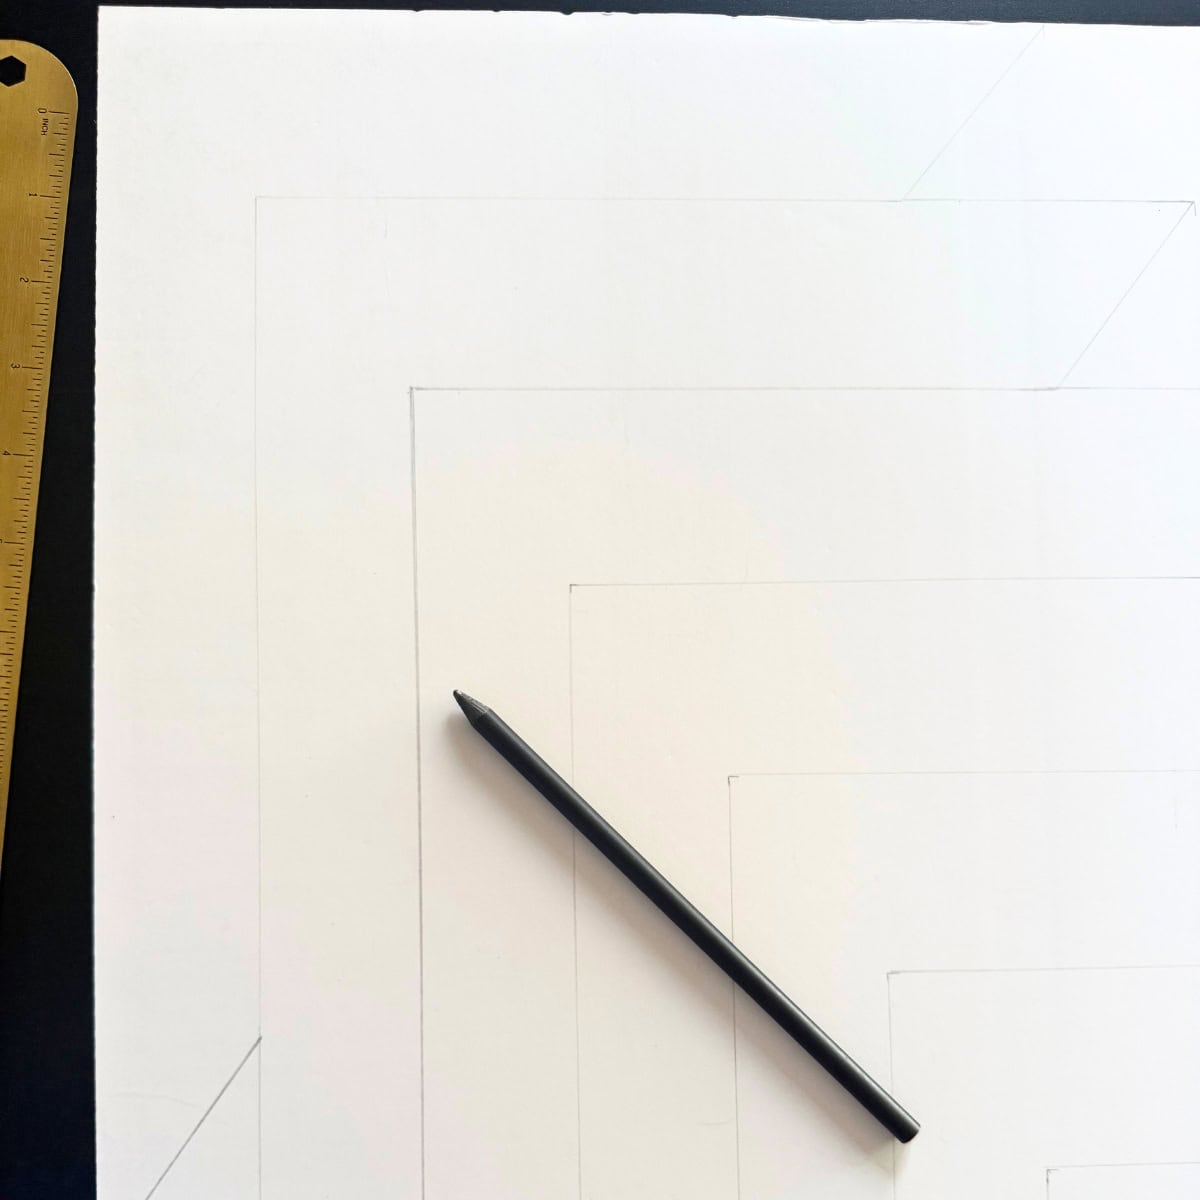
- Skip to step 4 if you do not need to create a recessed shadow box for your frame. Otherwise, create a recessed shadow box that will give dimension to the frame so the depth of the three-dimensional intaglio will fit between the glass front and the frame back. To do that, with the foam board (or cardboard) on a flat surface, use the frame matting as a guide and trace along the inside to create the same shape but slightly narrower by about ¼ inch or more. This will ensure the recessed box does not extend beyond the matting, since you do not want it to show.

2. In order to use as much of the foam board as possible, starting at one corner, make "L" shapes diagonally across the foam board-you want two "L" shaped pieces per frame. The foam board I used was enough to make 12 "L" shapes for the 6 framed intaglios I made. Carefully cut each "L" shape out of the foam board.

3. With the frame on its face, and the matting face down on the frame glass, place the foam board pieces on top of the matting. Optionally, glue the foam board to the back of the matting. Note: To create a more solid structure for the frames I used, I pressed most of the frame fasteners to the recessed foam board to hold it all in place, but left two at the bottom unfastened for the final step when I will glue the frame backing to the foam board.

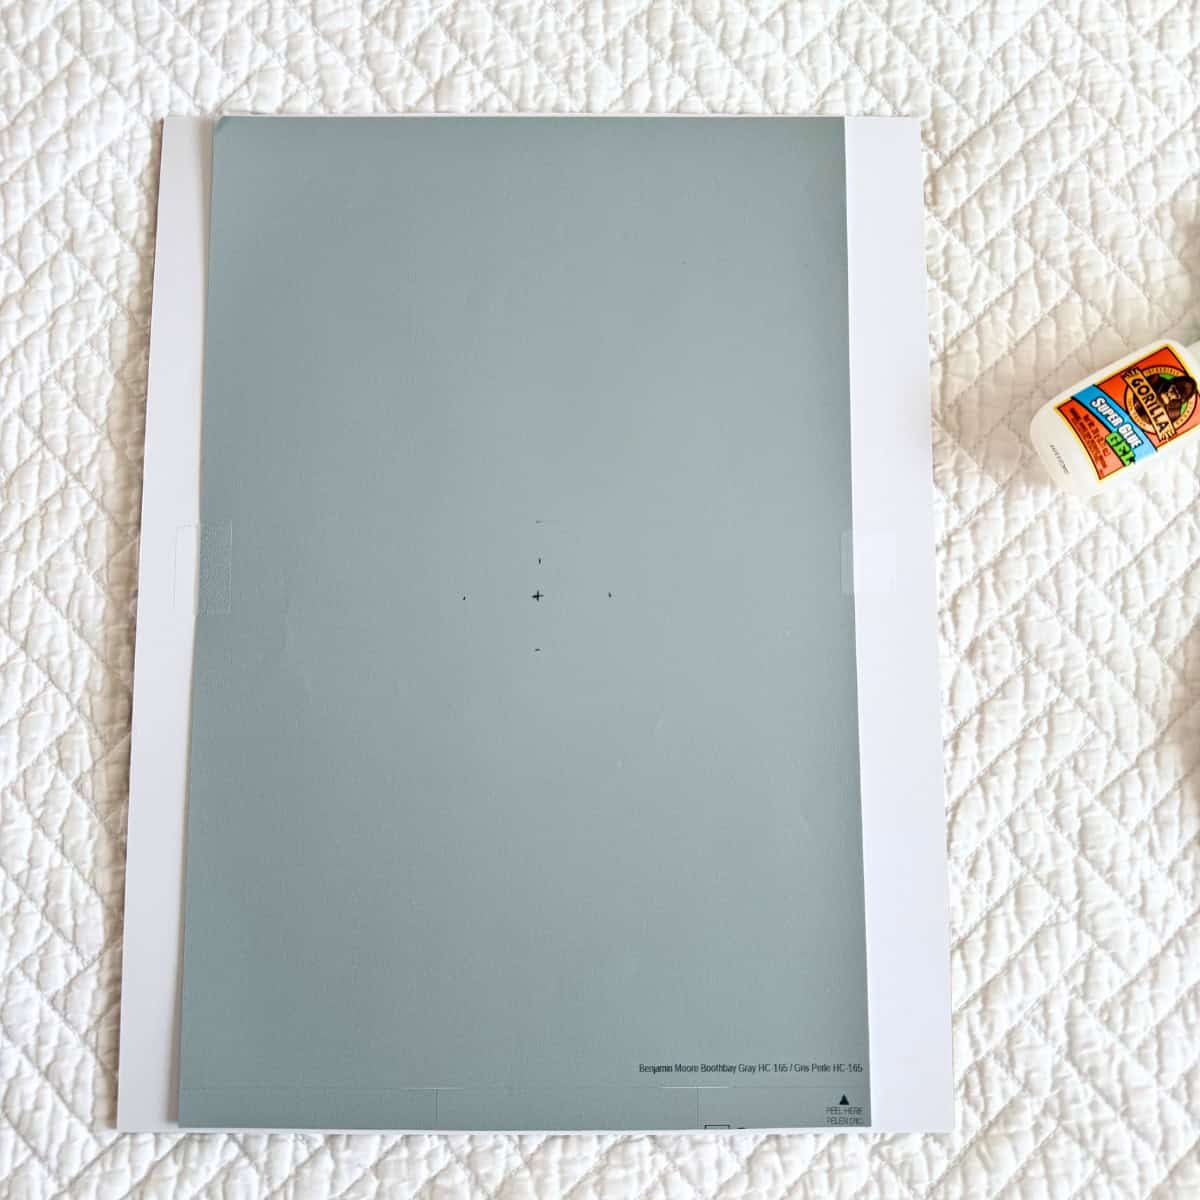
4. Measure the middle-center of the intaglio. Then, measure the middle-center on the paint sample sheet, wallpaper, or whatever material you will use as the visible backing upon which the intaglio will be adhered. Mark the placement with a pen/pencil. This is the point where the intaglio will be glued.

5. Remove the backing from the peel & stick paint sheet and stick it to the white temporary insert that comes with the frame or to the frame backing itself. For the frames I used, I ended up adhering the peel & stick paint sheet to the frame backing itself and discarded the white backing paper insert that came with the frame.
6. Glue the intaglio at the mark you made, following the manufacturer's instructions.

7. Reassemble the frame with the intaglio now securely glued. In my case, I glued the foam board to the paint sheet and frame backing. Furthermore, since I modified the frames I used in order to create a recessed box, I folded two fasteners at the bottom of the frame mentioned in step 3 to give it more structure. Note: I carefully stacked a couple books on top of each frame for 24 hours to ensure everything was adhered.
That's it! The best part is now you get to style your home with your DIY intaglio art!
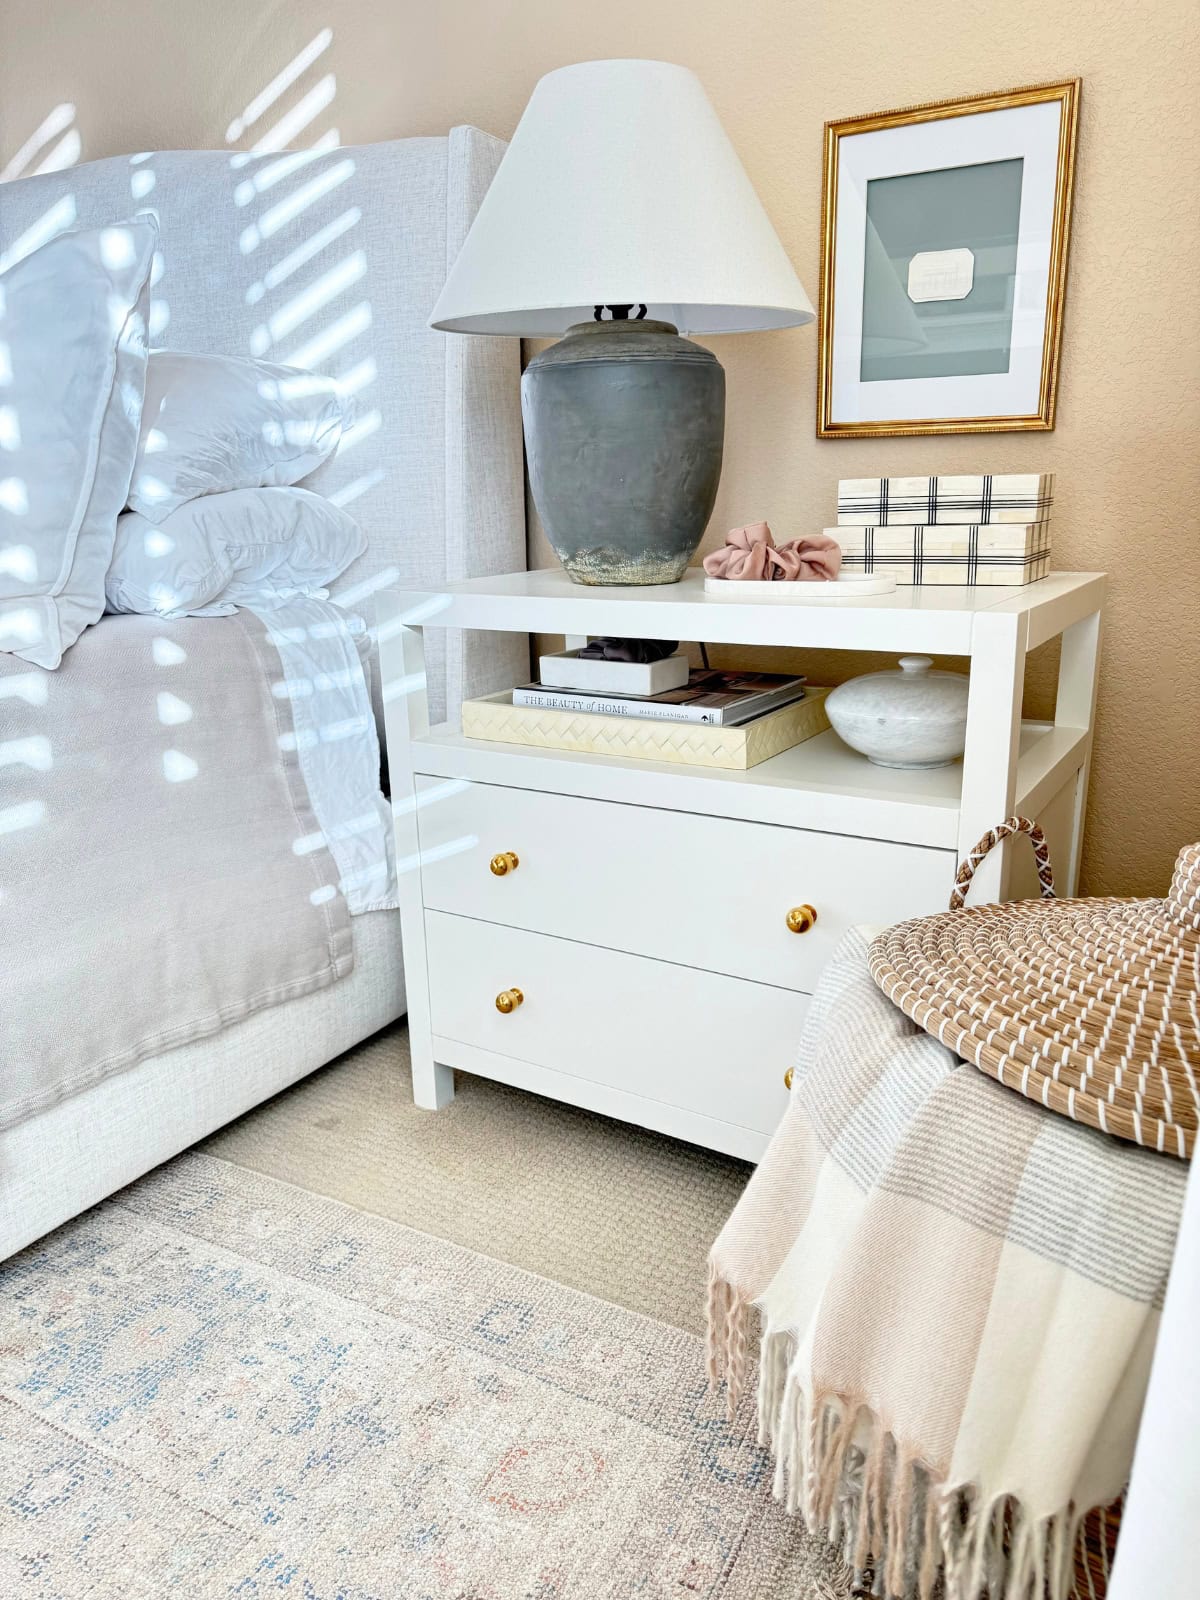
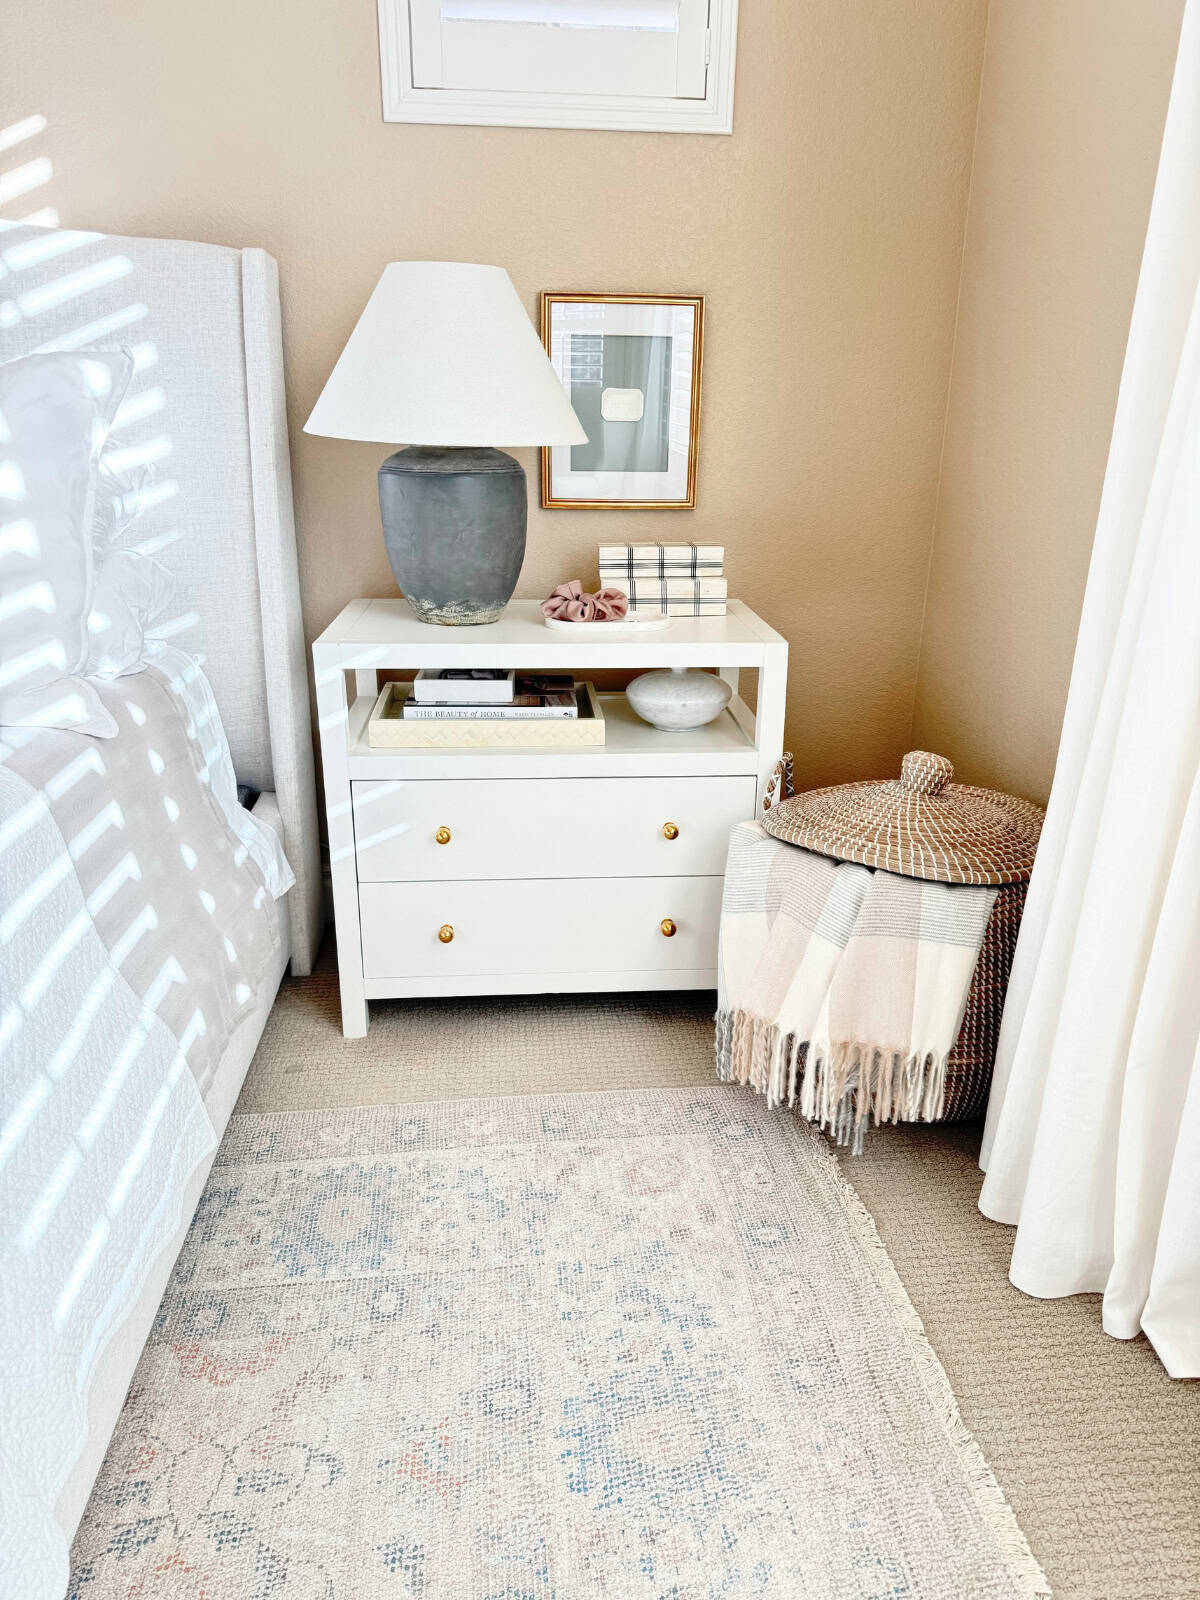
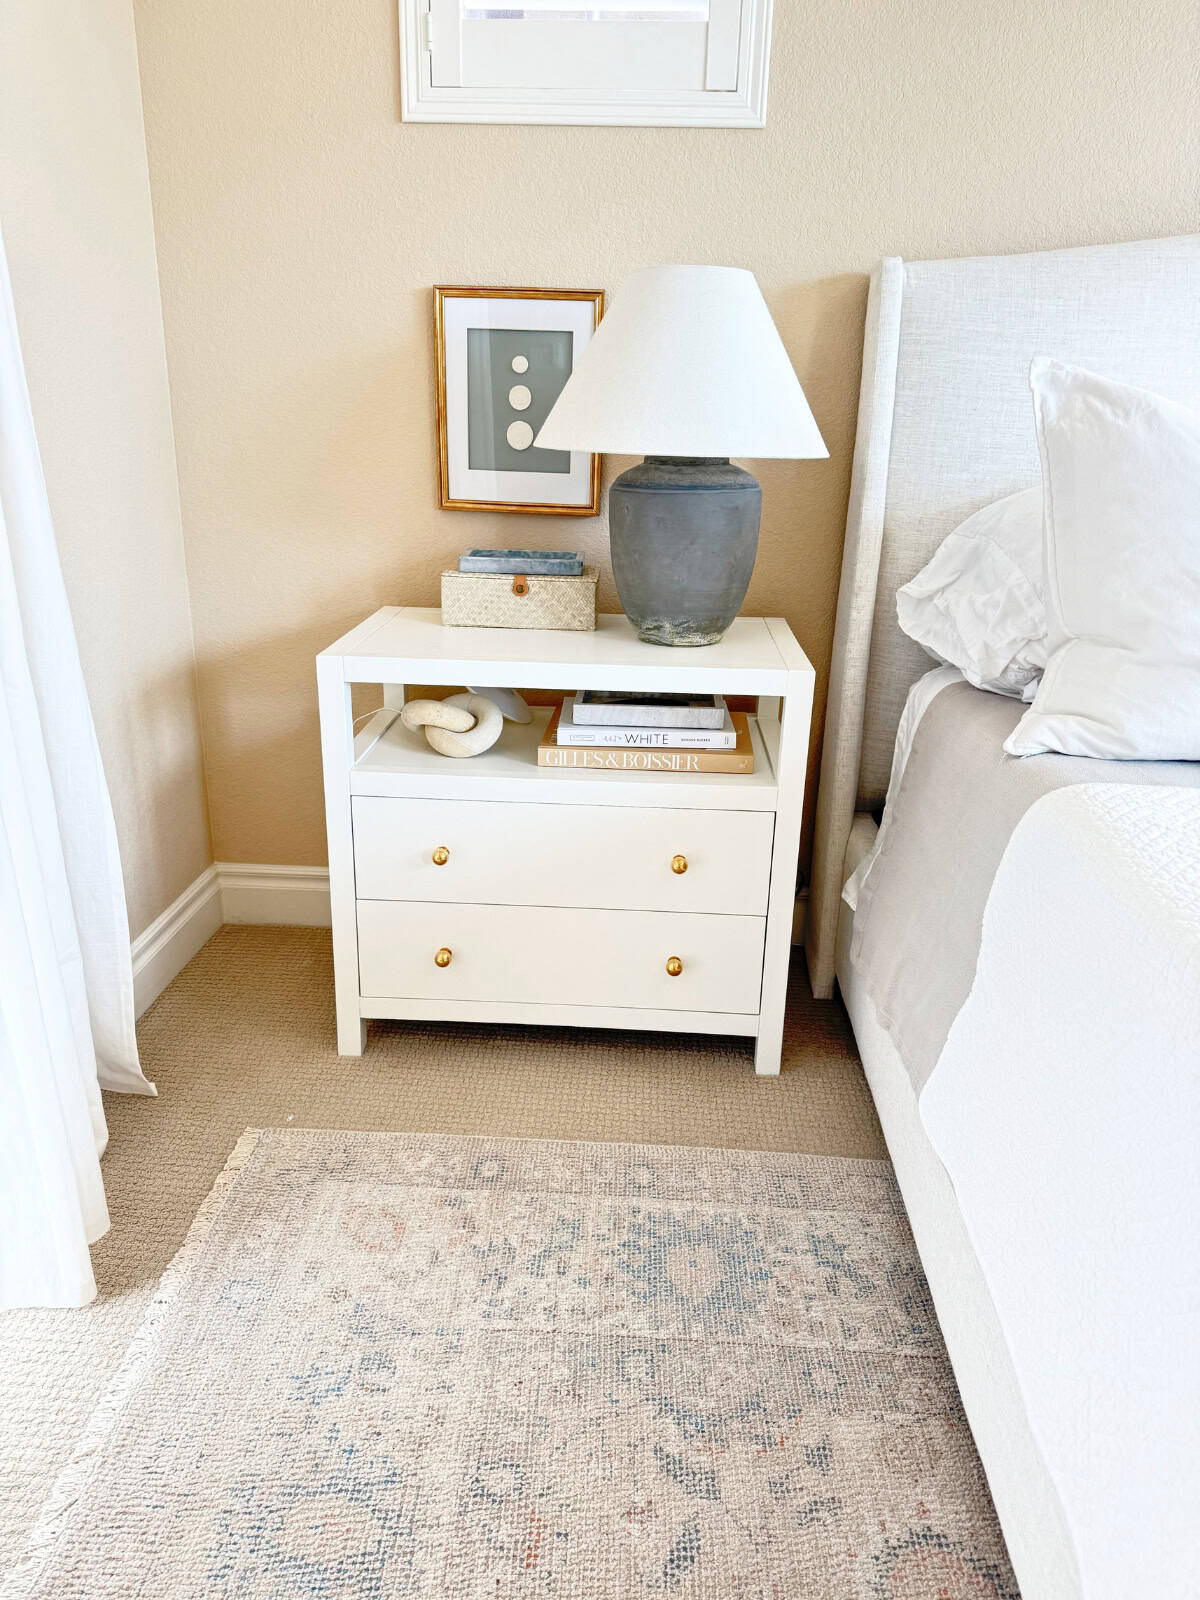
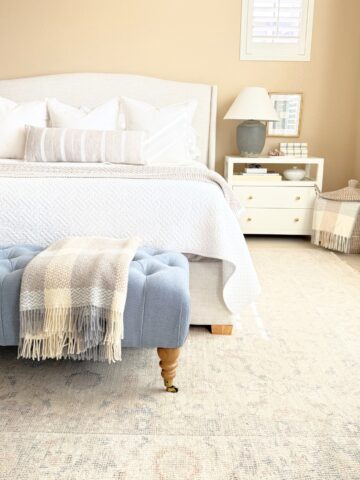
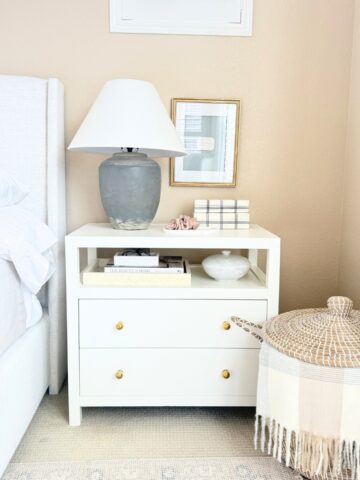
I already had a few places in mind where I wanted to style my intaglios. The first place is behind each of our nightstands. They add interest and an elegant touch to our room. I can't get over the soft blue color, which I already had peppered around the room.
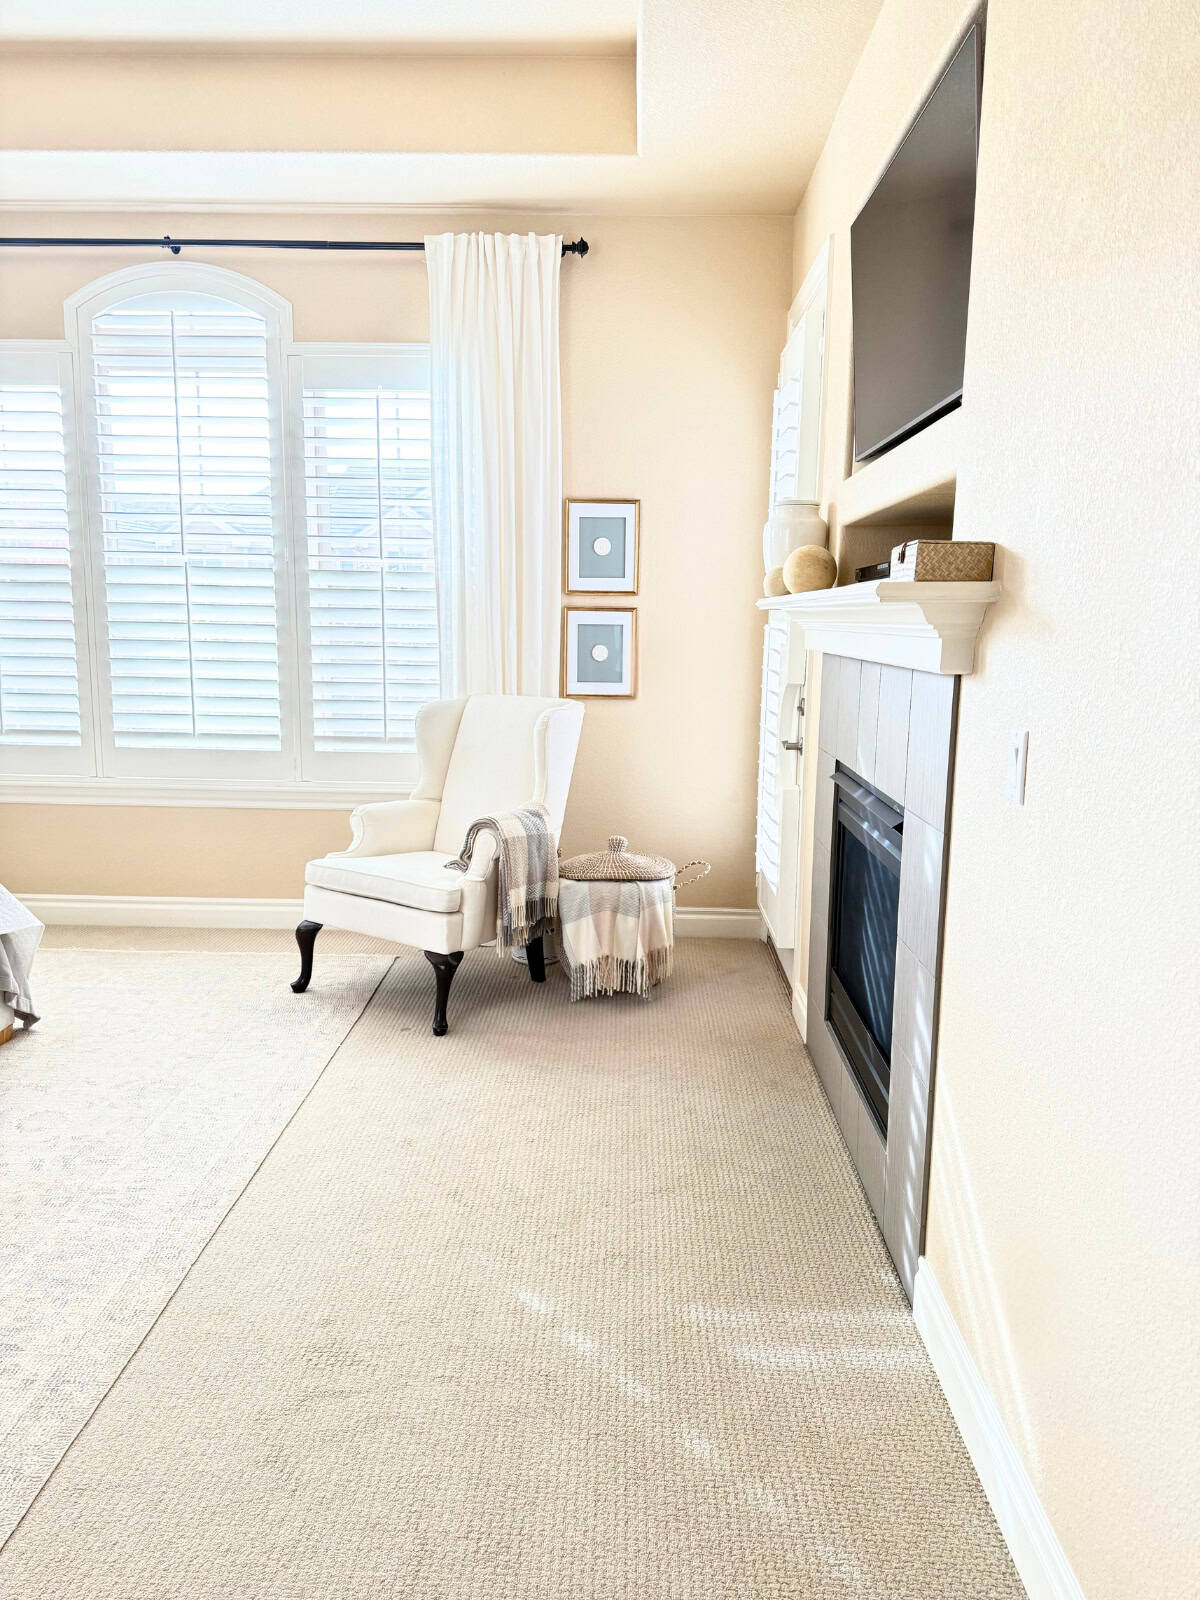
The other place is on a different wall in our bedroom. When looking straight ahead into our bedroom from the hallway, there is a blank wall next to a wingback chair that I knew could be a gorgeous vignette.
I stacked two framed intaglios for more impact than one would provide. What a sight it is now!
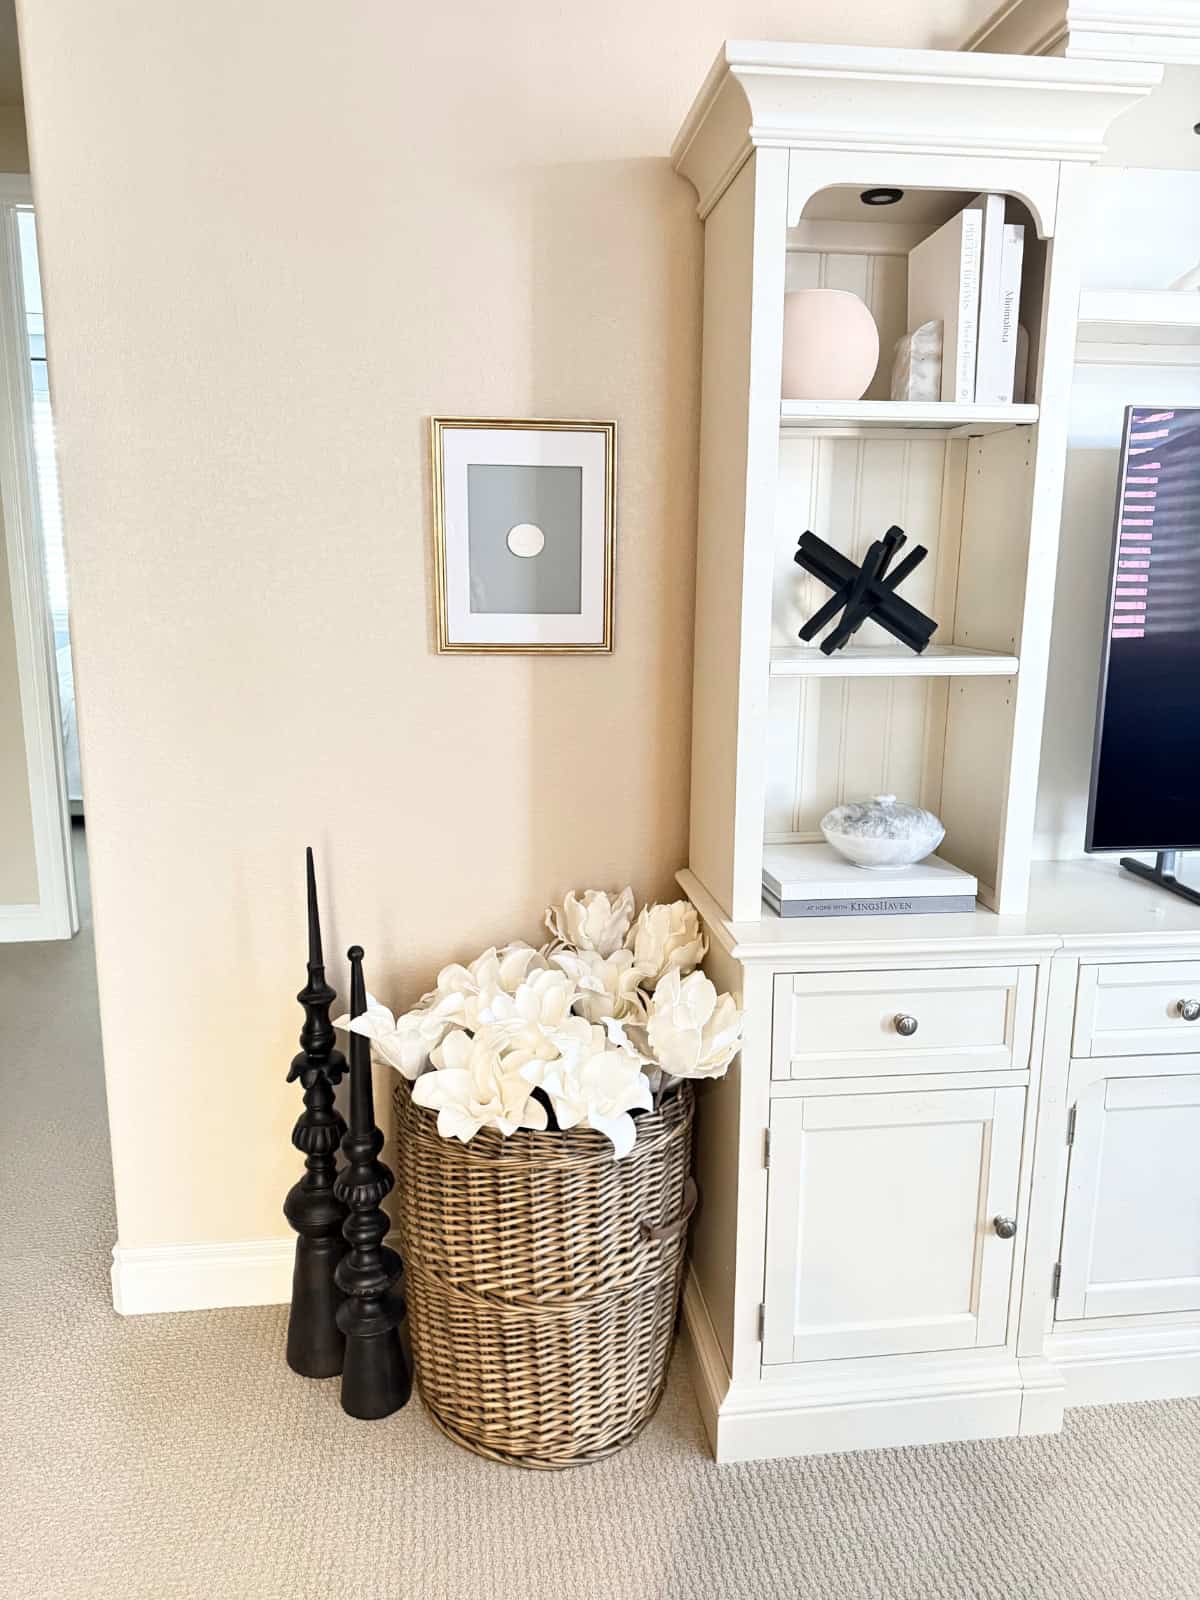
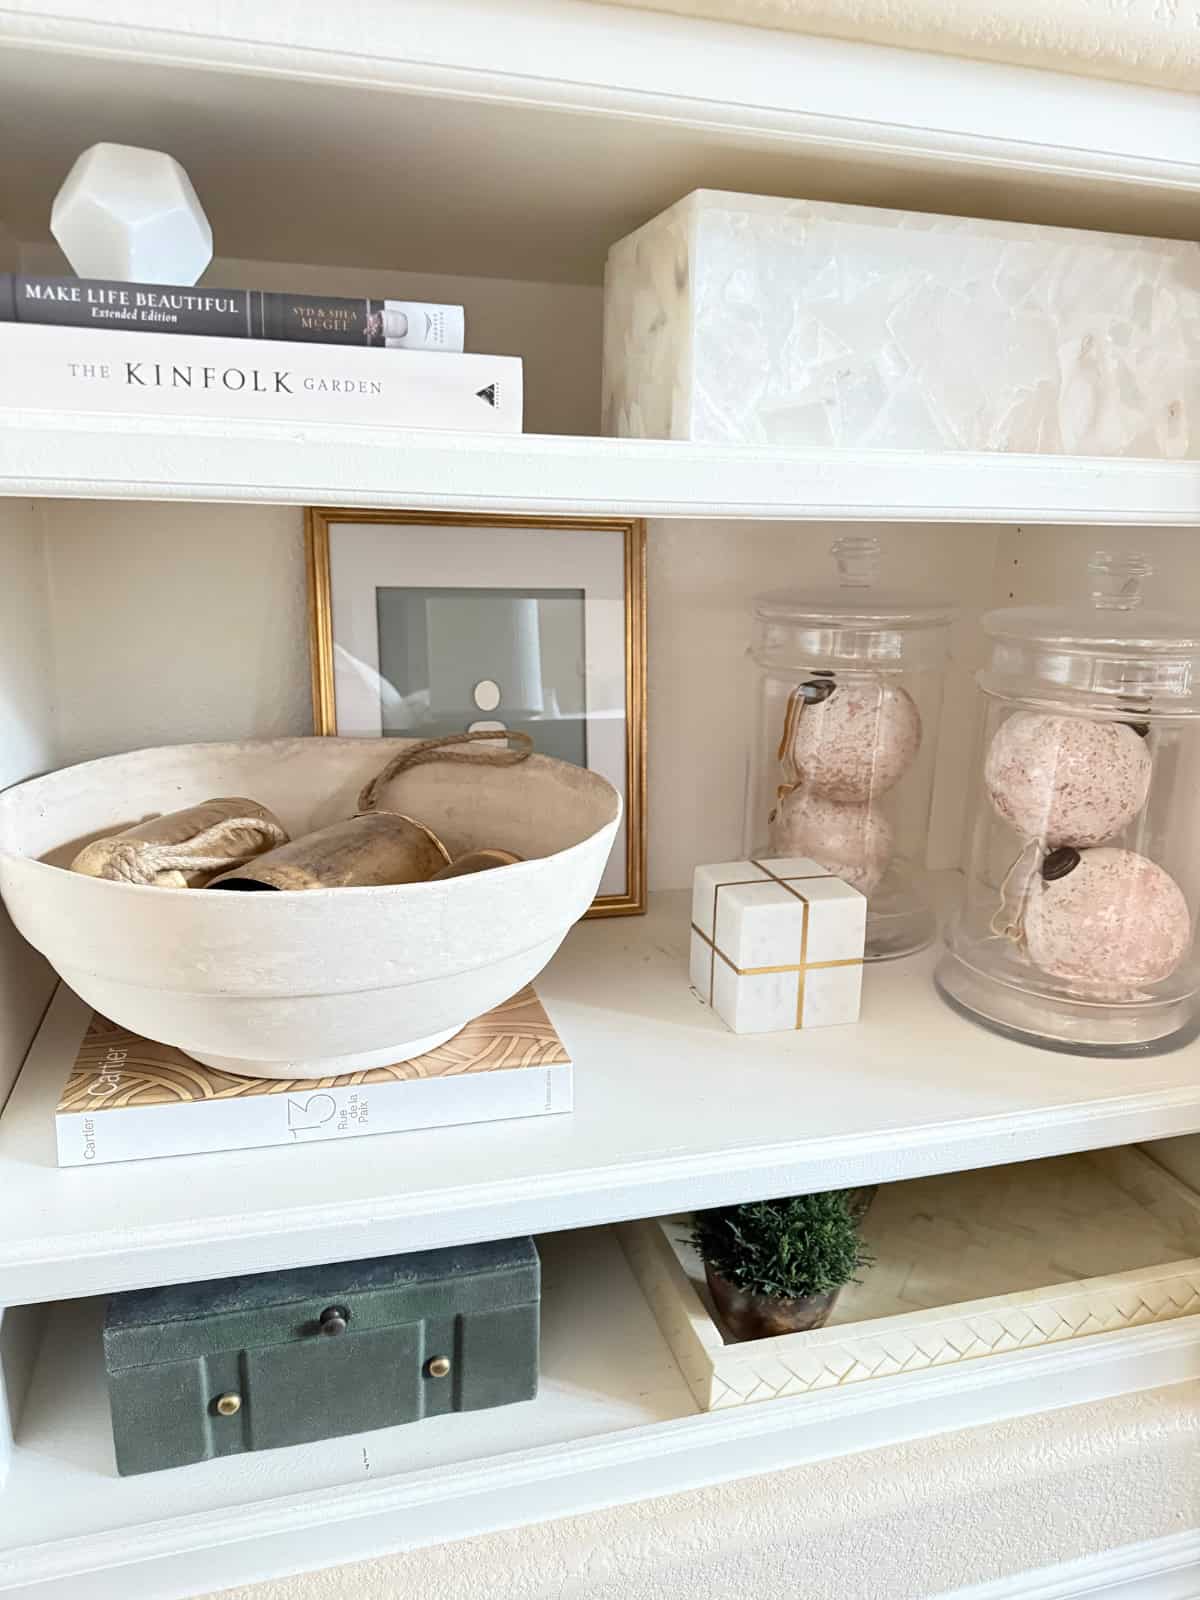
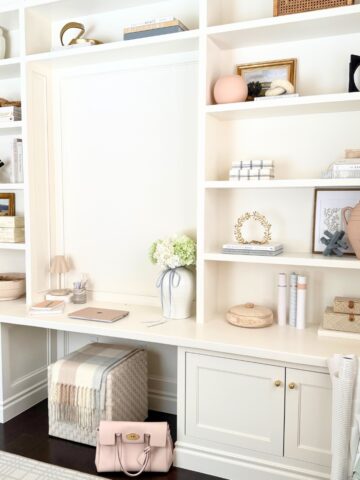
Of the remaining two intaglios, one is hanging on the wall in our media room while the other is leaning behind other decor in our living room built-ins. They all look so charming scattered around our home.
What did you use for the pretty backing of your DIY intaglios-peel & stick paint sheets like me, grasscloth wallpaper, or some other material? I would love to know. Leave a comment below!
Leave a Reply